


 本文分享了作者如何在8GB内存环境中部署OpenStack私有云的过程,包括关闭防火墙、安装软件仓库、使用packstack工具进行部署,并详细记录了关键步骤和提示信息。
这几天闲来无事,就随手部署了个openstack私有云,总的来说还是蛮简单的,只是耗时比较长,我8G内存的耗费了近1个小时
openstack是一个开源的云计算平台,它不是一个单一的项目,而是由多个相关项目组成,包含nova,swift,glance,keystone,horizon等,这些项目各实现不同功能,例如弹性计算服务、对象存储服务、虚拟机磁盘镜像服务、安全统一认证服务等,目目标是提供实施简单、可大规模扩展、丰富、标准统一的云计算管理平台。
1.把防火墙这些关掉,避免冲突
[root@localhost ~]# systemctl stop firewalld
[root@localhost ~]# systemctl disabled firewalld
Unknown operation 'disabled'.
[root@localhost ~]# systemctl disable firewalld
Removed symlink /etc/systemd/system/multi-user.target.wants/firewalld.service.
Removed symlink /etc/systemd/system/dbus-org.fedoraproject.FirewallD1.service.
[root@localhost ~]# setenforce 0
2.下载安装openstack软件仓库(我这里用stein版)和部署工具packstack
[root@localhost ~]# yum install -y centos-release-openstack-stein
已加载插件:fastestmirror, langpacks
Loading mirror speeds from cached hostfile
 * base: ftp.sjtu.edu.cn
 * extras: ftp.sjtu.edu.cn
 * updates: ftp.sjtu.edu.cn
 <以下部分省略>
 [root@localhost ~]# yum-config-manager --enable openstack-stein
已加载插件:fastestmirror, langpacks
[root@localhost ~]# yum update
已加载插件:fastestmirror, langpacks
Loading mirror speeds from cached hostfile
 * base: ftp.sjtu.edu.cn
 * centos-ceph-nautilus: mirror.lzu.edu.cn
 * centos-nfs-ganesha28: ftp.sjtu.edu.cn
 * centos-openstack-stein: ftp.sjtu.edu.cn
 * centos-qemu-ev: ftp.sjtu.edu.cn
 * extras: ftp.sjtu.edu.cn
 * updates: ftp.sjtu.edu.cn
<以下部分省略>
[root@localhost ~]# yum install -y https://rdoproject.org/repos/rdo-release.rpm
已加载插件:fastestmirror, langpacks
rdo-release.rpm                                          | 6.7 kB     00:00
正在检查 /var/tmp/yum-root-35mOa0/rdo-release.rpm: rdo-release-train-1.noarch
/var/tmp/yum-root-35mOa0/rdo-release.rpm 将被安装
正在解决依赖关系
<以下部分省略>
[root@localhost ~]# yum install -y openstack-packstack
已加载插件:fastestmirror, langpacks
Loading mirror speeds from cached hostfile
 * base: ftp.sjtu.edu.cn
 * centos-ceph-nautilus: mirror.lzu.edu.cn
 * centos-nfs-ganesha28: ftp.sjtu.edu.cn
 * centos-openstack-stein: ftp.sjtu.edu.cn
<以下部分省略>
3.执行部署命令
(等待时间较长,我等了近一小时)
[root@localhost ~]# packstack --allinone
Welcome to the Packstack setup utility

The installation log file is available at: /var/tmp/packstack/20210719-192614-3E2gr1/openstack-setup.log
Packstack changed given value  to required value /root/.ssh/id_rsa.pub

Installing:
Clean Up                                             [ DONE ]
Discovering ip protocol version                      [ DONE ]
Setting up ssh keys                                  [ DONE ]
Preparing servers                                    [ DONE ]
Pre installing Puppet and discovering hosts' details [ DONE ]
Preparing pre-install entries                        [ DONE ]
Setting up CACERT                                    [ DONE ]
Preparing AMQP entries                               [ DONE ]
Preparing MariaDB entries                            [ DONE ]
Fixing Keystone LDAP config parameters to be undef if empty[ DONE ]
Preparing Keystone entries                           [ DONE ]
Preparing Glance entries                             [ DONE ]
Checking if the Cinder server has a cinder-volumes vg[ DONE ]
Preparing Cinder entries                             [ DONE ]
Preparing Nova API entries                           [ DONE ]
Creating ssh keys for Nova migration                 [ DONE ]
Gathering ssh host keys for Nova migration           [ DONE ]
Preparing Nova Compute entries                       [ DONE ]
Preparing Nova Scheduler entries                     [ DONE ]
Preparing Nova VNC Proxy entries                     [ DONE ]
Preparing OpenStack Network-related Nova entries     [ DONE ]
Preparing Nova Common entries                        [ DONE ]
Preparing Neutron API entries                        [ DONE ]
Preparing Neutron L3 entries                         [ DONE ]
Preparing Neutron L2 Agent entries                   [ DONE ]
Preparing Neutron DHCP Agent entries                 [ DONE ]
Preparing Neutron Metering Agent entries             [ DONE ]
Checking if NetworkManager is enabled and running    [ DONE ]
Preparing OpenStack Client entries                   [ DONE ]
Preparing Horizon entries                            [ DONE ]
Preparing Swift builder entries                      [ DONE ]
Preparing Swift proxy entries                        [ DONE ]
Preparing Swift storage entries                      [ DONE ]
Preparing Gnocchi entries                            [ DONE ]
Preparing Redis entries                              [ DONE ]
Preparing Ceilometer entries                         [ DONE ]
Preparing Aodh entries                               [ DONE ]
Preparing Puppet manifests                           [ DONE ]
Copying Puppet modules and manifests                 [ DONE ]
Applying 192.168.xx.xxx_controller.pp
192.168.73.190_controller.pp:                        [ DONE ]
Applying 192.168.xx.xxx_network.pp
192.168.xx.xxx_network.pp:                           [ DONE ]
Applying 192.168.xx.xxx_compute.pp
192.168.xx.xxx_compute.pp:                           [ DONE ]
Applying Puppet manifests                            [ DONE ]
Finalizing                                           [ DONE ]

 **** Installation completed successfully ******

Additional information:
 * Parameter CONFIG_NEUTRON_L2_AGENT: You have chosen OVN Neutron backend. Note that this backend does not support the VPNaaS or FWaaS services. Geneve will be used as the encapsulation method for tenant networks
 * A new answerfile was created in: /root/packstack-answers-20210719-192617.txt
 * Time synchronization installation was skipped. Please note that unsynchronized time on server instances might be problem for some OpenStack components.
 * Warning: NetworkManager is active on 192.168.xx.xxx. OpenStack networking currently does not work on systems that have the Network Manager service enabled.
 * File /root/keystonerc_admin has been created on OpenStack client host 192.168.xx.xxx. To use the command line tools you need to source the file.
 * To access the OpenStack Dashboard browse to http://192.168.xx.xxx/dashboard .
Please, find your login credentials stored in the keystonerc_admin in your home directory.
 * Because of the kernel update the host 192.168.xx.xxx requires reboot.
 * The installation log file is available at: /var/tmp/packstack/20210719-192614-3E2gr1/openstack-setup.log
 * The generated manifests are available at: /var/tmp/packstack/20210719-192614-3E2gr1/manifests
您在 /var/spool/mail/root 中有新邮件
4.部署成功后,接下来获取自己的账号密码
[root@localhost ~]# cat ~/keystonerc_admin
5.在浏览器中输入http://192.168.xx.xxx/dashboard
(ip为自己本机的ip地址)
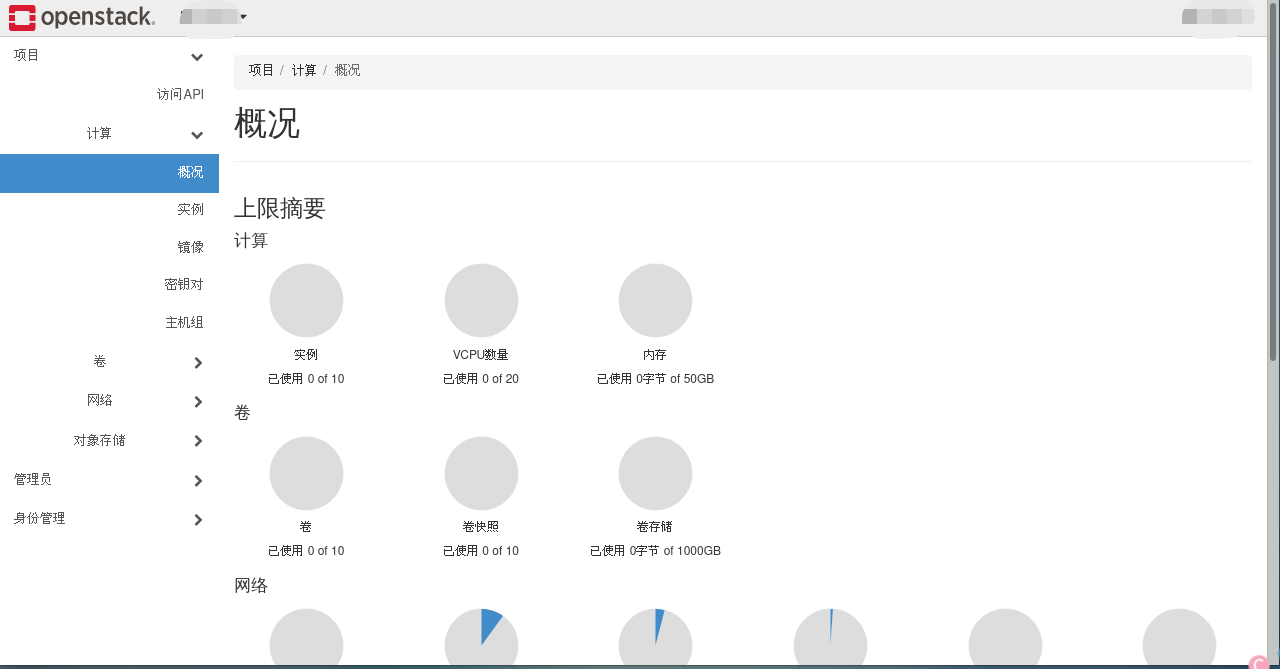
到这里就部署完成啦!
如有勘误, 敬请指出!


 被折叠的 条评论
为什么被折叠?
被折叠的 条评论
为什么被折叠?
 到【灌水乐园】发言


