


实现过程:
1、创建工程文件获取 token 和 url,方便统一管理。
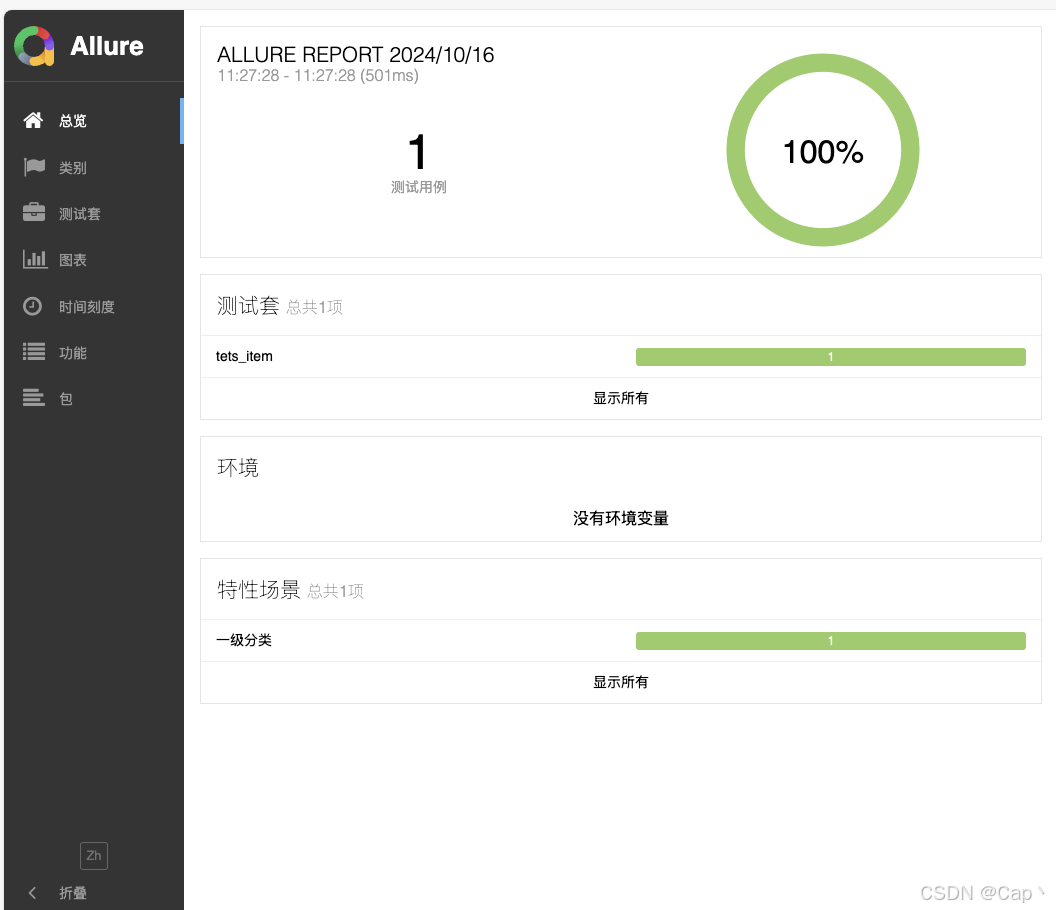
2、创建 run.py 文件,用于生成 allure 测试报告(最后执行),以及创建所需第三方包,直接下载后使用。
3、创建一个 txt 文件,放在主目录下面,文件存入所需测试接口,格式为:(url,请求方式,入参),如下:(https://.........,post/get,请求参数)生成 yaml 文件,通过 yaml 驱动测试。
4、读取 yaml 文件,执行第二步的 run 文件
源码:
第一步:创建工程文件
生成一个 api与 token 的包(api 为自己的 url,不同环境时好进行切换,token 修改为自己所需接口返回的 token,获取 token 的值)
from pathlib import Path
def create_package_structure():
# 定义包名列表
package_names = ['test_gyh_api', 'test_token']
# 遍历包名列表,创建包
for package_name in package_names:
# 构建包的路径
package_path = Path(package_name)
# 如果包目录不存在,则创建它
if not package_path.exists():
package_path.mkdir(parents=True)
# 在包目录内创建__init__.py文件(可选,但在Python 3.3之前需要)
init_py_path = package_path / '__init__.py'
if not init_py_path.exists():
with open(init_py_path, 'w') as init_file:
# 写入一个空的__init__.py文件
init_file.write('')
# 仅在test_gyh_api包中创建env_config.py文件
if package_name == 'test_gyh_api':
env_config_path = package_path / 'env_config.py'
with open(env_config_path, 'w') as file:
file.write("""def get_api_url():
api_url = 'https://beta.gongyouhui.com'
return api_url
""")
# 仅为test_token包创建test_token.py文件
if package_name == 'test_token':
test_token_path = package_path / 'test_token.py'
with open(test_token_path, 'w') as output_file:
# 注意:这里我们假设从env_config.py导入get_api_url函数
output_file.write("""from test_gyh_api.env_config import get_api_url\nimport requests\nimport yaml\n\n
from test_gyh_api.env_config import get_api_url
import requests
def lanlin_token():
data = {
"mobile": "17782092185",
"password": "12345678",
"category": "login",
"createSource": "mp",
"uuid": "",
"type": 2,
"equipmentId": "17138411625487007494",
"terminal": "111"
}
api_url = get_api_url()
response = requests.post(api_url + "/entry/login/loginForPassword", json=data)
response.raise_for_status()
response_data = response.json()
assert response_data["code"] == "00000"
return response_data["data"]["tokenValue"]
""")
print(f"已创建{test_token_path}文件。")
print("包已创建成功。")
create_package_structure()
第二步:创建 run.py文件与安装第三方库
(生成报告的地址改为需要执行的程序地址)
from pathlib import Path
def create_run_py():
# 假设 package_path 是您之前已经定义好的包路径
package_path = Path.cwd() # 请替换为实际的路径
# 构建 run.py 文件的路径
run_py_path = package_path / 'run.py'
with open(run_py_path, 'w') as file:
file.write("""
import pytest
import subprocess
if __name__ == "__main__":
# 运行 pytest 测试,并生成 Allure 报告所需的数据
pytest.main(["-s", "-q", "--alluredir", "report/xml",
"/Users/yuanlin/Desktop/YikL/工作/Py Data cleaning/test_gyh_api/test_data/test_templates.py"])
# 生成 Allure 报告
cmd = "allure generate report/xml -o report/html --clean"
subprocess.run(cmd, shell=True, check=True) # 使用 subprocess.run 并设置 check=True 来确保命令执行成功
# cmd = "start report/html/index.html" # Windows
cmd = "open report/html/index.html" # macOS
""")
# 打印消息,确认文件已被创建
print(f"已创建{run_py_path}文件。")
def create_requirements_txt():
# 假设 package_path 是您之前已经定义好的包路径
package_path = Path.cwd() # 请替换为实际的路径
# 构建 run.py 文件的路径
create_requirements_txt_path = package_path / 'requirements.txt'
with open(create_requirements_txt_path, 'w') as file:
file.write("""requests==2.25.1
pytest==6.2.4
pytest-ordering==0.6
allure-pytest==2.9.43
Faker==8.5.1
PyMySQL==1.0.2
ruamel.yaml==0.16.13
ruamel.yaml.clib==0.2.2
PyYAML==5.4.1
""")
# 打印消息,确认文件已被创建
print(f"已创建{create_requirements_txt_path}文件。")
create_run_py()
create_requirements_txt()
第三步:创建 txt 文件,格式为:
https://beta.gongyouhui.com/entry/user/getUserIdentity,GET
https://beta.gongyouhui.com/entry/login/userDataCollection,POST,{"pageSize":10,"pageNum":1,"dateTime":null,"areaName":"上海","areaNames":"上海市","workTypeCode":["140030001"],"thelabel":[],"isShowCard":true}
(解析 txt 的接口,生成 yaml 文件,txt 的文件名称修改为自己的)
import requests
import json
import yaml
from test_gyh_api.env_config import get_api_url
def lanlin_token():
data = {
"mobile": "17782092185",
"password": "12345678",
"category": "login",
"createSource": "mp",
"uuid": "",
"type": 2,
"equipmentId": "17138411625487007494",
"terminal": "111"
}
api_url = get_api_url()
response = requests.post(api_url + "/entry/login/loginForPassword", json=data)
response.raise_for_status()
response_data = response.json()
assert response_data["code"] == "00000"
return response_data["data"]["tokenValue"]
def txt_to_yaml(token):
# 读取包含请求的txt文件
try:
with open('gyh.txt', 'r', encoding='utf-8') as file:
gyh_content = file.read()
except FileNotFoundError:
raise FileNotFoundError("File 'gyh.txt' not found.")
except Exception as e:
raise IOError(f"Error reading file: {e}")
# 将文件内容按行分割
lines = gyh_content.strip().split('\n')
# 初始化一个列表来存储所有测试用例
test_cases = []
# 循环处理每一行
for line in lines:
# 尝试分割字符串以提取关键信息
separator = ','
parts = line.split(separator)
if len(parts) < 2:
raise ValueError("Invalid file content format")
# 分割并提取URL和HTTP方法
url = parts[0]
method = parts[1].strip()
# 格式化测试用例
test_case = {
"test_case": {
"description": "Login test case", # 添加了描述
"url": url,
"method": method,
"headers": {
"Content-Type": "application/json"
}
}
}
# 处理GET请求
if method.upper() == 'GET':
# 不需要处理请求体
pass
else:
# 对于非GET请求,尝试解析请求体
if len(parts) >= 3:
request_body_str = separator.join(parts[2:])
try:
request_body = json.loads(request_body_str)
test_case["test_case"]["data"] = request_body
except json.JSONDecodeError:
raise ValueError("Invalid JSON in request body")
# 将测试用例添加到列表中
test_cases.append(test_case)
# 为请求头中添加 token
test_case["test_case"]["headers"]["lanlinker-satoken"] = f"{token}"
# 将所有测试用例合并成一个大的YAML文档
all_test_cases = {"test_cases": test_cases}
print('清洗 txt 接口文件,生成tata_yaml文件')
# 写入YAML文件
try:
with open('yaml_data.yaml', 'w', encoding='utf-8') as file:
yaml.dump(all_test_cases, file, default_flow_style=False, allow_unicode=True)
except Exception as e:
raise IOError(f"Error writing to file: {e}")
# 调用函数
token = lanlin_token() # 获取 token
txt_to_yaml(token) # 将 token 传递给函数并生成 YAML 文件
第四步:run.py执行此文件
(yaml 名称修改为自己的,生成 allure 测试报告)
import json
import yaml
import requests
import logging
import os
import pytest
import allure
# 设置日志
logging.basicConfig(level=logging.INFO, format='%(asctime)s - %(levelname)s - %(message)s')
# 定义文件路径
yaml_file_path = os.path.join(os.path.dirname(__file__), 'yaml_data.yaml')
@pytest.mark.run(order=1)
@allure.epic('一级分类')
@allure.feature('二级分类')
@allure.story('三级分类')
def test_data_driven():
try:
# 加载YAML文件中的测试数据
with open(yaml_file_path, 'r') as file:
content = file.read()
if not content.strip():
raise ValueError("YAML文件内容为空")
test_cases = yaml.safe_load(content)
# 遍历测试用例并执行
for test_case in test_cases['test_cases']:
method = test_case['test_case']['method']
url = test_case['test_case']['url']
headers = test_case['test_case'].get('headers', {})
data = test_case['test_case'].get('data', {})
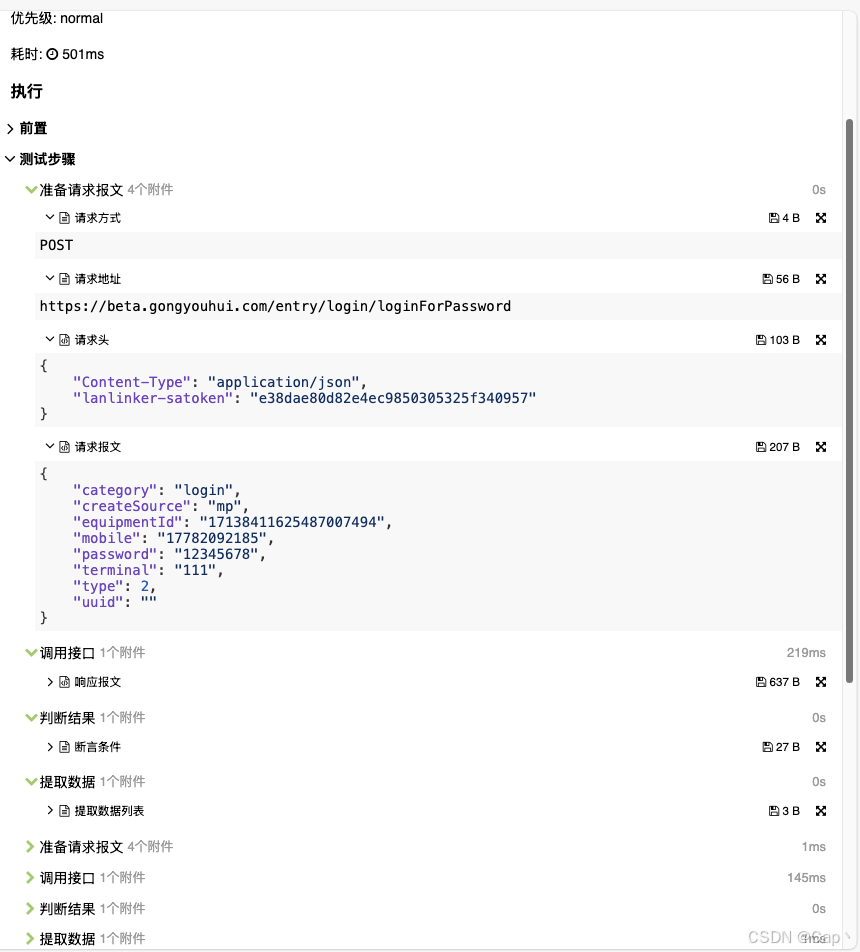
with allure.step('准备请求报文'):
allure.attach(method, '请求方式', allure.attachment_type.TEXT)
allure.attach(url, '请求地址', allure.attachment_type.TEXT)
allure.attach(json.dumps(headers, ensure_ascii=False, indent=4), '请求头', allure.attachment_type.JSON)
allure.attach(json.dumps(data, ensure_ascii=False, indent=4), '请求报文', allure.attachment_type.JSON)
# 发送请求
with allure.step('调用接口'):
response = requests.request(
method=method,
url=url,
headers=headers,
json=data
)
allure.attach(json.dumps(response.json(), ensure_ascii=False, indent=4), '响应报文', allure.attachment_type.JSON)
# 判断结果
with allure.step('判断结果'):
allure.attach(f'response.status_code == 200', '断言条件', allure.attachment_type.TEXT)
assert response.status_code == 200, '接口调用失败,状态码不为200'
# 提取数据
with allure.step('提取数据'):
allure.attach('无', '提取数据列表', allure.attachment_type.TEXT)
# 打印测试结果
logging.info(f"测试描述: {test_case['test_case']['description']}")
logging.info(f"状态码: {response.status_code}")
logging.info("---")
except FileNotFoundError:
logging.error("YAML文件未找到")
except ValueError as ve:
logging.error(f"YAML文件内容错误:{ve}")
except Exception as e:
logging.error(f"发生错误:{e}")
# 调用函数
test_data_driven()


 1882
1882

 被折叠的 条评论
为什么被折叠?
被折叠的 条评论
为什么被折叠?
 到【灌水乐园】发言


