


 本文介绍了一个使用Maven构建的项目的结构,并展示了如何通过前端表单提交数据触发后端逻辑,进而运行TestNG测试用例的过程。涉及的技术包括JSP、EasyUI、Spring MVC及TestNG。
1.首先用到的是maven项目
2.使用的resources里面有maven项目中的
applicationContext-dao.xml
applicationContext-service.xml
applicationContext-transation.xml
db.properties
springMvc.xml
sqlMapConfig.xml
testng.xml
前端代码
<%@page language="java" contentType="text/html; ISO-8859-1" pageEncoding="UTF-8" %>
<html>
<head>
    <title>Title</title>
    <%--需要引入各种css、js、jquery的插件--%>
    <script type="text/javascript" src="easyui1.7/jquery.min.js"></script>
    <script type="text/javascript" src="easyui1.7/jquery.easyui.min.js"></script>
    <script type="text/javascript" src="easyui1.7/locale/easyui-lang-zh_CN.js"></script>
    <link rel="stylesheet" type="text/css" href="easyui1.7/themes/default/easyui.css"/>
    <link rel="stylesheet" type="text/css" href="easyui1.7/themes/icon.css"/>
</head>
<body>
<br><br><br><br>
    <form action="findstr" method="post">
        VIP广发:VIPguangfa<br>
                        <input type="hidden" name="sid" value="1">
        传入要执行的名字:<input type="text" name="sname" value="VIPguangfa"><br>
        <input type="submit" value="提交">
    </form>
</body>
<%--<script>
    $("#btn").click(function () {
        $.ajax({
            type:'post',
            url:'findstr',
            data:$('form').serialize(),
            success:function(obj){
                if (obj == "success") {
                    layer.alert('添加提交成功!',
                        function(index) {
                            window.location.reload();
                        });
                } else {
                    layer.alert("添加提交失败")
                }
            },
            error: function(obj) {
                layer.alert("网络出现异常,请稍后重新发布!!!!")
            }
        })
    })
</script>--%>
</html>
后端全代码
package com.zhengnan.controller;
import com.zhengnan.entity.Shu;
import com.znzdh.until.TimesUntil;
import com.znzdh.until.TimesUntil.*;
import com.znzdh.until.ExtentTestNGIReporterListener;
import org.jetbrains.annotations.NotNull;
import org.springframework.aop.scope.ScopedProxyUtils;
import org.springframework.stereotype.Controller;
import org.springframework.web.bind.annotation.*;
import org.testng.ITestNGListener;
import org.testng.TestNG;
import org.testng.xml.XmlClass;
import org.testng.xml.XmlSuite;
import org.testng.xml.XmlTest;

import javax.servlet.ServletContext;
import javax.servlet.http.HttpServletRequest;
import javax.servlet.http.HttpServletResponse;
import java.util.ArrayList;
import java.util.List;

@Controller
public class WebStart {


    @RequestMapping("findstr")
    public String  findstr(@NotNull Shu shu, String sid, String sname){
        TimesUntil.log.info(shu.getSname());
        System.out.println(shu.getSname()+",sname;"+sname+"sid"+sid);
        if (shu.getSname().equals("VIPguangfa")){
            TimesUntil.log.info("进入if语句");
            //===========将suit,test.class添加到xmlSuite中=============
            XmlSuite suite = new XmlSuite();
            suite.setName("VIPguangfa");

            XmlTest test = new XmlTest(suite);
            test.setName("guangfa");
            List<XmlClass> list = new ArrayList<>();
            list.add(new XmlClass("com.znzdh.anli.Dome1"));

            test.setXmlClasses(list);
            //==================================
            //============new一个new ArrayList<XmlSuite>();=============
            ArrayList<XmlSuite> xmlSuites = new ArrayList<>();
            xmlSuites.add(suite);
            //new 一个自己的对象,导入该包如上导入添加到testng中
            /*
            java需要创建一个自己监听器
            */
            ExtentTestNGIReporterListener listeners = new ExtentTestNGIReporterListener();

            //testng
            TestNG testNG = new TestNG();
            testNG.setXmlSuites(xmlSuites);
            testNG.addListener(listeners);
            testNG.run();

        }

        return "index";
    }

}
运行结果

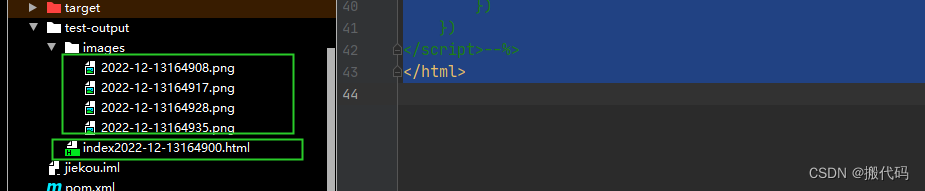
下一步就是将html文件显示在页面上,直接点击就可以进行查看。代码后续发布


 1637
1637

 被折叠的 条评论
为什么被折叠?
被折叠的 条评论
为什么被折叠?
 到【灌水乐园】发言


