


 本文详细介绍了如何在Spring Boot项目中整合SSM框架,包括创建项目、配置MyBatis、编写实体类、DAO、Service及Controller,以及启动应用的全过程。
SSM框架现在开发届中非常的流行,而且使用起来也非常简单,使用springboot更是让我们开发效率提高无数倍;好了,下面写一下自己整合的过程;
一、创建springboot项目
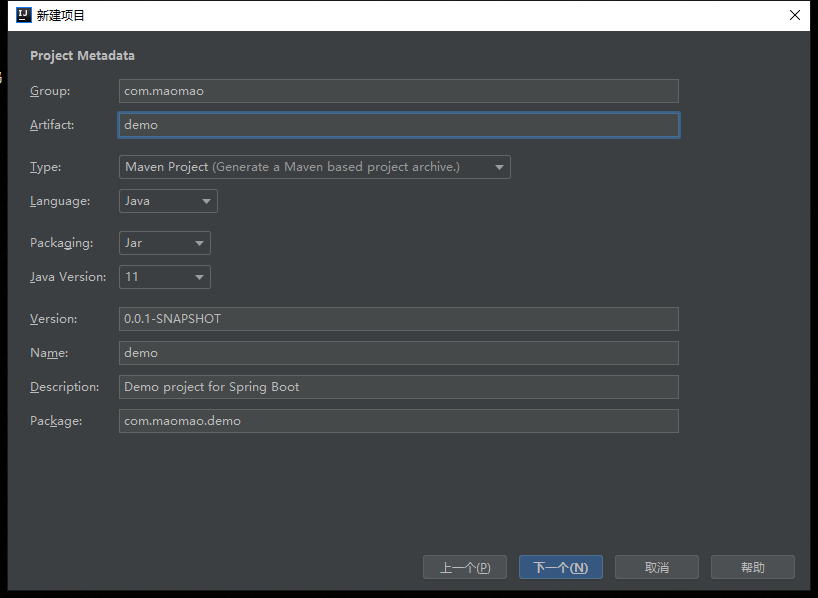
1.1、使用IDEA创建项目
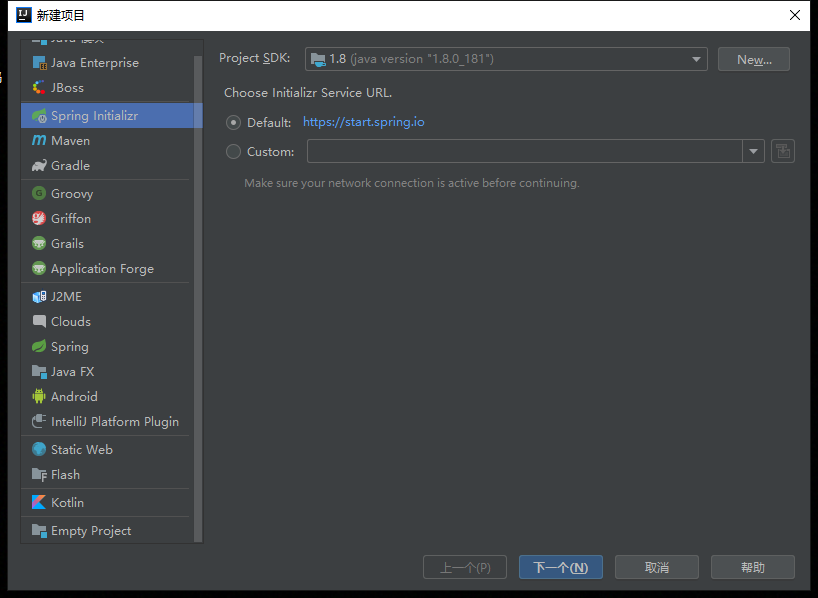
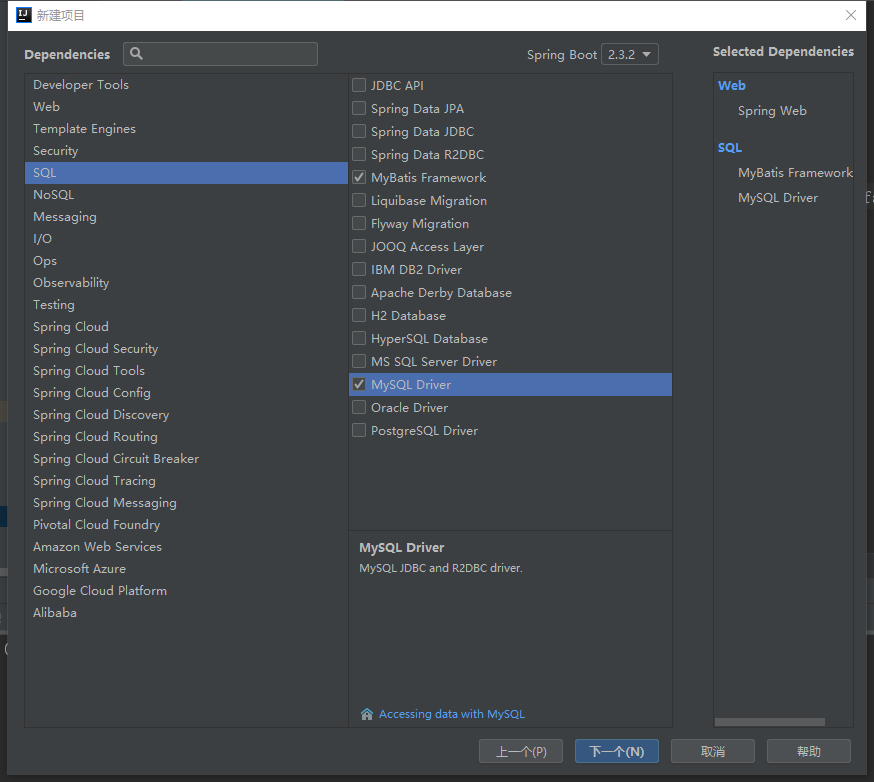
1.2、引入IDEA官方给我们提供好的包
1.3、引入阿里巴巴druid数据源
maven内容如下:
<?xml version="1.0" encoding="UTF-8"?>
<project xmlns="http://maven.apache.org/POM/4.0.0" xmlns:xsi="http://www.w3.org/2001/XMLSchema-instance"
         xsi:schemaLocation="http://maven.apache.org/POM/4.0.0 https://maven.apache.org/xsd/maven-4.0.0.xsd">
    <modelVersion>4.0.0</modelVersion>
    <parent>
        <groupId>org.springframework.boot</groupId>
        <artifactId>spring-boot-starter-parent</artifactId>
        <version>2.3.2.RELEASE</version>
        <relativePath/> <!-- lookup parent from repository -->
    </parent>
    <groupId>com.maomao</groupId>
    <artifactId>demo</artifactId>
    <version>0.0.1-SNAPSHOT</version>
    <name>demo</name>
    <description>Demo project for Spring Boot</description>

    <properties>
        <java.version>1.8</java.version>
    </properties>

    <dependencies>
        <dependency>
            <groupId>org.springframework.boot</groupId>
            <artifactId>spring-boot-starter-web</artifactId>
        </dependency>

        <dependency>
            <groupId>mysql</groupId>
            <artifactId>mysql-connector-java</artifactId>
            <scope>runtime</scope>
        </dependency>
        <!--添加阿里巴巴数据源-->
        <dependency>
            <groupId>com.alibaba</groupId>
            <artifactId>druid</artifactId>
            <version>1.1.13</version>
        </dependency>
        <dependency>
            <groupId>org.mybatis.spring.boot</groupId>
            <artifactId>mybatis-spring-boot-starter</artifactId>
            <version>1.3.2</version>
        </dependency>
        <dependency>
            <groupId>org.springframework.boot</groupId>
            <artifactId>spring-boot-starter-test</artifactId>
            <scope>test</scope>
            <exclusions>
                <exclusion>
                    <groupId>org.junit.vintage</groupId>
                    <artifactId>junit-vintage-engine</artifactId>
                </exclusion>
            </exclusions>
        </dependency>
    </dependencies>

    <build>
        <plugins>
            <plugin>
                <groupId>org.springframework.boot</groupId>
                <artifactId>spring-boot-maven-plugin</artifactId>
            </plugin>
        </plugins>
    </build>

</project>
二、创建目录结构
2.1、main下创建controller,dao,entity,service,serviceImpl包
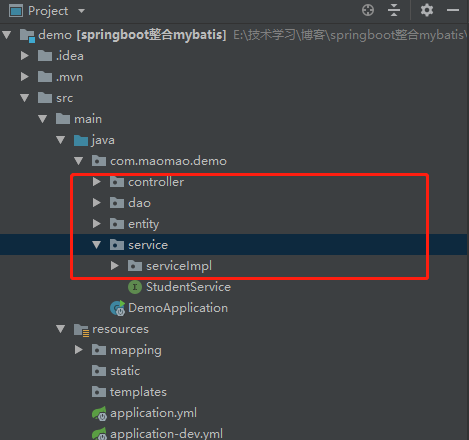
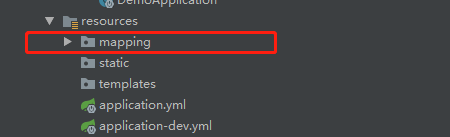
2.2、在resources目录下创建mapping目录用于存放mapper.xml文件
三、配置mybatis
3.1、将application.properties文件后缀修改为.yml,可以不修改,这里本人比较喜欢yml的简洁性;并指定dev开发环境
spring:
  profiles:
    active: dev
3.2、创建application-dev.yml开发环境配置文件
server:
  port: 8888
spring:
  #database verison
  datasource:
#配置数据源
    type: com.alibaba.druid.pool.DruidDataSource
    driver-class-name: com.mysql.cj.jdbc.Driver
#配置数据库参数
    url: jdbc:mysql://localhost:3306/mm_test?characterEncoding=utf-8&useSSL=false&serverTimezone=Asia/Shanghai
    username: root
    password: root

mybatis:
#你的xml文件的位置
  mapper-locations: classpath:mapping/*Mapper.xml
#跟xml文件映射随对应的实体类位置
  type-aliases-package: com.maomao.demo.entity
logging:
  level:
    com:
      maomao:
        demo:
          dao: debug
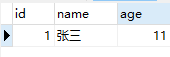
四、编写数据表
CREATE TABLE `student`  (
  `id` int(0) NOT NULL AUTO_INCREMENT,
  `name` varchar(255) ,
  `age` int(0) ,
  PRIMARY KEY (`id`) USING BTREE
) ;
五、编写实体类及业务逻辑类
5.1、创建StudentEntity实体类
package com.maomao.demo.entity;

public class StudentEntity {
    Integer id;
    String name;
    Integer age;

    public Integer getId() {
        return id;
    }

    public void setId(Integer id) {
        this.id = id;
    }

    public String getName() {
        return name;
    }

    public void setName(String name) {
        this.name = name;
    }

    public Integer getAge() {
        return age;
    }

    public void setAge(Integer age) {
        this.age = age;
    }

    @Override
    public String toString() {
        return "StudentEntity{" +
                "id=" + id +
                ", name='" + name + '\'' +
                ", age=" + age +
                '}';
    }
}
5.2、在dao包下创建StudentDao接口类,并编写一个查询方法
package com.maomao.demo.dao;

import com.maomao.demo.entity.StudentEntity;
import org.springframework.stereotype.Repository;
//使用@Repository注释将该接口放入spring容器中
@Repository
public interface StudentDao {
     StudentEntity findById(Integer id);
}
5.3、在resources/mapping目录下创建StudentMapper.xml文件
<?xml version="1.0" encoding="UTF-8" ?>
<!DOCTYPE mapper PUBLIC "-//mybatis.org//DTD Mapper 3.0//EN" "http://mybatis.org/dtd/mybatis-3-mapper.dtd">
<!--这里的namespace要写你的实体类所在的包位置-->
<mapper namespace="com.maomao.demo.dao.StudentDao">

    <!--id 为StudentDao接口中的方法名 -->
    <!--resultType 为实体类-->
    <select id="findById" resultType="com.maomao.demo.entity.StudentEntity">
        select * from student where id= #{id}
    </select>
</mapper>
5.4、编写StudentService接口
package com.maomao.demo.service;

import com.maomao.demo.entity.StudentEntity;

public interface StudentService {
    public StudentEntity findById(Integer id);
}
5.5、编写StudentServiceImpl实现类
package com.maomao.demo.service.serviceImpl;

import com.maomao.demo.dao.StudentDao;
import com.maomao.demo.entity.StudentEntity;
import com.maomao.demo.service.StudentService;
import org.springframework.beans.factory.annotation.Autowired;
import org.springframework.stereotype.Service;

@Service
public class StudentServiceImpl implements StudentService {
    @Autowired
    StudentDao studentDao;


    @Override
    public StudentEntity findById(Integer id) {
        StudentEntity student = studentDao.findById(id);
        return student;
    }
}
5.6、创建StudentController类,编写控制层controller提供API接口访问
package com.maomao.demo.controller;

import com.maomao.demo.entity.StudentEntity;
import com.maomao.demo.service.StudentService;
import org.springframework.beans.factory.annotation.Autowired;
import org.springframework.stereotype.Controller;
import org.springframework.web.bind.annotation.RequestMapping;
import org.springframework.web.bind.annotation.ResponseBody;
import org.springframework.web.bind.annotation.RestController;

@RestController
@RequestMapping("/spring")
public class StudentController {
    @Autowired
    StudentService studentService;

    @RequestMapping("find")
    @ResponseBody
    public StudentEntity findById(Integer id){

        StudentEntity byId = studentService.findById(id);
        return byId;
    }
}
六、在Application启动类中使用@MapperScan指定持久层扫描接口
package com.maomao.demo;

import org.mybatis.spring.annotation.MapperScan;
import org.springframework.boot.SpringApplication;
import org.springframework.boot.autoconfigure.SpringBootApplication;
@MapperScan("com.maomao.demo.dao")
@SpringBootApplication
public class DemoApplication {

    public static void main(String[] args) {
        SpringApplication.run(DemoApplication.class, args);
    }

}
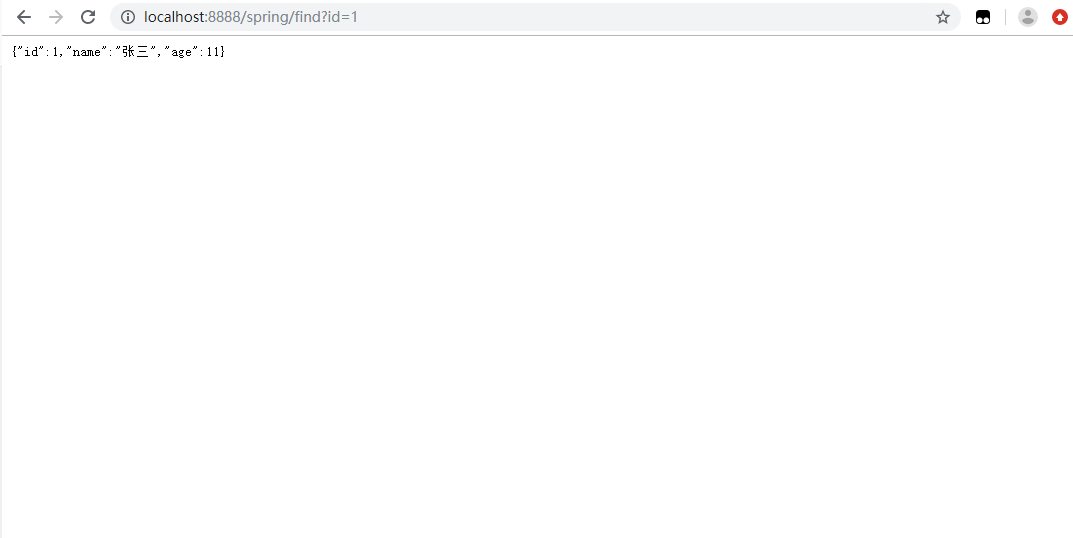
七、启动并访问


 465
465

 被折叠的 条评论
为什么被折叠?
被折叠的 条评论
为什么被折叠?
 到【灌水乐园】发言


