


 本文介绍了如何使用SpringBoot搭建一个基础的查询项目。首先新建Spring Boot web项目,配置相关依赖,包括Mybatis Plus、Oracle和MySQL驱动等。接着配置服务器和数据库环境,设置端口、数据库连接信息等。然后展示了Student实体类和Controller层的简单查询实现,通过@RequestMapping注解返回所有学生信息。
springboot是当下非常流行的web框架,它可以很方便的整合其他web开发框架,大大提升了开发效率。今天我们以一个简单的查询例子讲讲怎么使用springboot搭建一个入门项目。
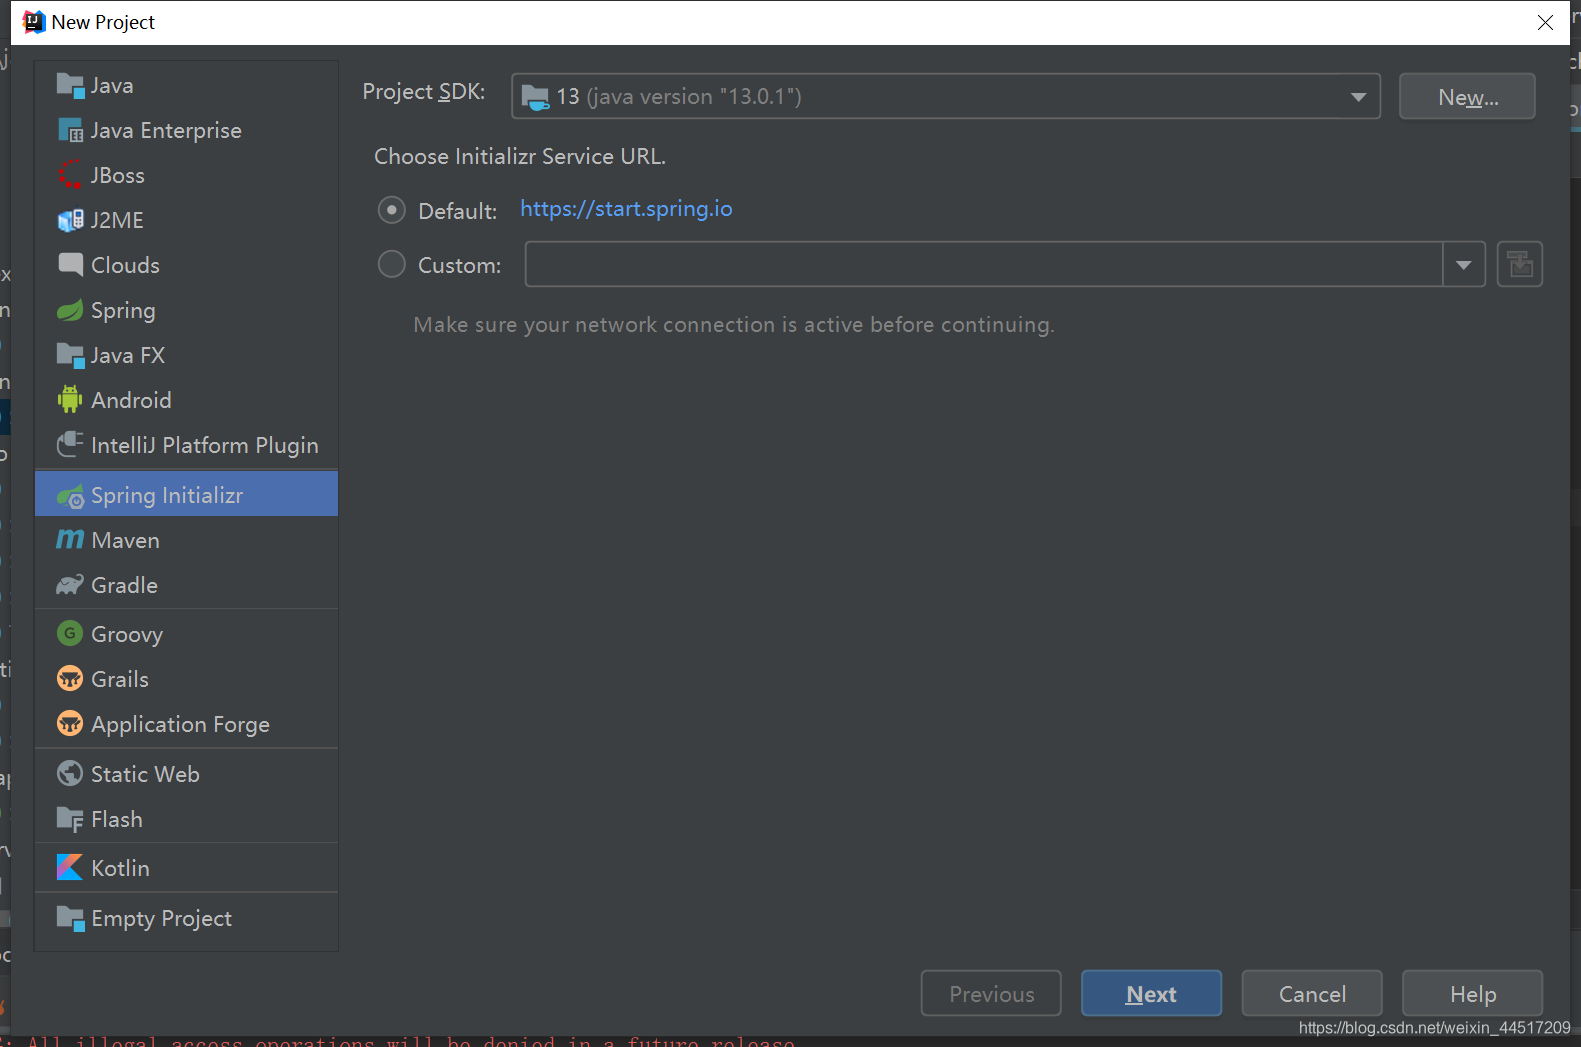
一 新建项目
选择spring项目,点击Next
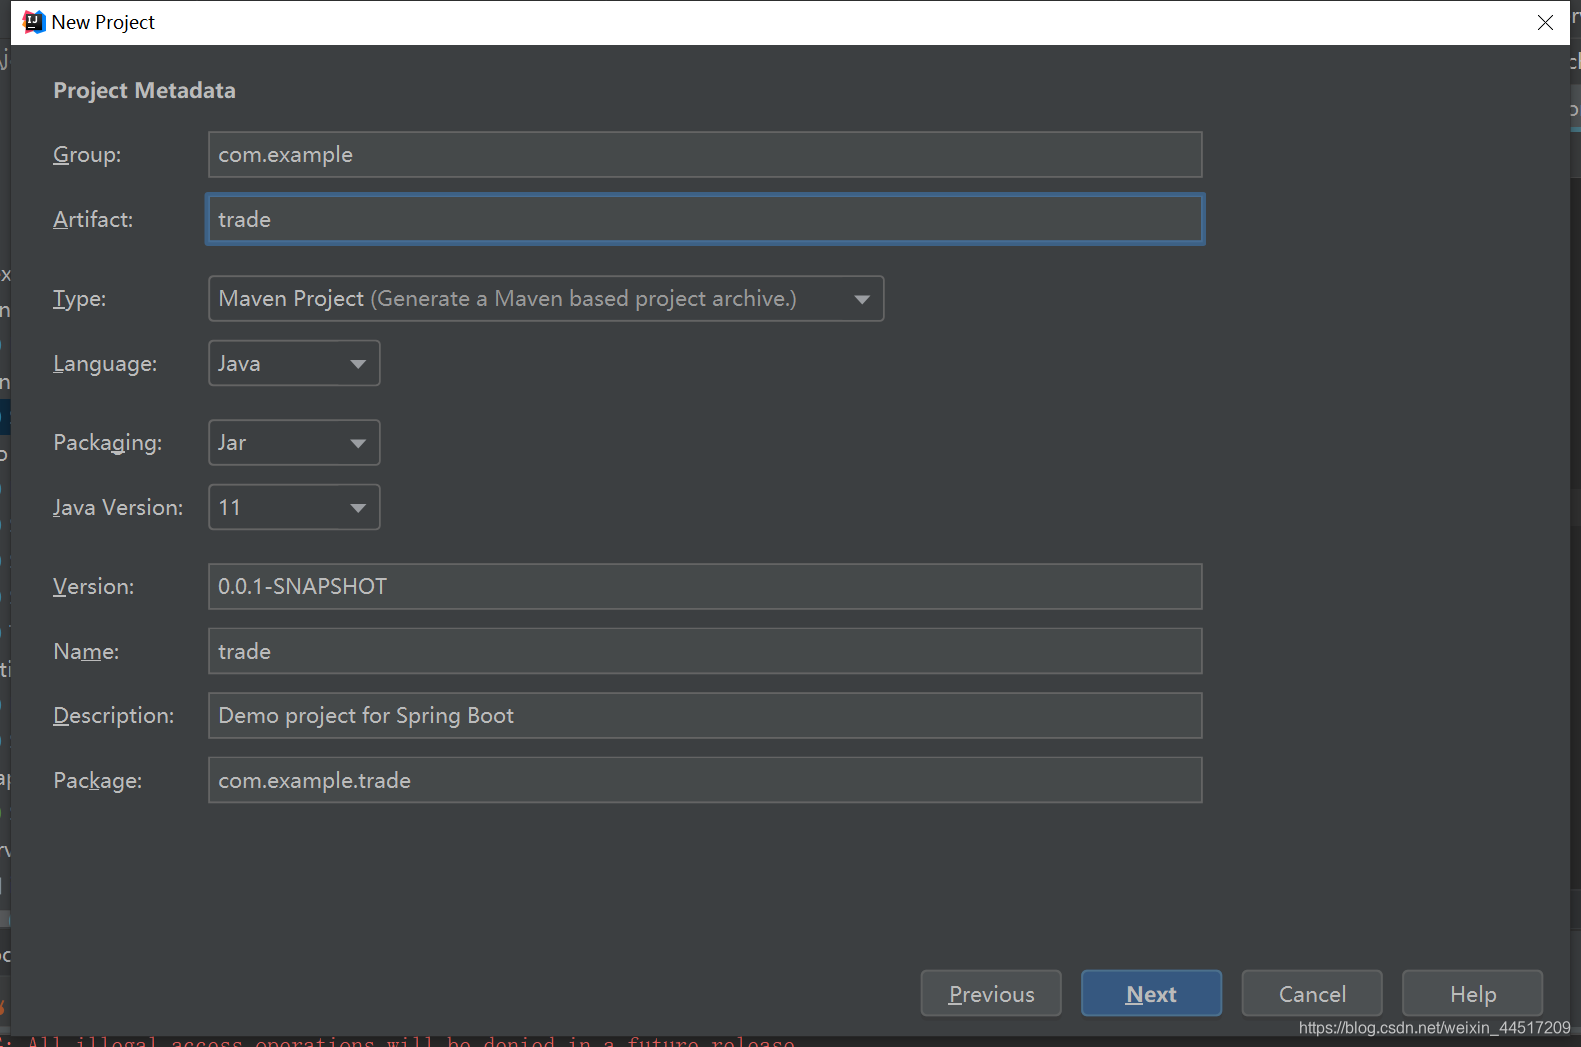
输入包名与项目名
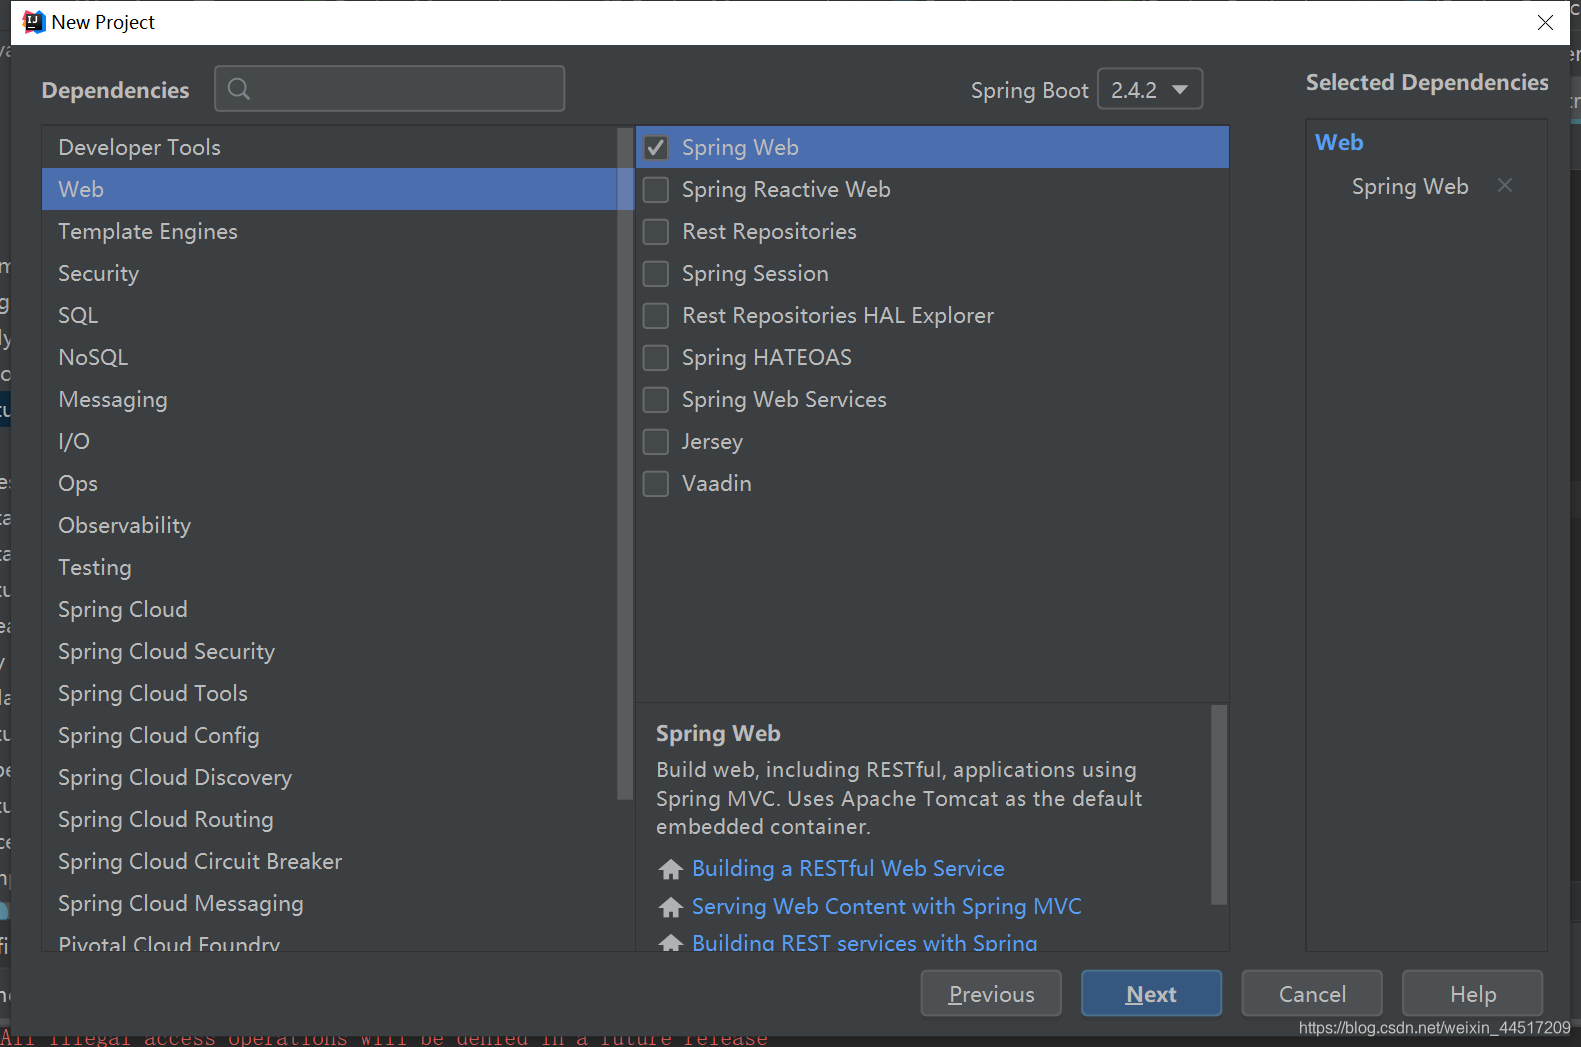
选择springboot的web项目
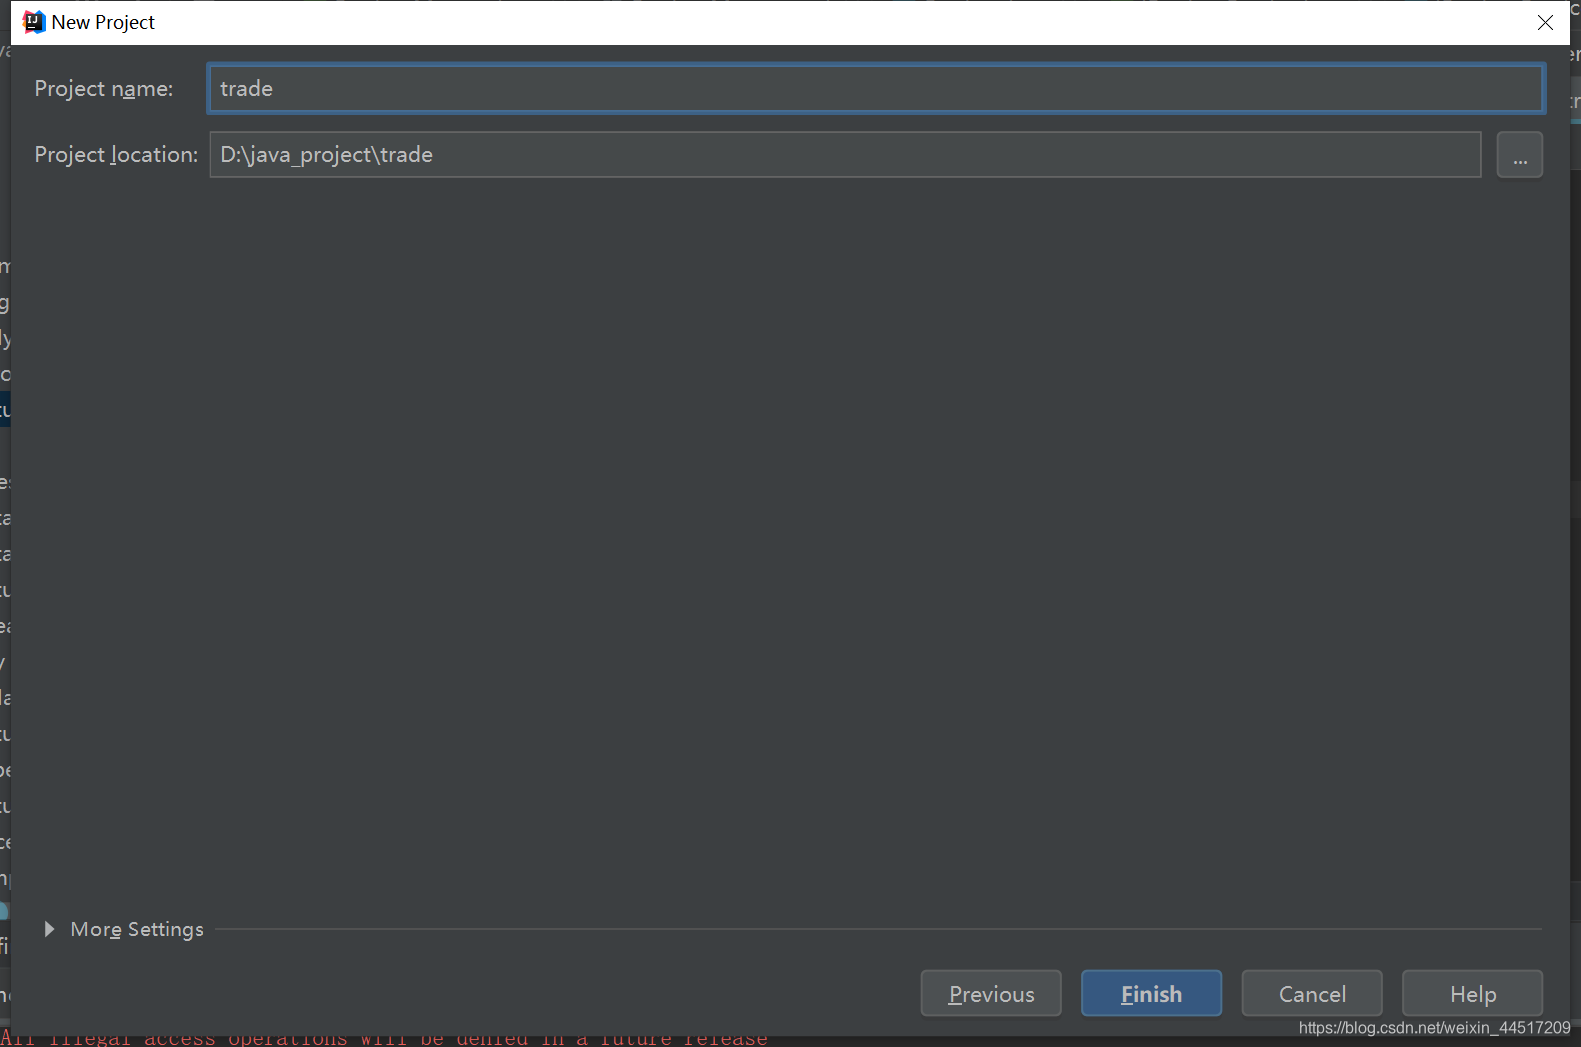
输入项目名,点击finish
二 导入maven项目依赖
<parent>
        <groupId>org.springframework.boot</groupId>
        <artifactId>spring-boot-starter-parent</artifactId>
        <version>2.4.2</version>
        <relativePath/> <!-- lookup parent from repository -->
    </parent>
    <groupId>com.example</groupId>
    <artifactId>springbootfirst</artifactId>
    <version>0.0.1-SNAPSHOT</version>
    <name>springbootfirst</name>
    <description>Demo project for Spring Boot</description>
    <properties>
        <java.version>1.8</java.version>
        <log4j.version>1.2.17</log4j.version>
    </properties>

    <dependencies>
        <dependency>
            <groupId>org.springframework.boot</groupId>
            <artifactId>spring-boot-starter-web</artifactId>
        </dependency>

        <dependency>
            <groupId>org.springframework.boot</groupId>
            <artifactId>spring-boot-starter-test</artifactId>
            <scope>test</scope>
        </dependency>

        <!--SpingBoot集成junit测试的起步依赖-->
        <dependency>
            <groupId>org.springframework.boot</groupId>
            <artifactId>spring-boot-starter-test</artifactId>
            <scope>test</scope>
        </dependency>

        <!--mybatis-plus起步依赖,2.2.0不能导入-->
        <dependency>
            <groupId>com.baomidou</groupId>
            <artifactId>mybatis-plus-boot-starter</artifactId>
            <version>3.0.5</version>
        </dependency>

        <!--oracle连接驱动-->
        <dependency>
            <groupId>ojdbc</groupId>
            <artifactId>ojdbc6</artifactId>
            <version>11.2.0.3</version>
        </dependency>

        <!-- MySQL连接驱动 -->
        <dependency>
            <groupId>mysql</groupId>
            <artifactId>mysql-connector-java</artifactId>
            <version>8.0.20</version>
        </dependency>

        <!--此依赖可让student不出现警告-->
        <dependency>
            <groupId>org.springframework.boot</groupId>
            <artifactId>spring-boot-configuration-processor</artifactId>
            <optional>true</optional>
        </dependency>

        <!--springboot将静态资源jquery等以jar文件形式引入项目-->
        <!--<dependency>-->
        <!--<groupId>org.webjars</groupId>-->
        <!--<artifactId>jquery</artifactId>-->
        <!--<version>3.3.1-1</version>-->
        <!--</dependency>-->

        <!--thymeleaf模板-->
        <dependency>
            <groupId>org.springframework.boot</groupId>
            <artifactId>spring-boot-starter-thymeleaf</artifactId>
        </dependency>

        <!--热部署-->
        <dependency>
            <groupId>org.springframework.boot</groupId>
            <artifactId>spring-boot-devtools</artifactId>
            <optional>true</optional>
        </dependency>

        <dependency>
            <groupId>net.sourceforge.nekohtml</groupId>
            <artifactId>nekohtml</artifactId>
            <version>1.9.22</version>
        </dependency>

        <!--改包下的Data注解可使我们免写JavaBean的getter方法-->
        <dependency>
            <groupId>org.projectlombok</groupId>
            <artifactId>lombok</artifactId>
            <version>1.18.12</version>
        </dependency>

        <dependency>
            <groupId>log4j</groupId>
            <artifactId>log4j</artifactId>
            <version>${log4j.version}</version>
        </dependency>

        <dependency>
            <groupId>ch.qos.logback</groupId>
            <artifactId>logback-core</artifactId>
            <version>1.2.3</version>
        </dependency>

        <!--springboot的测试框架-->
        <dependency>
            <groupId>org.springframework.boot</groupId>
            <artifactId>spring-boot-test</artifactId>
        </dependency>
        <dependency>
            <groupId>junit</groupId>
            <artifactId>junit</artifactId>
        </dependency>
        <dependency>
            <groupId>org.springframework</groupId>
            <artifactId>spring-test</artifactId>
            <version>5.3.2</version>
            <scope>compile</scope>
        </dependency>
    </dependencies>
三 配置web服务器、数据库环境
server:
  port: 8080
  servlet:
    context-path: /
    session:
      timeout: 300m
spring:
  datasource:
    username: root
    password: 52wendyma
    driver-class-name: com.mysql.cj.jdbc.Driver
    url: jdbc:mysql://175.24.68.139:3306/springstudent?serverTimezone=GMT%2B8
    initialSize: 5
    minIdle: 5
    maxActive: 200
四 业务模块
实体类entity包
public class Student {
    /**学号 */
   private int id;
    /**姓名 */
   private String name;
   /**性别 */
   private String sex;
    /** 年龄*/
   private int age;
    /**家庭住址 */
   private String home;
    /**学历 */
   private String education;
    /** 导师*/
   private String tutor;
    /** 专业*/
   private String major;
    /** 学院*/
   private String school;
controller层
前端发出查询所有学生的请求,根据url,服务器会执行如下的findAll方法。使用responseBody注解controller会把查询结果一json格式返回到前端页面。
@RequestMapping("/list")
    @ResponseBody
    public IPage<Student> findAll() {
        List<Student> students = studentService.findAll();
        return students;
    }
至于业务层与数据层的代码,与SSM框架类似,模仿即可。


 2418
2418


 到【灌水乐园】发言


