


 本文详细介绍了如何使用SpringCloud Netflix的Eureka搭建服务注册与发现中心。首先创建了一个Maven主项目,然后分别创建了Eureka服务注册中心和服务提供者。在注册中心配置了Eureka的相关设置,启动后可以正常访问。服务提供者通过添加web依赖,配置Eureka客户端,并设置了一个简单的REST接口,成功注册到Eureka服务注册中心。
本文参考博客:https://www.fangzhipeng.com/spring-cloud.html
文章目录
前言
本文直接根据博客描述的创建,如果错误请指出,谢谢
提示:以下是整合Spring Cloud Netflix的Eureka,一个服务注册与发现模块
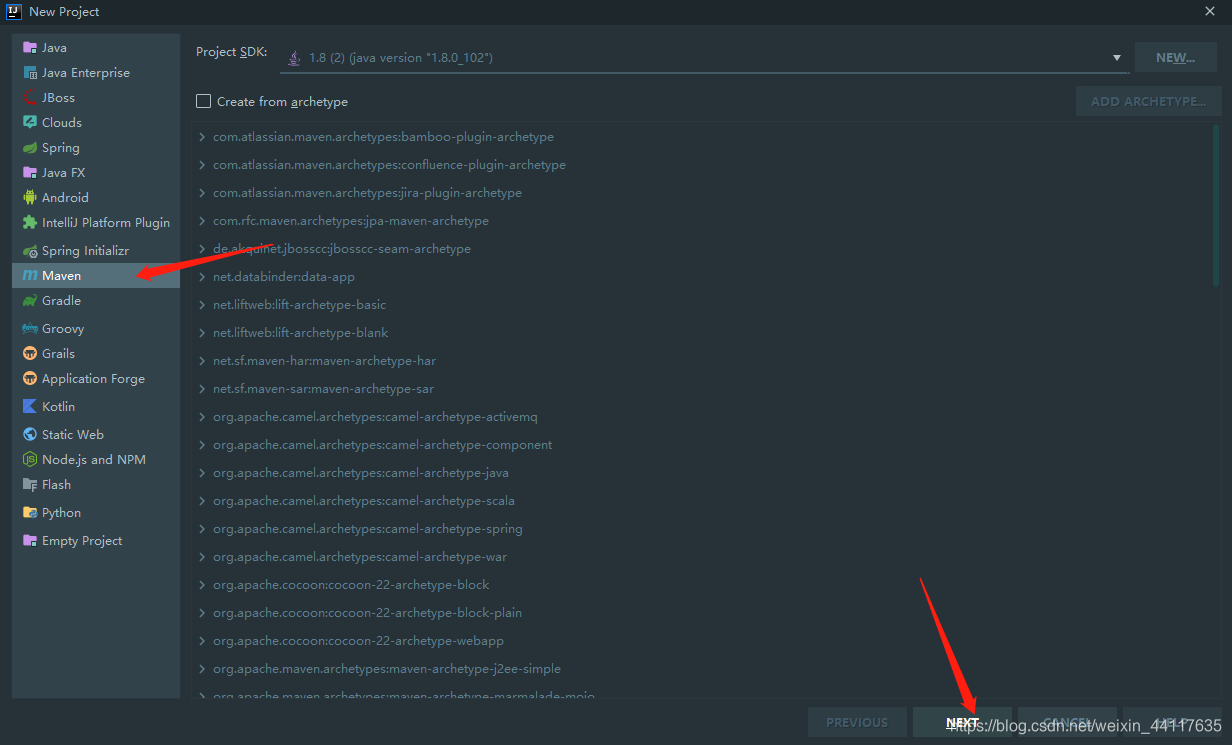
一、创建maven主项目?
具体操作如下:

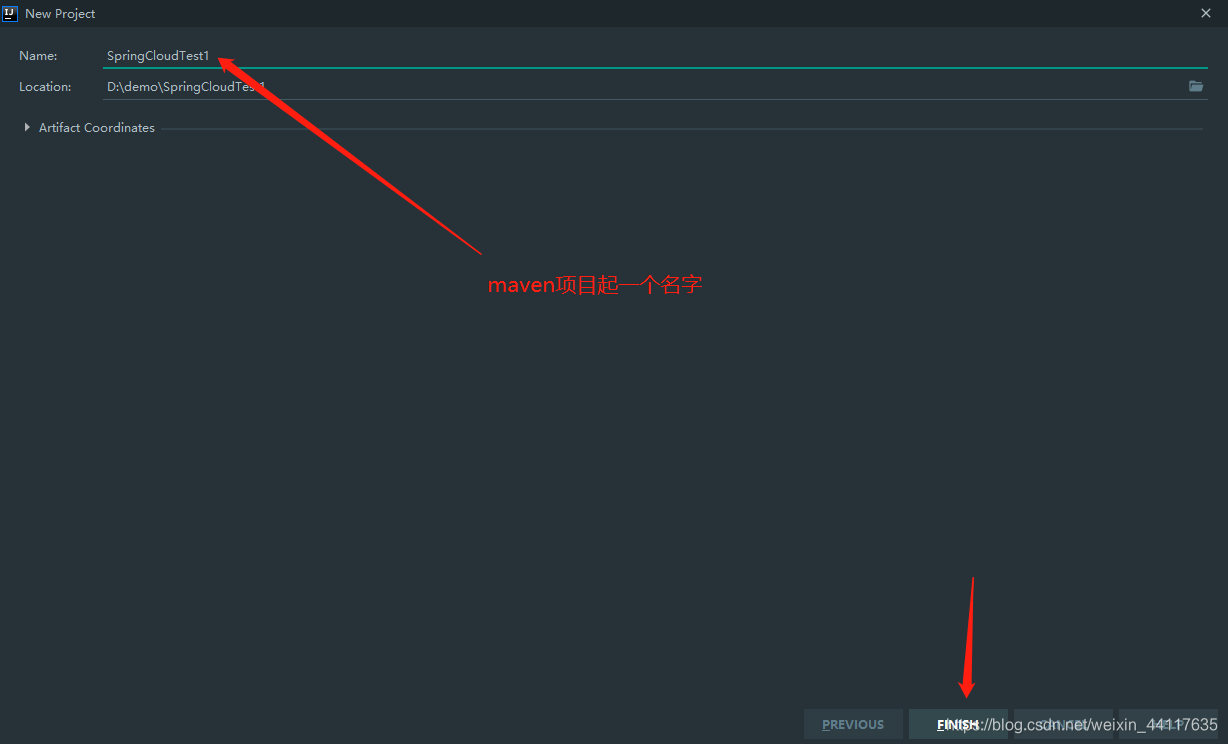
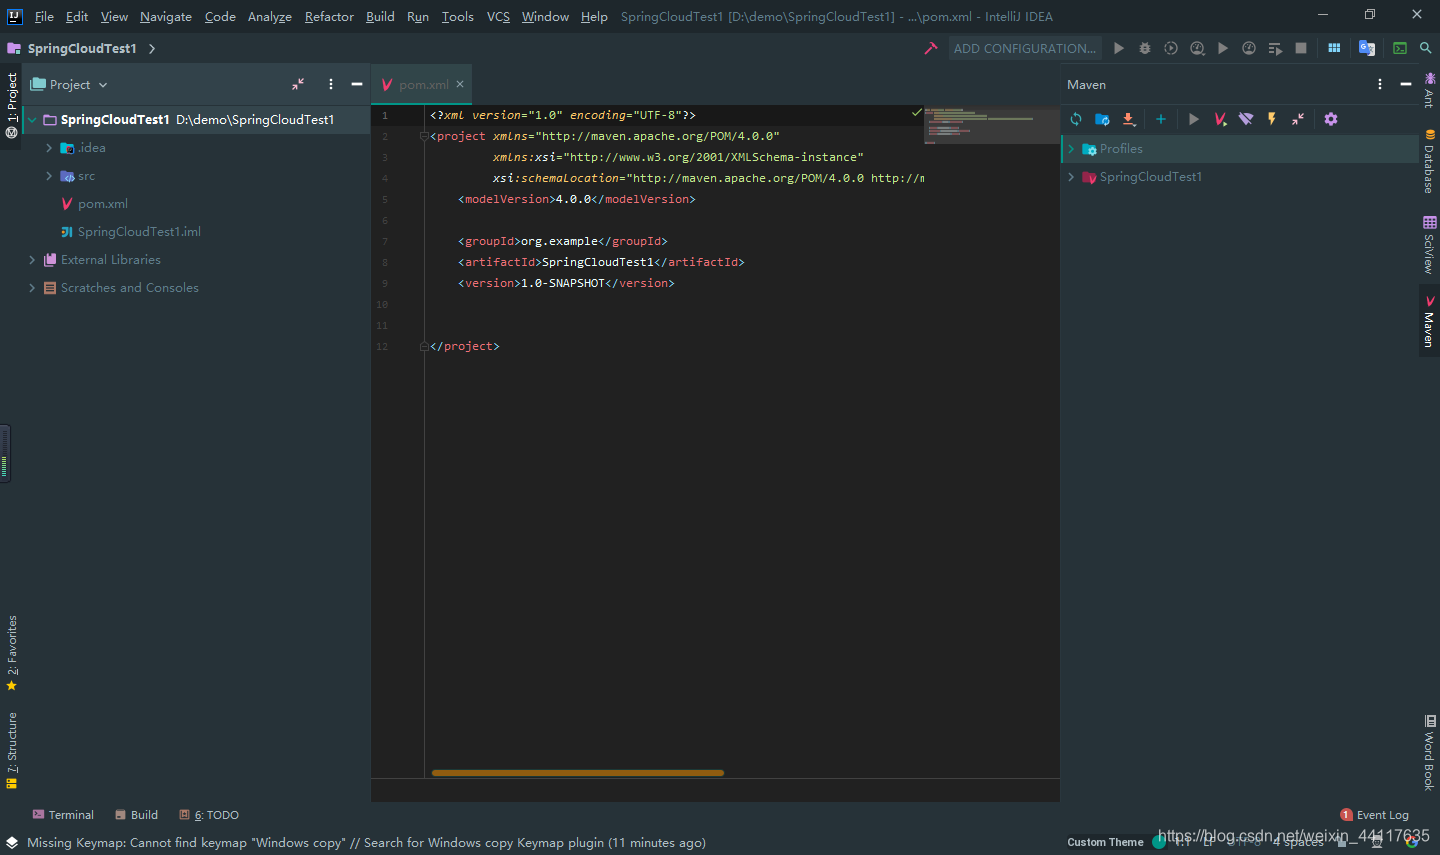
至此,maven主项目创建完成。
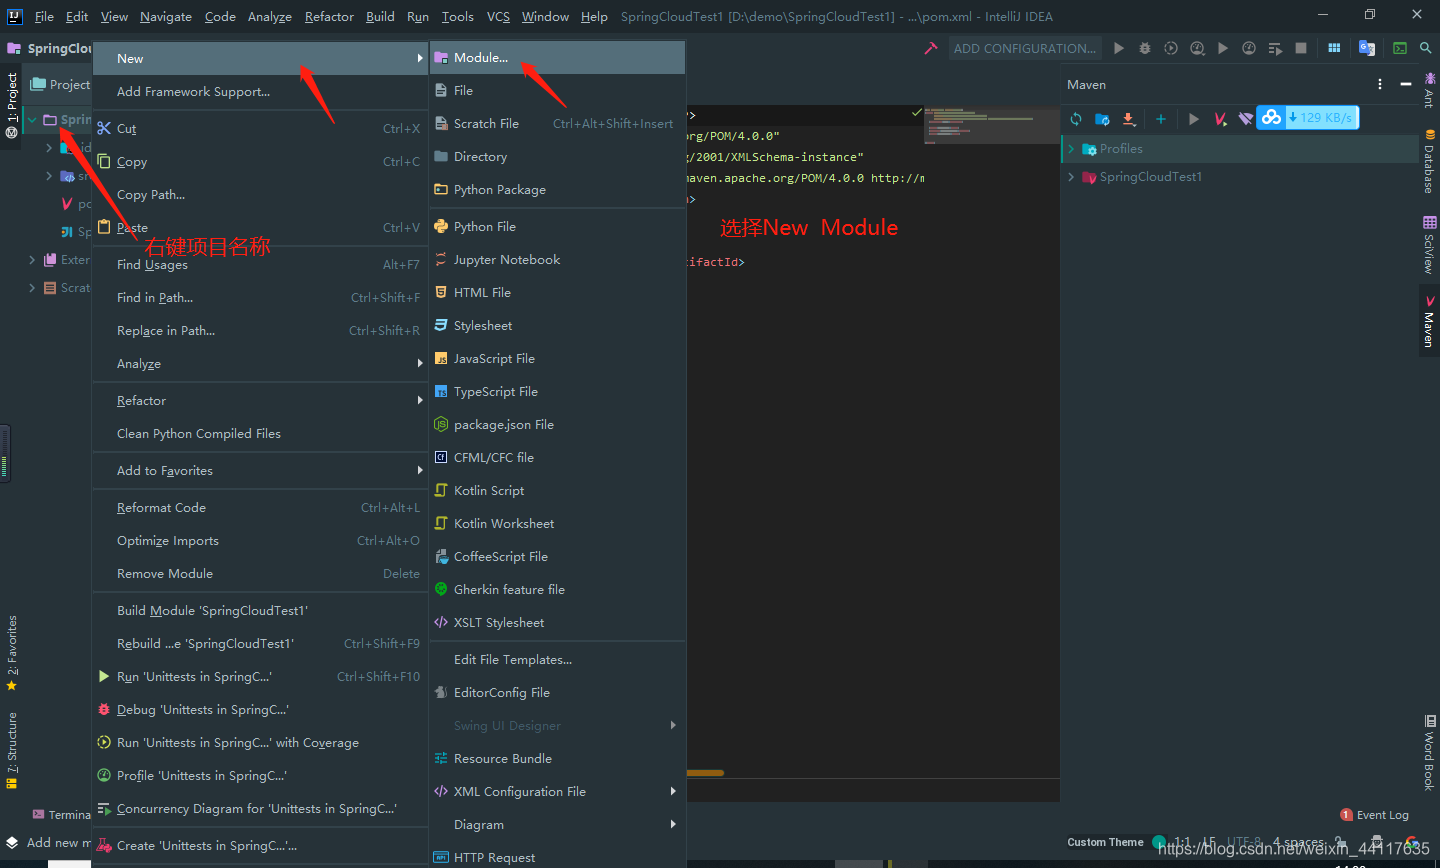
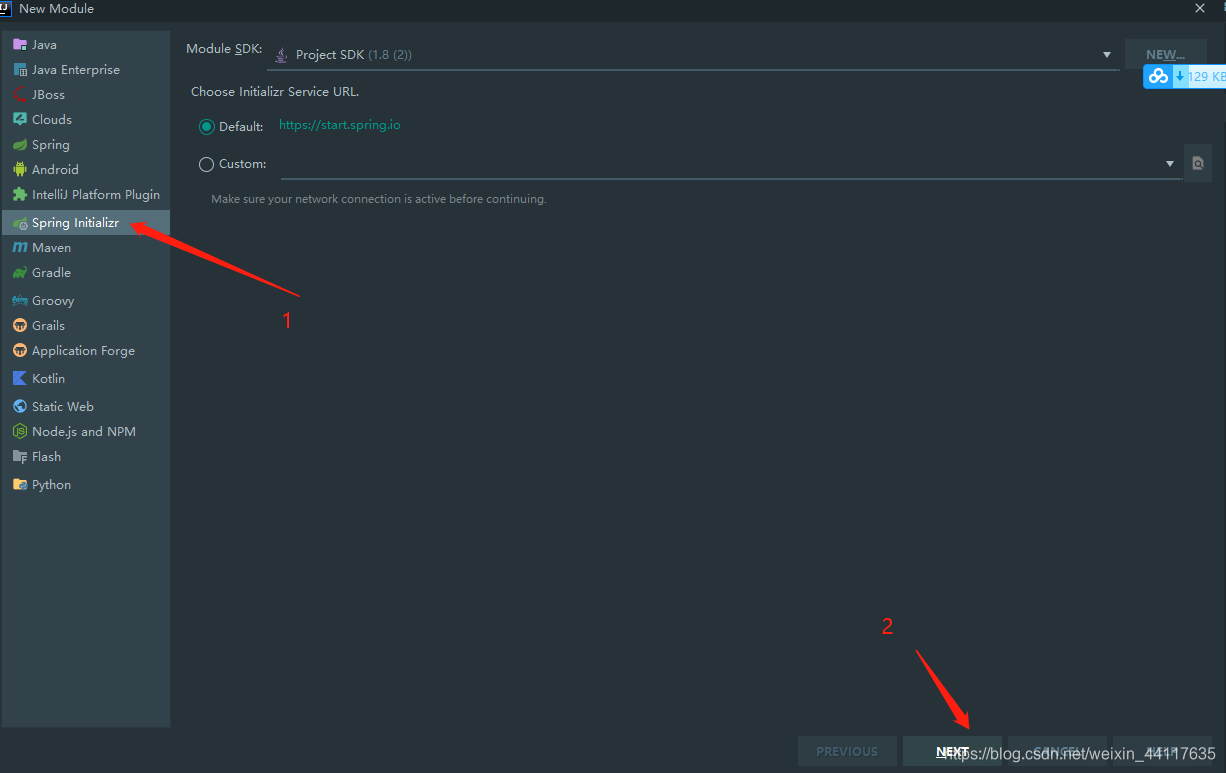
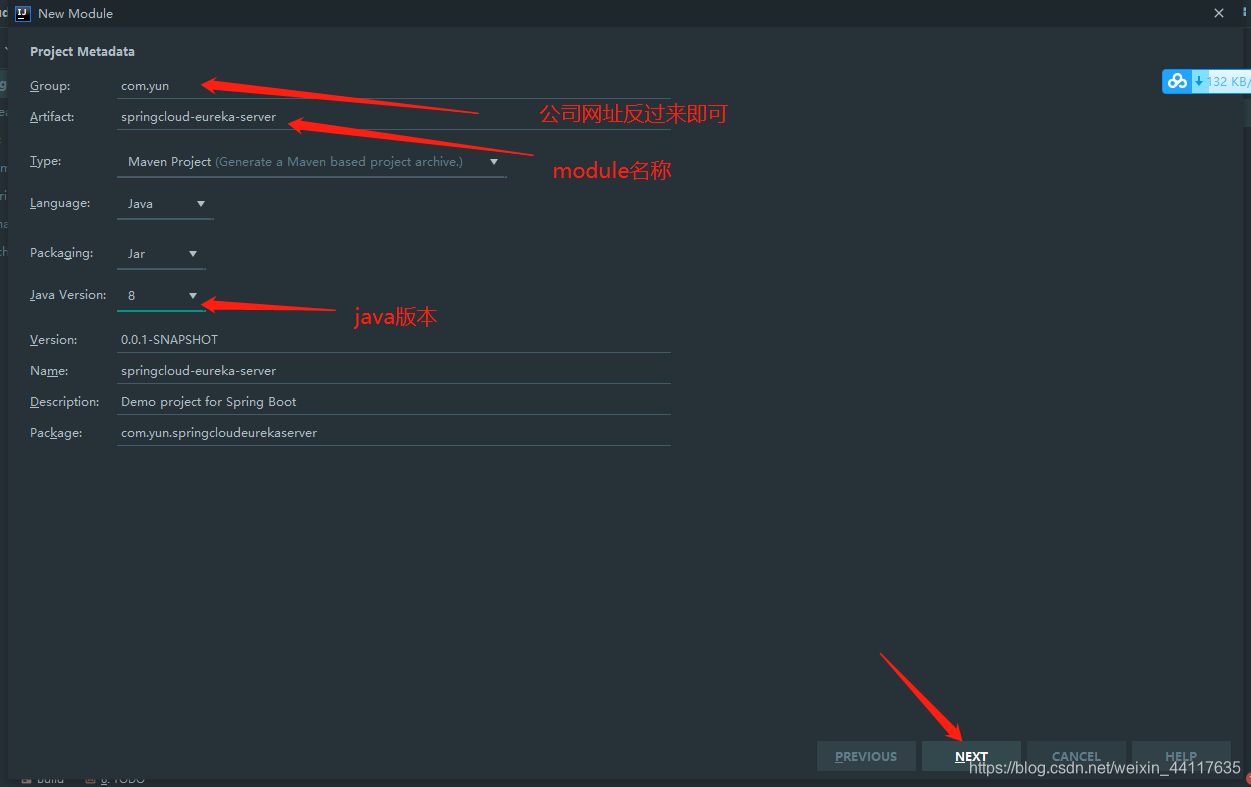
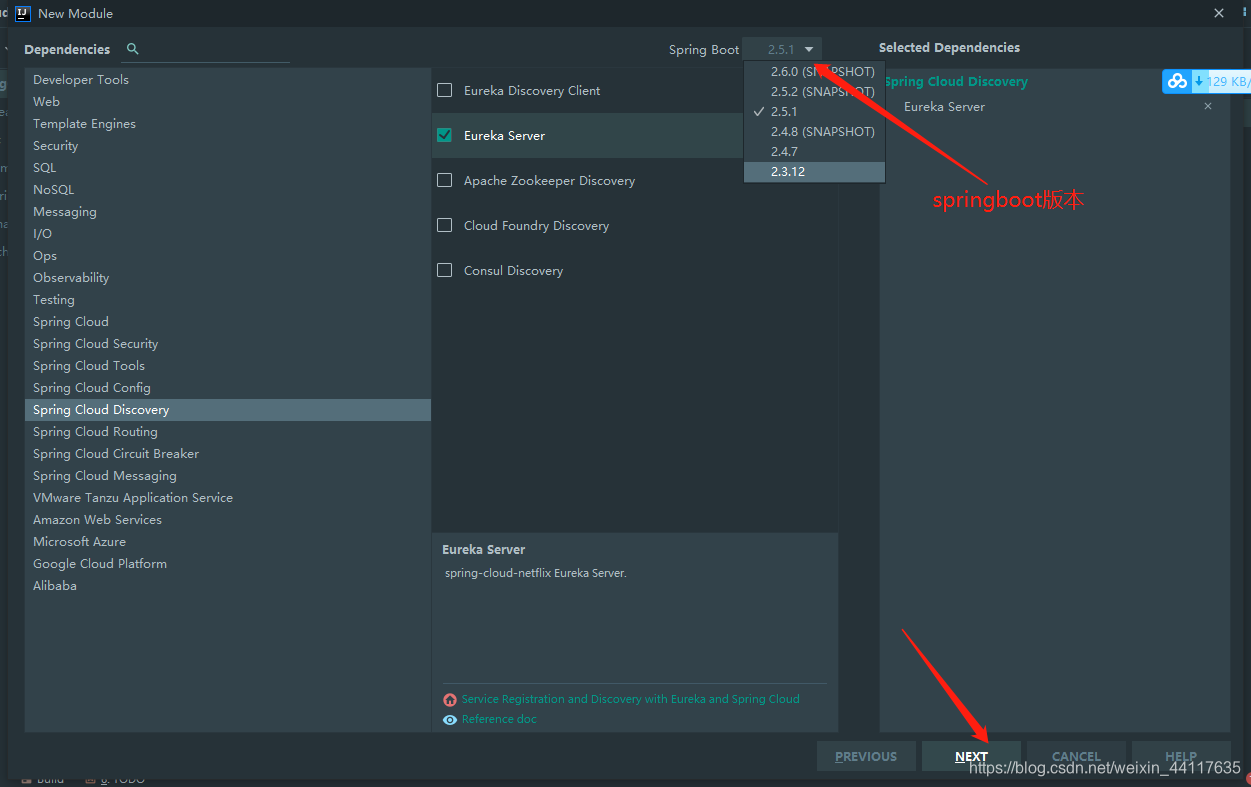
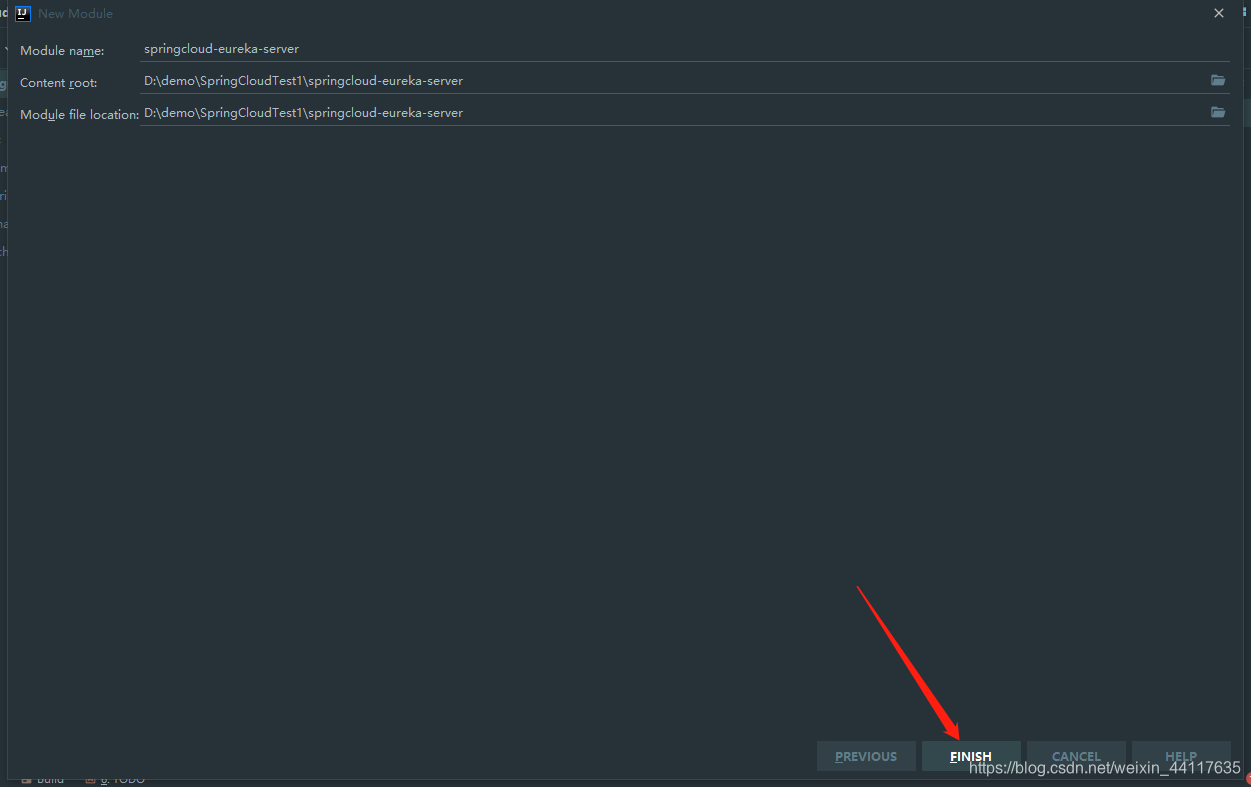
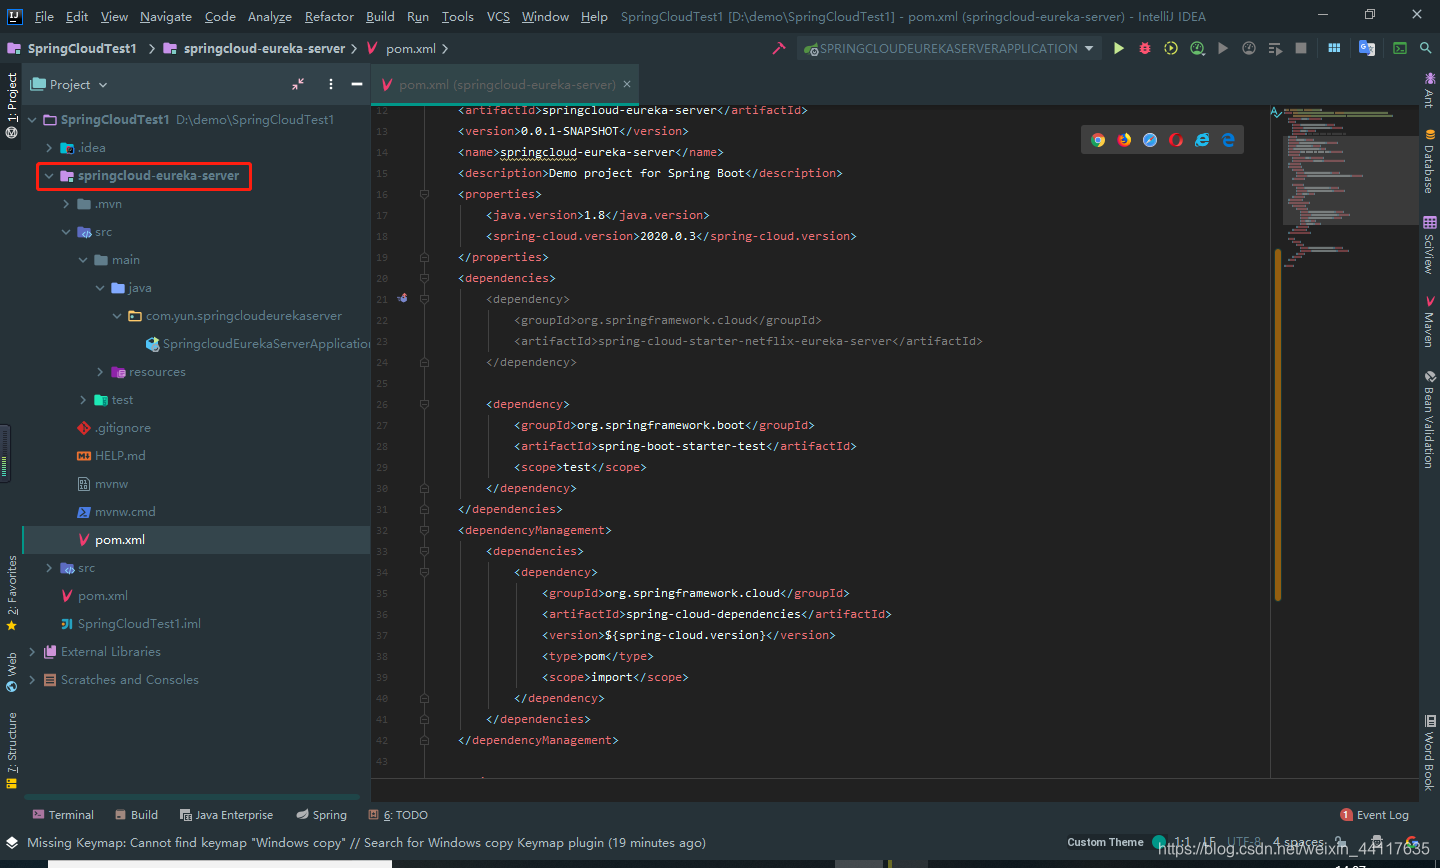
二、创建Eureka服务注册中心
1、创建module
2、yml文件添加配置
server:
  port: 8761

eureka:
  instance:
    hostname: localhost
  client:
    register-with-eureka: false
    fetch-registry: false
    service-url:
      defaultZone: http://${eureka.instance.hostname}:${server.port}/eureka/
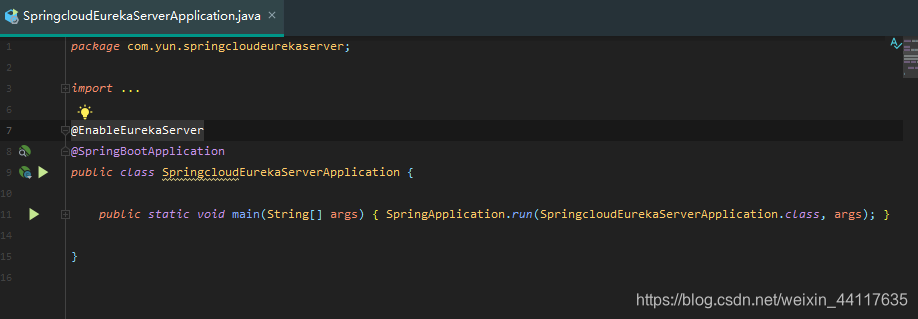
3、启动类添加注解@EnableEurekaServer
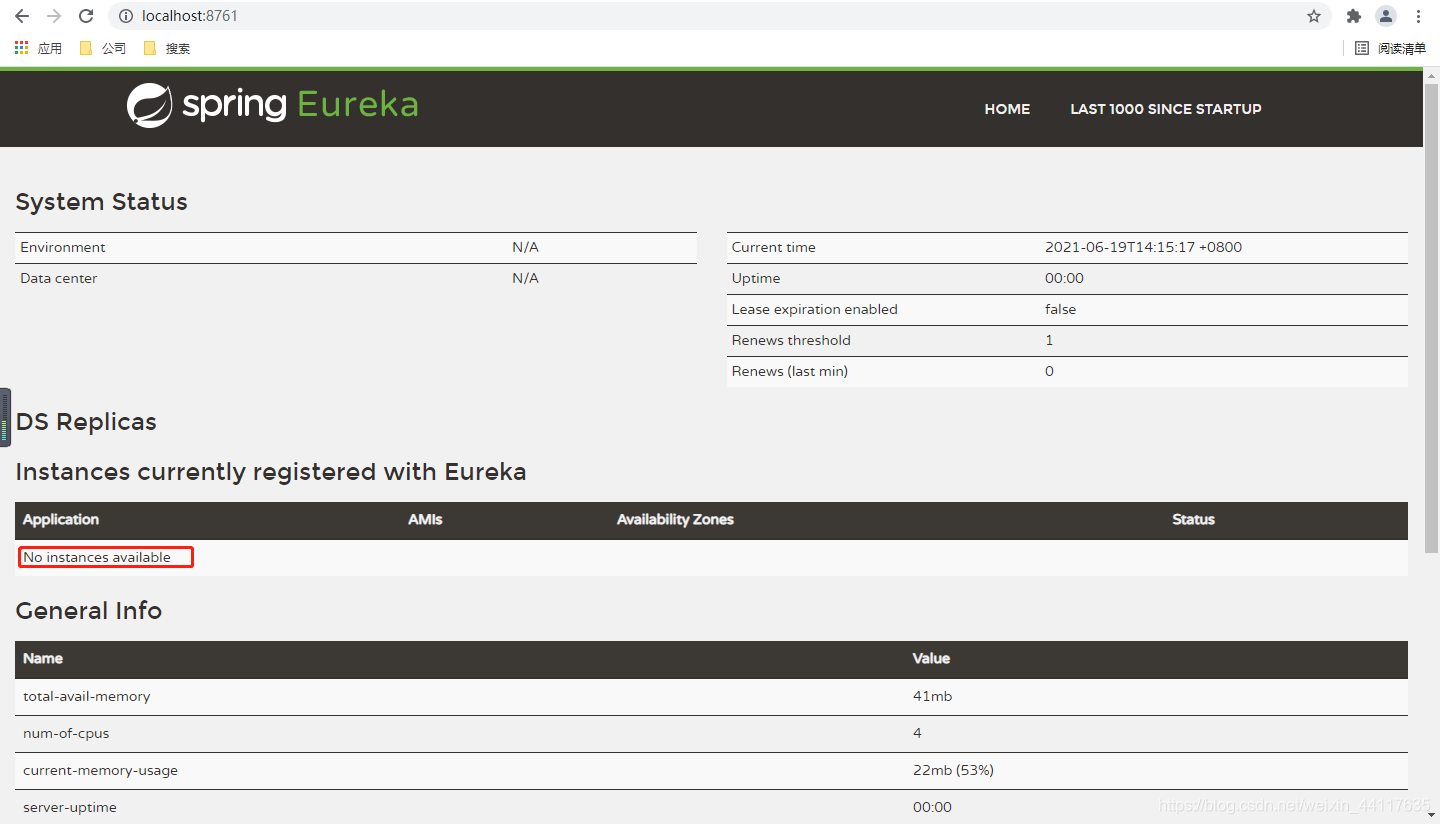
最后直接启动项目即可。访问网址展示如下:
三、创建Eureka服务提供者
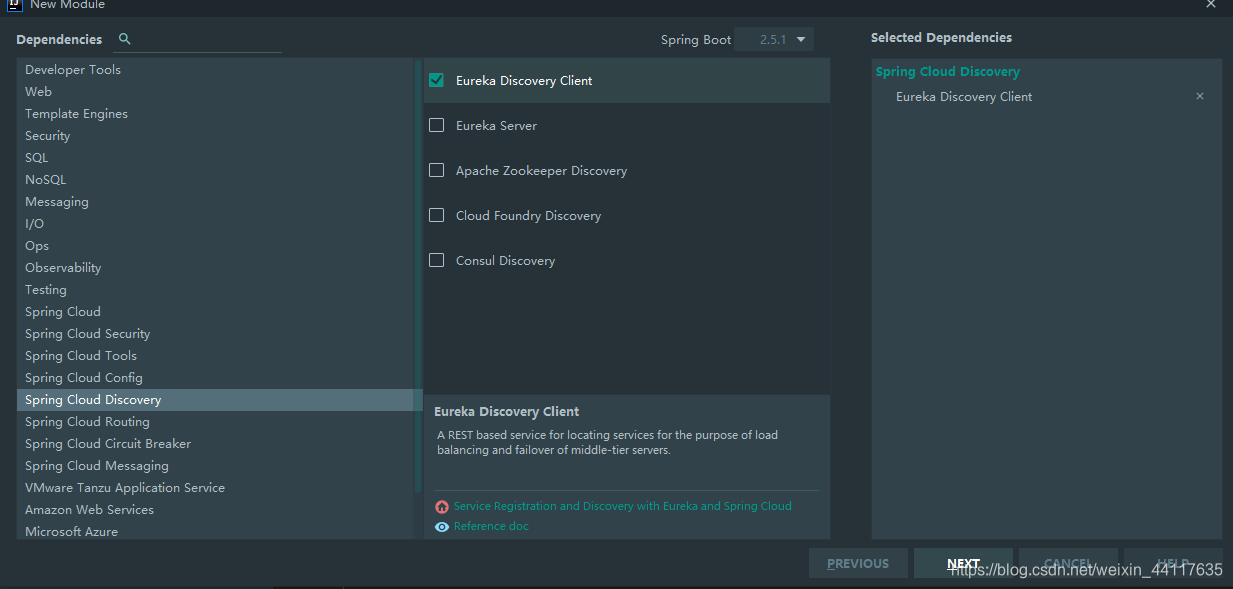
随后以同样创建module的方式创建client端。
选择依赖的时候选择如下:
1、pom.xml文件添加web依赖
        <dependency>
            <groupId>org.springframework.boot</groupId>
            <artifactId>spring-boot-starter-web</artifactId>
        </dependency>
以供后续web端访问测试。
2、yml文件配置
server:
  port: 8762
eureka:
  client:
    service-url:
      defaultZone: http://localhost:8761/eureka/
spring:
  application:
    name: service-hi
3、启动类添加注解@EnableEurekaClient和@RestController并配置一个请求进行测试
启动类内容如下:
@EnableEurekaClient
@SpringBootApplication
@RestController
public class SpringcloudEurekaClientApplication {
    public static void main(String[] args) {
        SpringApplication.run(SpringcloudEurekaClientApplication.class, args);
    }
    @Value("${server.port}")
    String value;
    @RequestMapping("/hi")
    public String hello(@PathParam("name") String name){
        return "Hi "+name+",i am from port:"+value;
    }
}
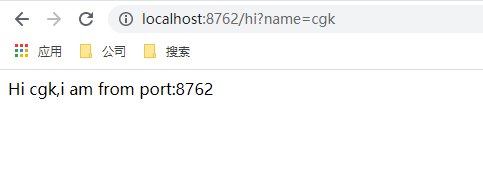
最后启动client项目,访问网址 localhost:8762/hi?name=cgk 即可看到如下结果:
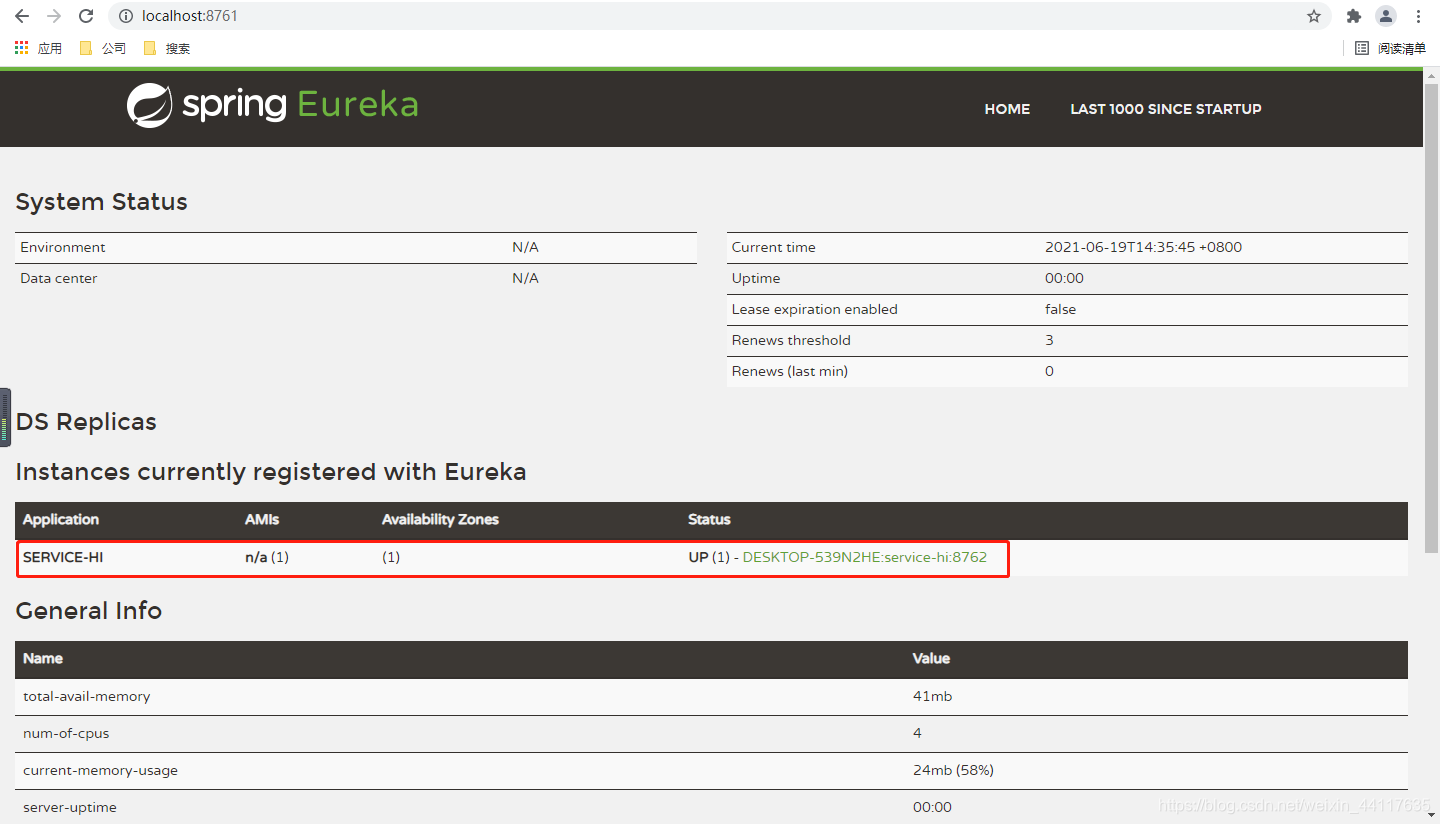
再次刷新或者访问 http://localhost:8761/ 网址,就可以看到这个客户端在服务端显示,效果如下:


 被折叠的 条评论
为什么被折叠?
被折叠的 条评论
为什么被折叠?
 到【灌水乐园】发言


