


 本文通过三个示例介绍HTML和CSS的简单使用,包括标签的细节操作、布局方式以及表格和下拉框的应用。每个示例都有对应的浏览器截图,强调了标签的功能性和输入数据在前端工作流程中的重要性。
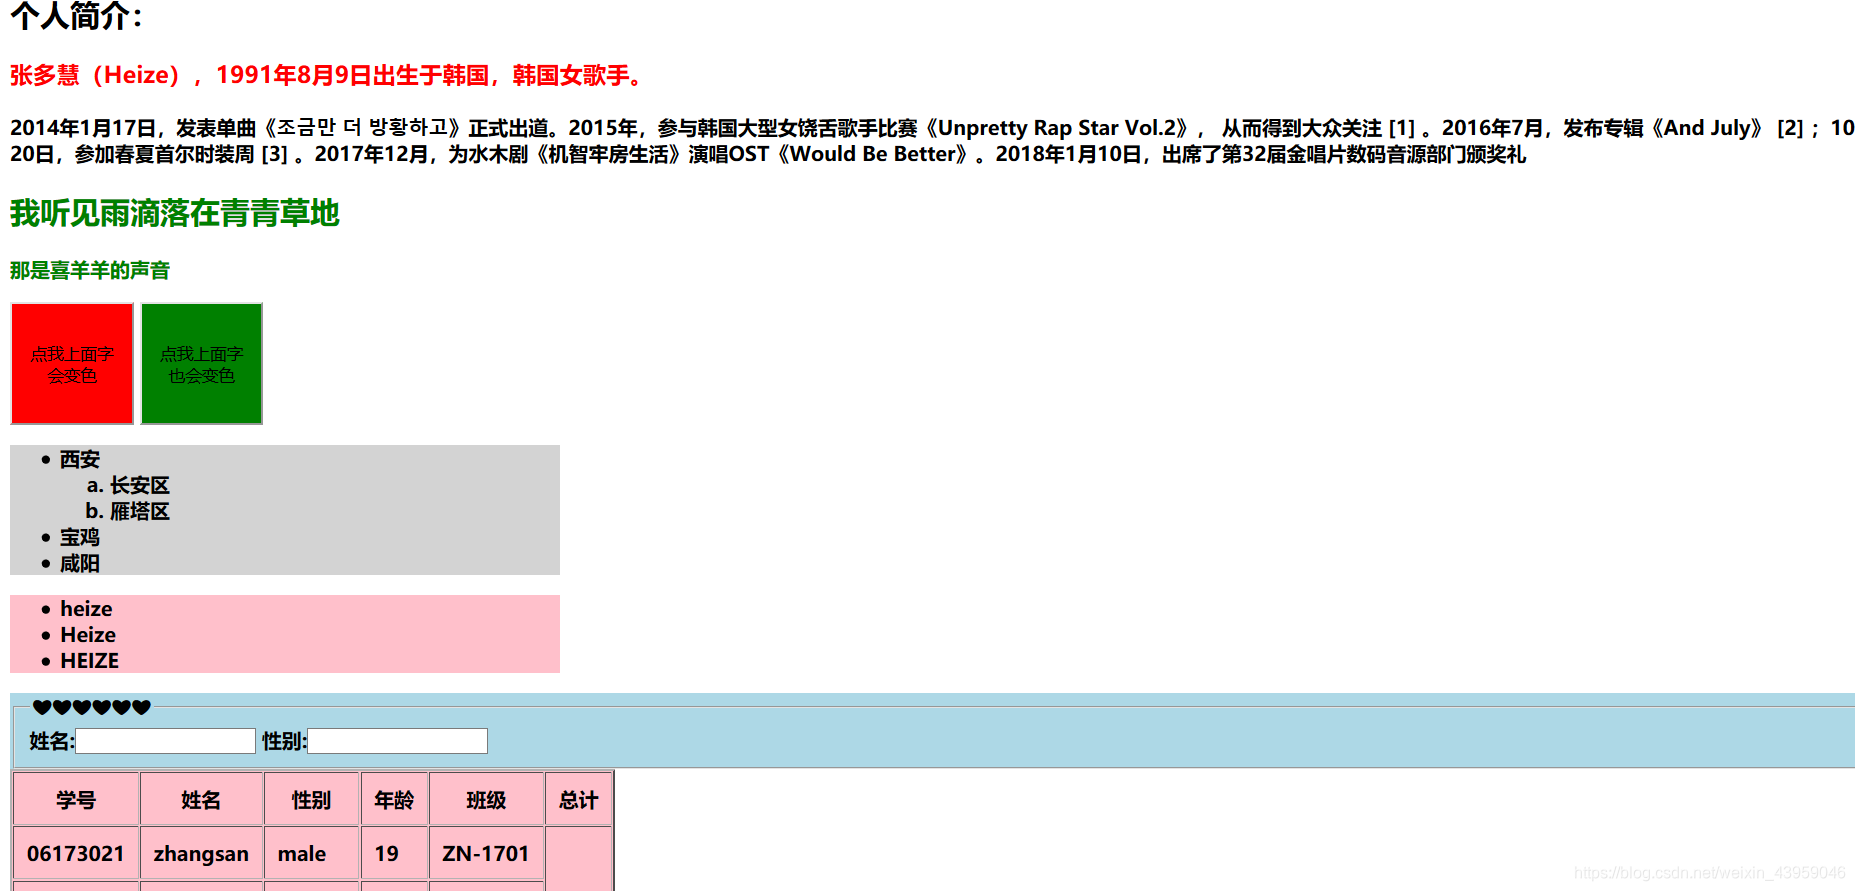
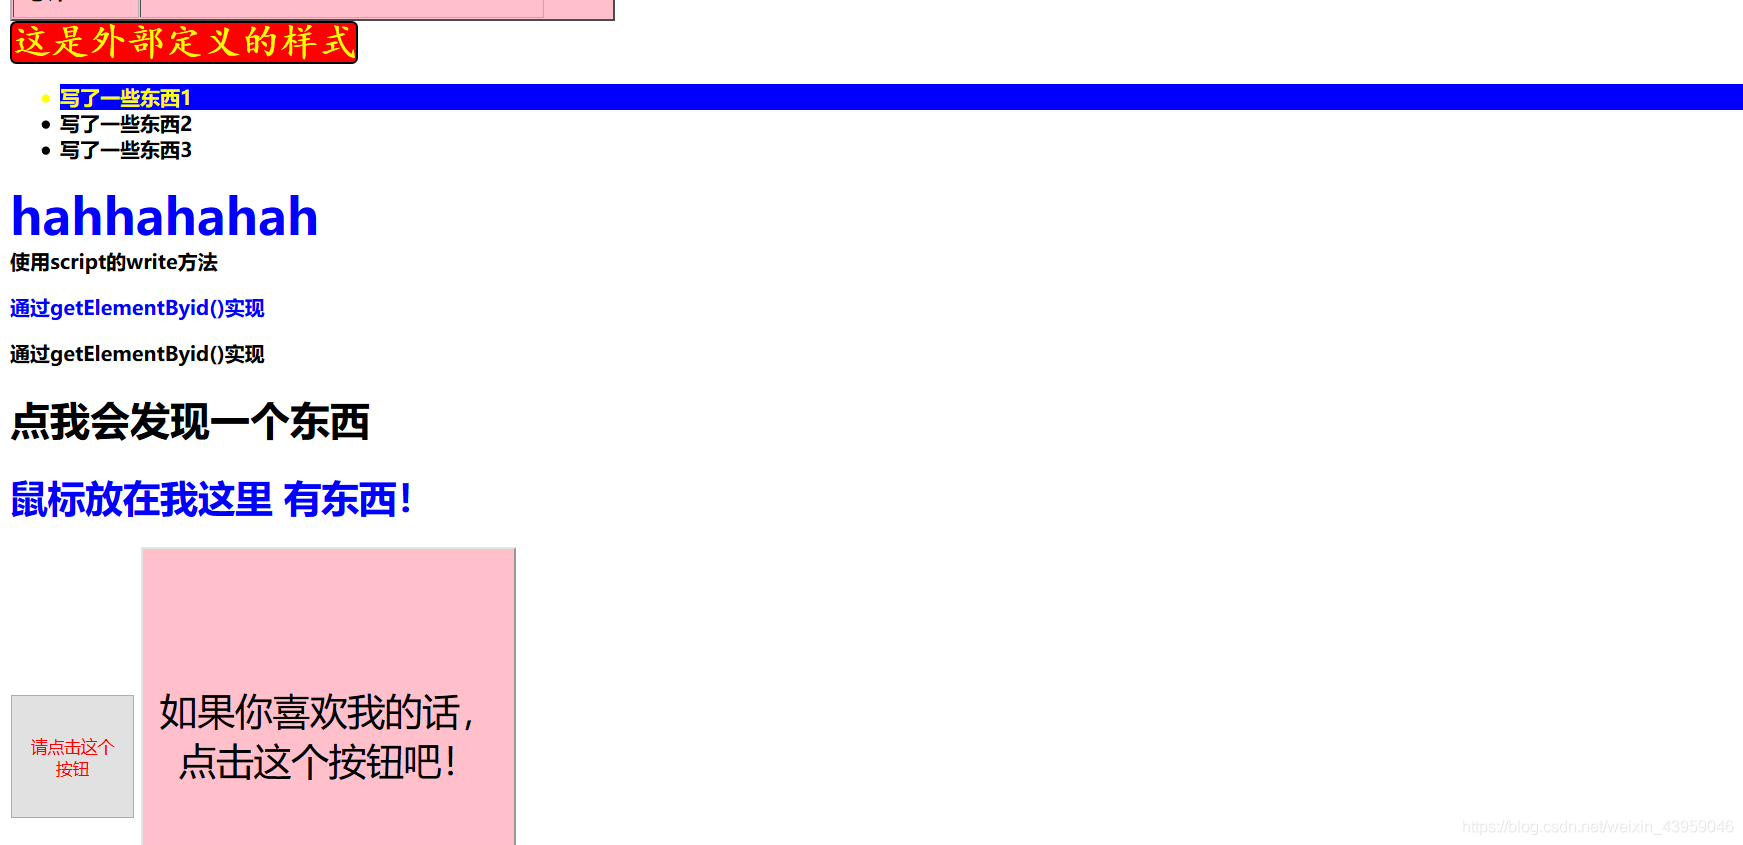
示例1
其中有图片或者视频的地方被我注释掉了,因为你们电脑不存在我这个HTML所需要的视频或者图片文件,但是大家可以添加自己的图片或者视频进去,其实主要还是希望大家看一下里面的细节操作,这都是很简单的对标签的使用,示例的图片我都放在后面展示,相关的CSS文件也附代码
html文件:
<!DOCTYPE html
<html>
<head>
<title>Heize的个人介绍</title>
<meta charset="utf-8">
<link rel="stylesheet" type="text/css" href="someCss.css">
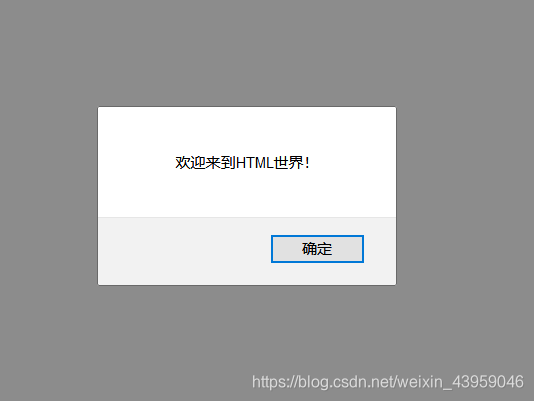
<script type="text/javascript">
alert("欢迎来到HTML世界!");
</script>
</head>
<body>
<a href="#aaaa"><h1 style="background: pink;height:100px;text-align: center;">Heize</h1></a>
<h2 >个人简介:</h2>
<h3 style="color: red">张多慧(Heize),1991年8月9日出生于韩国,韩国女歌手。</h3>
<p><b>2014年1月17日,发表单曲《조금만 더 방황하고》正式出道。2015年,参与韩国大型女饶舌歌手比赛《Unpretty Rap Star Vol.2》, 从而得到大众关注 [1] 。2016年7月,发布专辑《And July》 [2] ;10月20日,参加春夏首尔时装周 [3] 。2017年12月,为水木剧《机智牢房生活》演唱OST《Would Be Better》。2018年1月10日,出席了第32届金唱片数码音源部门颁奖礼</p>
<!-- <a href="https://baike.baidu.com/item/%E5%BC%A0%E5%A4%9A%E6%85%A7/22420270?fr=aladdin&fromid=22420281&fromtitle=Heize"><img src="1.jpg" style="width: 400px;"></a> -->
<div style="color: green" id="div1">
<h2>我听见雨滴落在青青草地</h2>
<p>那是喜羊羊的声音</p>
<button style="width:99px; height:99px; background-color:red; "
type="button" onclick="document.getElementById('div1').style.color ='red'">
点我上面字会变色
</button>
<button style="width:99px; height:99px; background-color:green;
type="button" onclick="document.getElementById('div1').style.color ='yellow'">点我上面字也会变色</button>
</div>
<ul style="background:lightgray;width: 400px">
<li>西安</li>
<ul type="a">
<li>长安区</li>
<li>雁塔区</li>
</ul>
<li>宝鸡</li>
<li>咸阳</li>
</ul>
<ul style="background:pink;width: 400px">
<li>heize</li>
<li>Heize</li>
<li>HEIZE</li>
</ul>
<form style="background:lightblue">
<fieldset>
<legend>❤❤❤❤❤❤</legend>
姓名:<input type="text"/>
性别:<input type="text"/>
</fieldset>
</form>
<table cellpadding="10px" cellspacing="1px" border="2" style="background:pink;">
<tr>
<th>学号</th>
<th>姓名</th>
<th>性别</th>
<th>年龄</th>
<th>班级</th>
<th>总计</th>
</tr>
<tr>
<td>06173021</td>
<td>zhangsan</td>
<td>male</td>
<td>19</td>
<td>ZN-1701</td>
<td rowspan="5"></td>
</tr>
<tr>
<td>06173022</td>
<td>lisi</td>
<td>female</td>
<td>20</td>
<td>ZN-1701</td>
</tr>
<tr>
<td>06173023</td>
<td>wangwu</td>
<td>male</td>
<td>19</td>
<td>ZN-1701</td>
</tr>
<tr>
<td>06173024</td>
<td>liliu</td>
<td>male</td>
<td>39</td>
<td>ZN-1701</td>
</tr>
<tr>
<td>06173025</td>
<td>liuqi</td>
<td>female</td>
<td>24</td>
<td>ZN-1701</td>
</tr>
<tr>
<td>总计</td>
<td colspan="4"></td>
</tr>
</table>
<!-- <video id="aaaa" src="2.mp4" controls="controls" width="1000px"></video><br> -->
<span class="astyle">这是外部定义的样式</span>
<ul>
<li id="somethings">写了一些东西1</li>
<li>写了一些东西2</li>
<li>写了一些东西3</li>
</ul>
<article>
hahhahahah
</article>
<script type="text/javascript">
document.write("使用script的write方法");
</script>
<p id="p1">通过getElementByid()实现</p>
<p id="p2">通过getElementByid()实现</p>
<script type="text/javascript">
document.getElementById("p1").style.color = "blue";
</script>
<h1 onclick="this.innerHTML = '被你发现了'">点我会发现一个东西</h1>
<h1 style="font-size: 30px" onmouseover="style.color = 'pink'" onmouseout="style.color = 'blue'">鼠标放在我这里 有东西!</h1>
<button style="width: 100px;height: 100px;color: red" type="button"
onclick="alert('welcome come to script world!')"> 请点击这个按钮
</button>
<script type="text/javascript">
function reb(){
var name=prompt("❤❤❤❤❤❤","告诉我你是谁怎么这么可爱")
if (name!=null && name!="")
{
alert(name + " 我也喜欢你" + "❤");
}
else
alert("沙雕快滚!");
}
function rec(){
var message1 = confirm("你喜欢我吗?");
if (message1 == true) {
var message2 = confirm("你在放你妈的彩虹屁?");
if (message2 == true) {
var message3 = confirm("为了喜欢我你真是不择手段");
if (message3 == true) {
reb();
}
else{
alert("沙雕快滚!");
}
}
else
alert("沙雕快滚!");
}
else{
alert("沙雕快滚!");
}
}
</script>
<button type="button" onclick="rec()" style="width: 300px;height: 300px;background: pink;font-family: 楷书;font-size:30px;" >如果你喜欢我的话,点击这个按钮吧!</button>
</body>
</html>
所用到的css文件:
名字:someCss.css
.astyle{
	background: red;
	color: yellow;
	font-family: 楷体;
	font-size: 30px;
	border: 2px solid black;
	border-radius: 5px;
}
#somethings{
	color: yellow;
	background: blue;
}
article{
	font-size:40px;
	color: blue
}
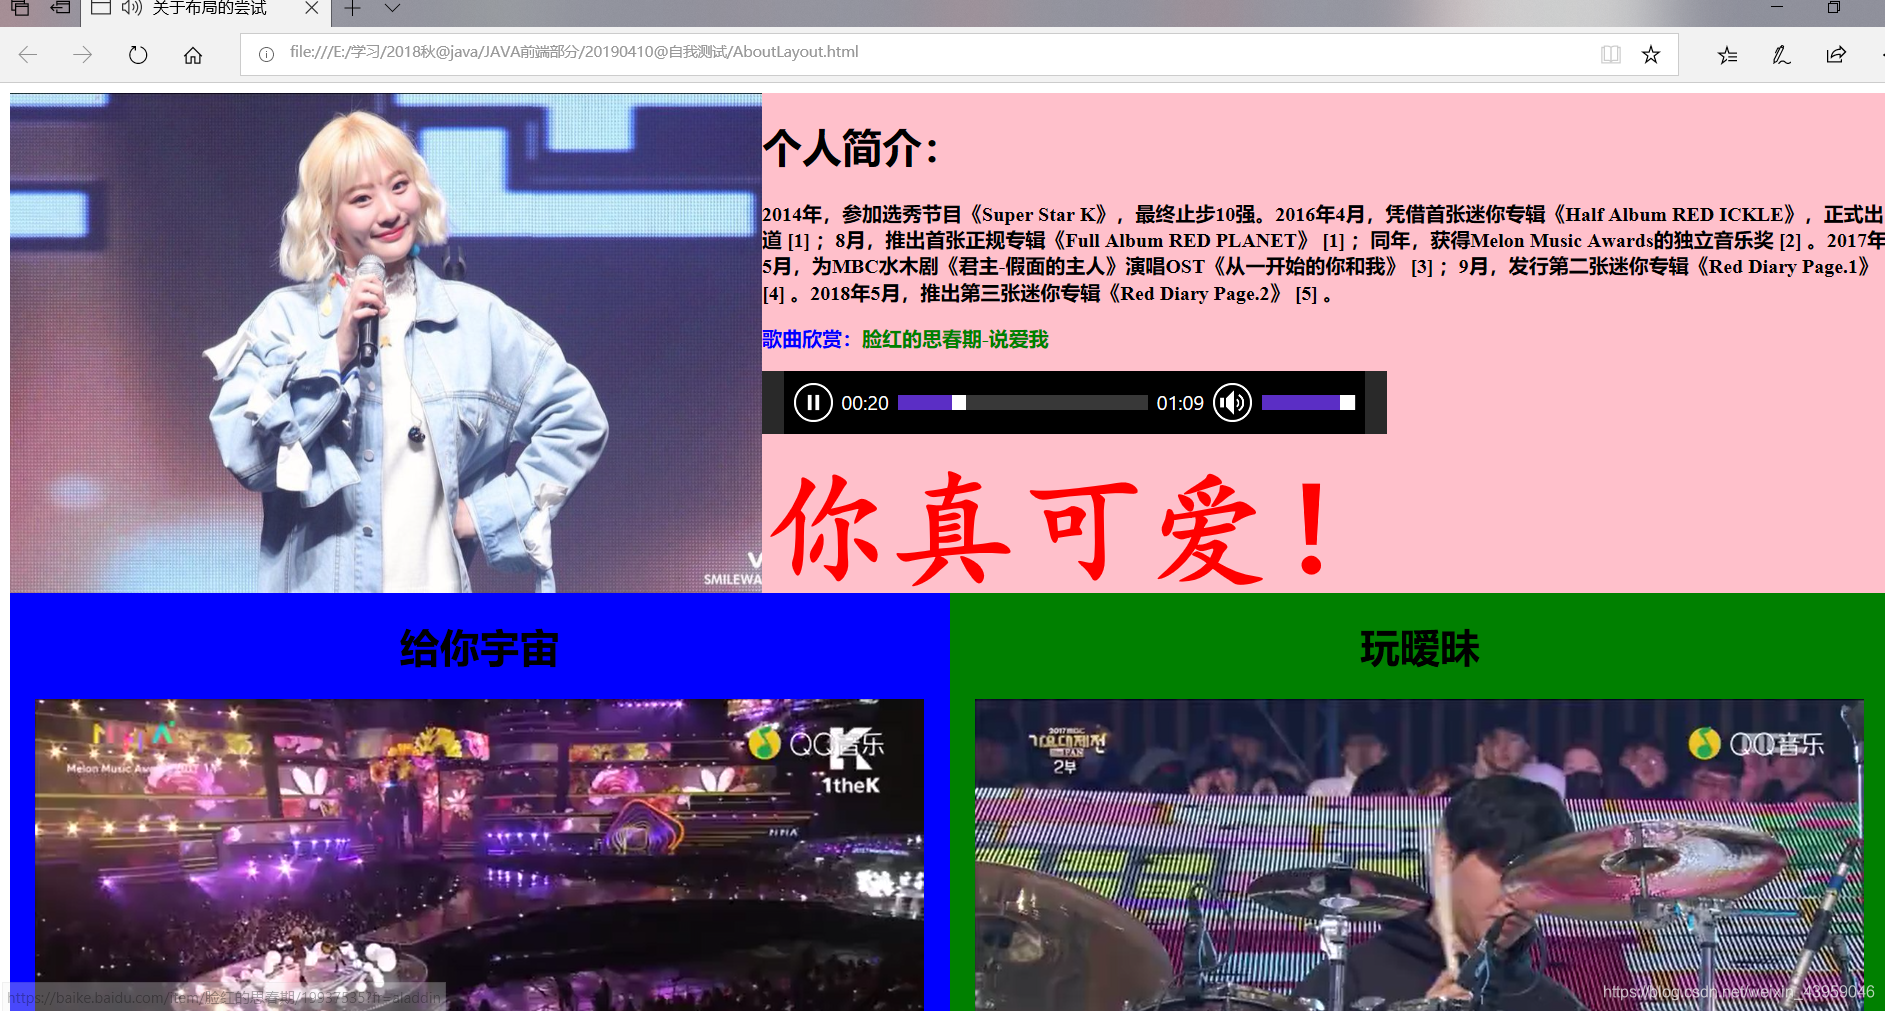
示例2
这个里面有关于布局方式的使用,大家可以参考一下
<!DOCTYPE html>
<html>
<head>
	<title>关于布局的尝试</title>
	<meta charset="utf-8">
	<style>
		#a{
			width: 50%;
			height: 400px;
			float: left;

		}
		#b{
			width: 752px;
			height: 500px;
			background:blue;
			text-align: center;
			float: left;
		}
		#c{
			width: 752px;
			height: 500px;
			background: green;
			float: left;
			text-align: center;
		}
	/*	#d{
			width: 504px;
			height: 500px;
			background: lightblue;
			float: left;
		}*/
		#e{
			width: 60%;
			height: 400px;
			background:pink;
			float: left;

		}
		#f{
			width: 100%;
			height: 200px;
			background: pink;
			text-align: center;
			line-height: 160px;
			float: left;
		}
	</style>
</head>
<body>
	<div id="a" style="width:40%" >
		<a href="https://baike.baidu.com/item/脸红的思春期/19937535?fr=aladdin"><img src="3.jpg" style="width: 100%;height: 100%"></a>
	</div>
	<div id="e">
		<h1>个人简介:<br></h1>
		<p><b>2014年,参加选秀节目《Super Star K》,最终止步10强。2016年4月,凭借首张迷你专辑《Half Album RED ICKLE》,正式出道 [1]  ;8月,推出首张正规专辑《Full Album RED PLANET》 [1]  ;同年,获得Melon Music Awards的独立音乐奖 [2]  。2017年5月,为MBC水木剧《君主-假面的主人》演唱OST《从一开始的你和我》 [3]  ;9月,发行第二张迷你专辑《Red Diary Page.1》 [4]  。2018年5月,推出第三张迷你专辑《Red Diary Page.2》 [5]  。</p>
		<p style="color: green"><KKK style="color: blue">歌曲欣赏:</KKK>脸红的思春期-说爱我</p>
		<embed height="50px" width="500px" src="4.mp3"></embed>
		<p><sd style="color:green;font-family:楷体,sans-serif;color:red;font-size: 100px;text-align: center;">你真可爱!</sd></p>
	</div>
	<div id="b">
		<h1 style="font-family: 楷体;">给你宇宙</h1>
		<video src="5.mp4" controls="controls" style="height: 400px;width: 752px"></video>
	</div>
	<div id="c">
		<h1 style="font-family: 楷体;">玩暧昧</h1>
		<video src="6.mp4" controls="controls" style="height: 400px;width: 752px"></video>
	</div>
	<div id="f">
		<h1>❤❤❤❤❤❤❤❤❤❤❤❤❤❤</h1>
	</div>

</body>
</html>
示例3
这个示例中加入了关于利用表格做一个类似注册窗口的东西,然后还有关于用下拉框做出生年月日的示例,而且大家注意一下控件标签的使用,每一个都是有道理的,比如标签,具体的标签功能依然是我之前的话‘见过就好,用过才算’,自己尝试都明白了
<!DOCTYPE html>
<html>
<head>
<meta charset="utf-8">
<title>somgthings</title>
</head>
<body>
<form method="get">
<table class="blockCenter">
<tr id="registryTopic" class="bkPink">
<td colspan="2">❤ 用户注册 ❤</td>
</tr>
<tr class="bkPink">
<td colspan="2">请认真填写注册信息,红色星号为必填内容</td>
</tr>
<tr class="bkPink">
<td class="centerAlign">姓 名</td>
<td class="leftAlign"><input type="text" name="name" placeholder="姓名由2到7个汉字组成" size="25">
*</td>
</tr>
<tr class="bkPink">
<td class="centerAlign">密 码</td>
<td class="leftAlign"><input type="password" name="password" placeholder="密码由6-12个字符组成" size="25">
*</td>
</tr>
<tr class="bkPink">
<td class="centerAlign">密码确认</td>
<td class="leftAlign"><input type="password" placeholder="请务必与密码保持一致" size="25">
*</td>
</tr>
<tr class="bkPink">
<td class="centerAlign">性别</td>
<td class="leftAlign">
<input id="sexMale" type="radio" value="true" name="sex">
<label for="sexMale">男</label>
<input id="sexFemale" type="radio" value="false" name="sex">
<label for="sexFemale">女</label>
</td>
</tr>
<tr class="bkPink">
<td class="centerAlign">爱好</td>
<td class="leftAlign" >
<input id="hobbySleep" type="checkbox" name="hobby" value="0">
<label for="hobbySleep">睡觉</label>
<input id="hobbySpeach" type="checkbox" name="hobby" value="1">
<label for="hobbySpeach">吹牛</label>
<input id="hobbyLove" type="checkbox" name="hobby" value="2">
<label for="hobbyLove">泡妞</label><br>
<input id="hobbyStudy" type="checkbox" name="hobby" value="3">
<label for="hobbyStudy">装逼</label>
<input id="hobbyGame" type="checkbox" name="hobby" value="4">
<label for="hobbyGame">燃烧青春</label>
<input id="hobbyCool" type="checkbox" name="hobby" value="5">
<label for="hobbyCool">装酷</label><br>
<span> </span><br>
<div class="blockCenter">
<button id="hobbyAll">全选</button>
<button id="hobbyRev">反选</button>
<button id="hobbyClear">清空</button>
</div>
</td>
</tr>
<tr class="bkPink">
<td class="centerAlign">出生日期</td>
<td class="leftAlign">
<select id="birthYear" name="year"></select>年
<select id="birthMonth" name="month"></select>月
<select id="birthDate" name="date"></select>日
</td>
</tr>
<tr class="bkPink">
<td class="centerAlign">自我介绍</td>
<td class="leftAlign">
<textarea cols="35" rows="6" name="introduce"></textarea>
</td>
</tr>
<tr class="bkPink">
<td colspan="2">
<input id="submit" type="submit">
<input id="reset" type="reset">
</td>
</tr>
</table>
</form>
</body>
<link href="index.css" rel="stylesheet" type="text/css">
<script type="text/javascript">
console.log("window:", window);
var birthYear = document.getElementById("birthYear");
for (var year = 1990; year < 2020; year++) {
birthYear.innerHTML += "<option value='" + year + "'>" + year + "</option>";
}
var birthMonth = document.getElementById("birthMonth");
for (var month = 1; month <= 12; month++) {
var newOption = document.createElement("option");
newOption.value = month;
newOption.innerText = month;
birthMonth.appendChild(newOption);
}
var birthDate = document.getElementById("birthDate");
for (var date = 1; date < 32; date++) {
birthDate.innerHTML += "<option value='" + date + "'>" + date + "</option>";
}
</script>
</html>
截图3(火狐)
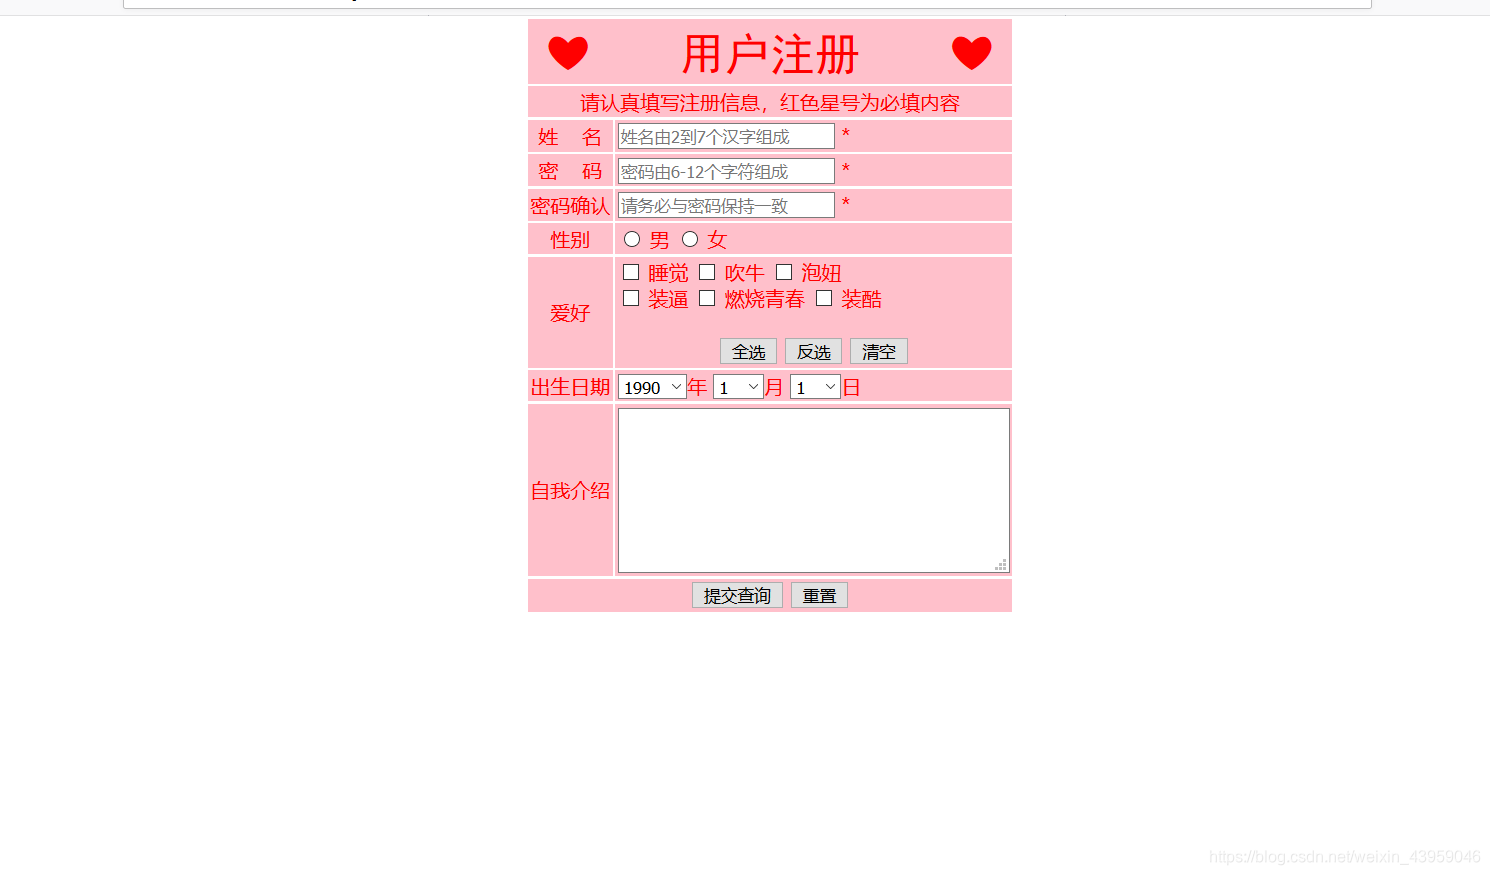 注意下面这张图,在我点击提交查询按钮的时候是这样,主要看地址栏:
 在我点击提交之后,地址栏变成了这样:

大家注意一个很重要的东西,这最后一个例子,就是我对于在文本框的输入以及上面爱好,性别的选择,它是可以被发送出去的,也就是这样讲,如果这是我做好的客web户端的话,用户点击提交查询,它的操作信息是会被传到web服务器端进行相应的处理的,从这以后就正式开始对于javascript的使用,所以之后的操作是针对处理用户的请求的,这才算是拉开了前端的帷幕!!
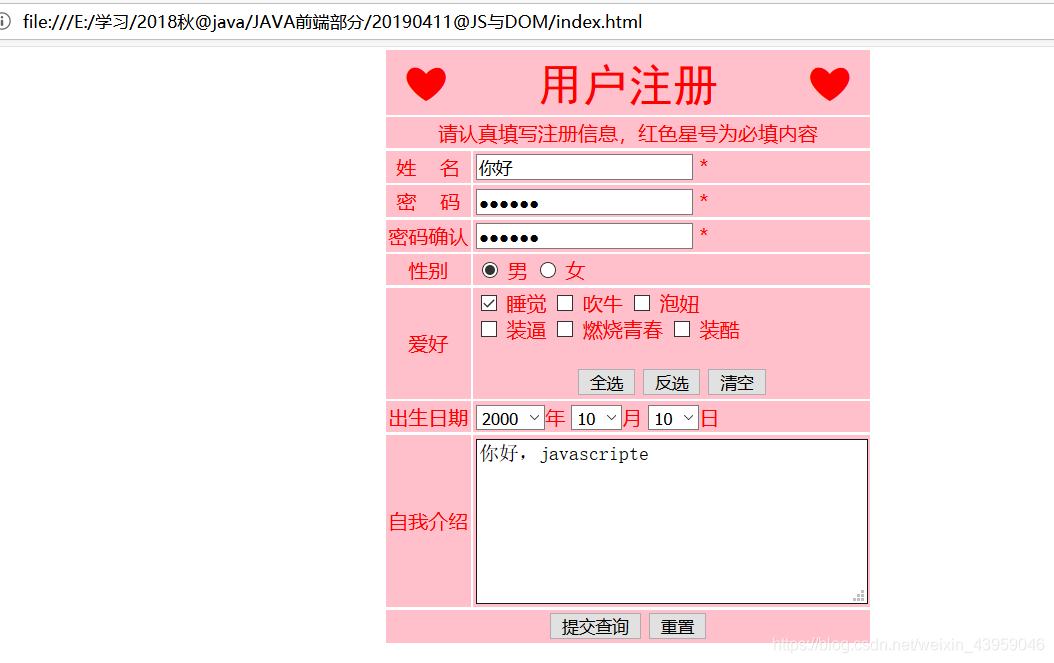
截图2(microsoft edge):
截图1(火狐):


 1159
1159

 被折叠的 条评论
为什么被折叠?
被折叠的 条评论
为什么被折叠?
 到【灌水乐园】发言


