


 本文深入探讨Spring框架的两大核心概念:控制反转(IOC)和面向切面编程(AOP)。通过实例说明如何在应用中实现依赖注入,以及在Spring配置文件中进行实体类的依赖注入,展示了Spring框架的基本使用流程。
知识点:
Spring : 容器
1.两大核心
控制反转IOC:代理的思想 依赖注入
面向切面AOP
因为需要a1对象,所以去new 实例化了
Class A{
a(){print(“123”)}
}
Class B{
b(){
//要调用a()
A a1 = new A();//因为需要a1对象,所以去new 实例化了 想用就实例化注入
a1.a();//想成功的调用到a方法 必须有a1对象,依赖a1
}
}
准备工作:
1.jar包
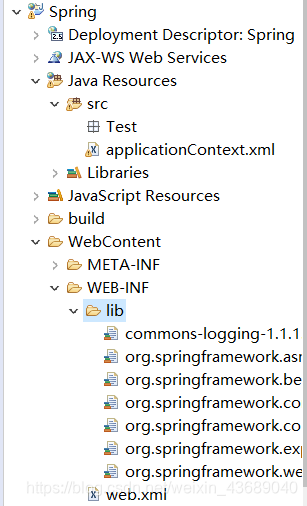
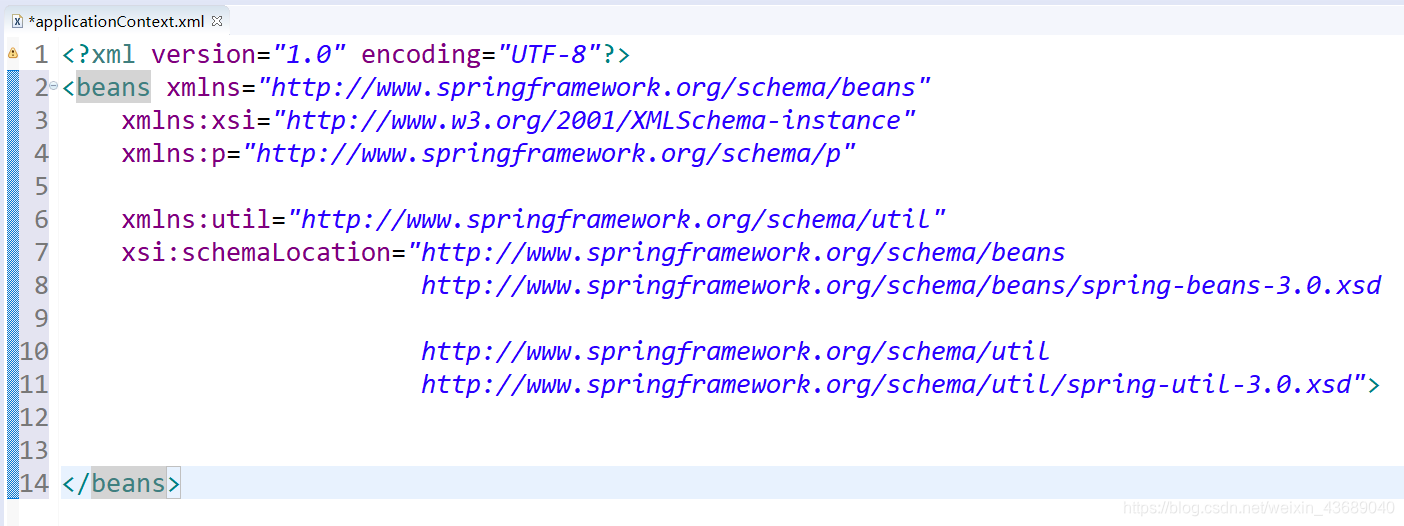
2.创建spring配置文件——applicationContext.xml

代码如下:
< beans xmlns=“http://www.springframework.org/schema/beans”
xmlns:xsi=“http://www.w3.org/2001/XMLSchema-instance”
xmlns:p=“http://www.springframework.org/schema/p”
xmlns:util=“http://www.springframework.org/schema/util”
xsi:schemaLocation=“http://www.springframework.org/schema/beans
http://www.springframework.org/schema/beans/spring-beans-3.0.xsd
http://www.springframework.org/schema/util
http://www.springframework.org/schema/util/spring-util-3.0.xsd”>
< /beans>
调用举例:
1…创建spring配置文件——applicationContext.xml
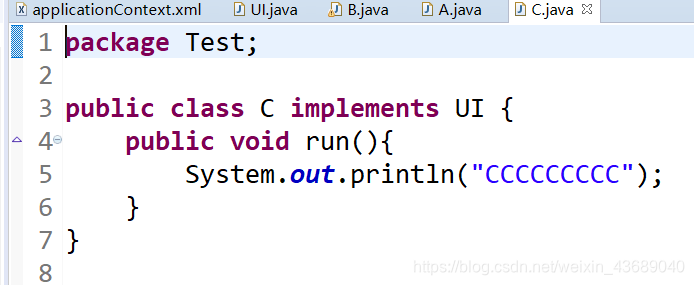
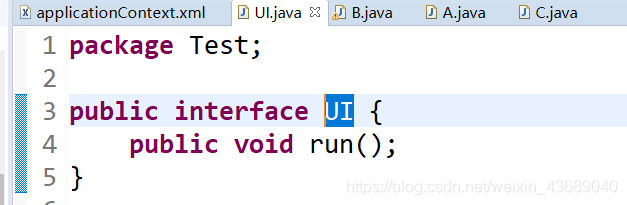
2.创建测试类文件以及UI借口
测试文件A

测试文件C
借口文件UI
测试文件B为主要输出文件
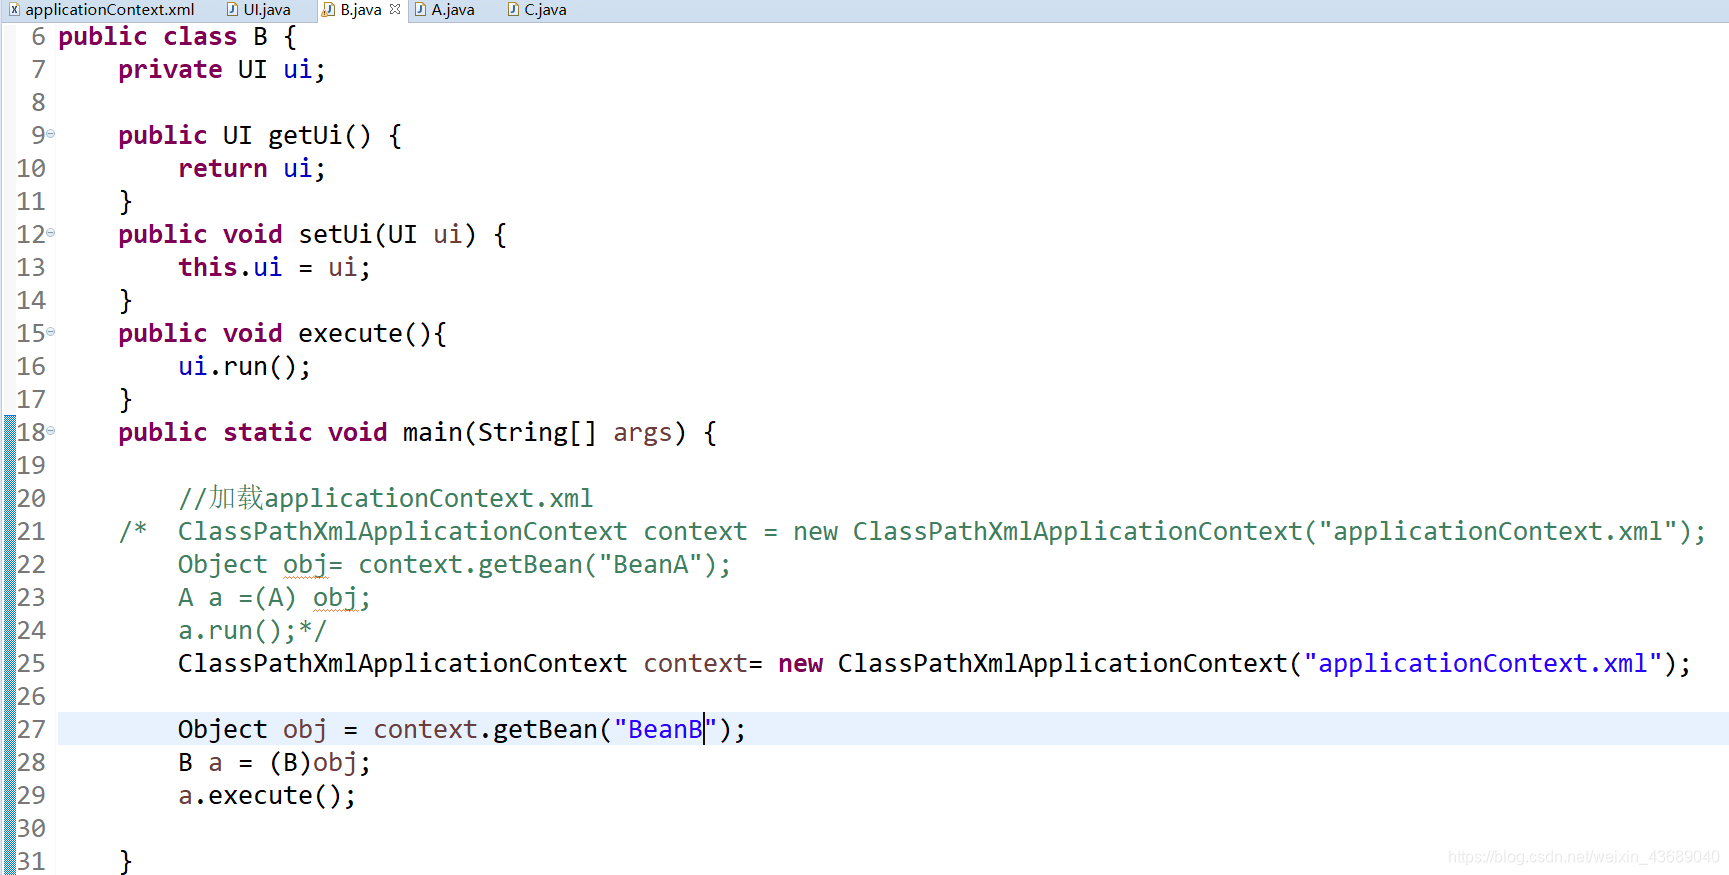
通过ClassPathXmlApplicationContext("applicationContext.xml"加载applicationContext.xml
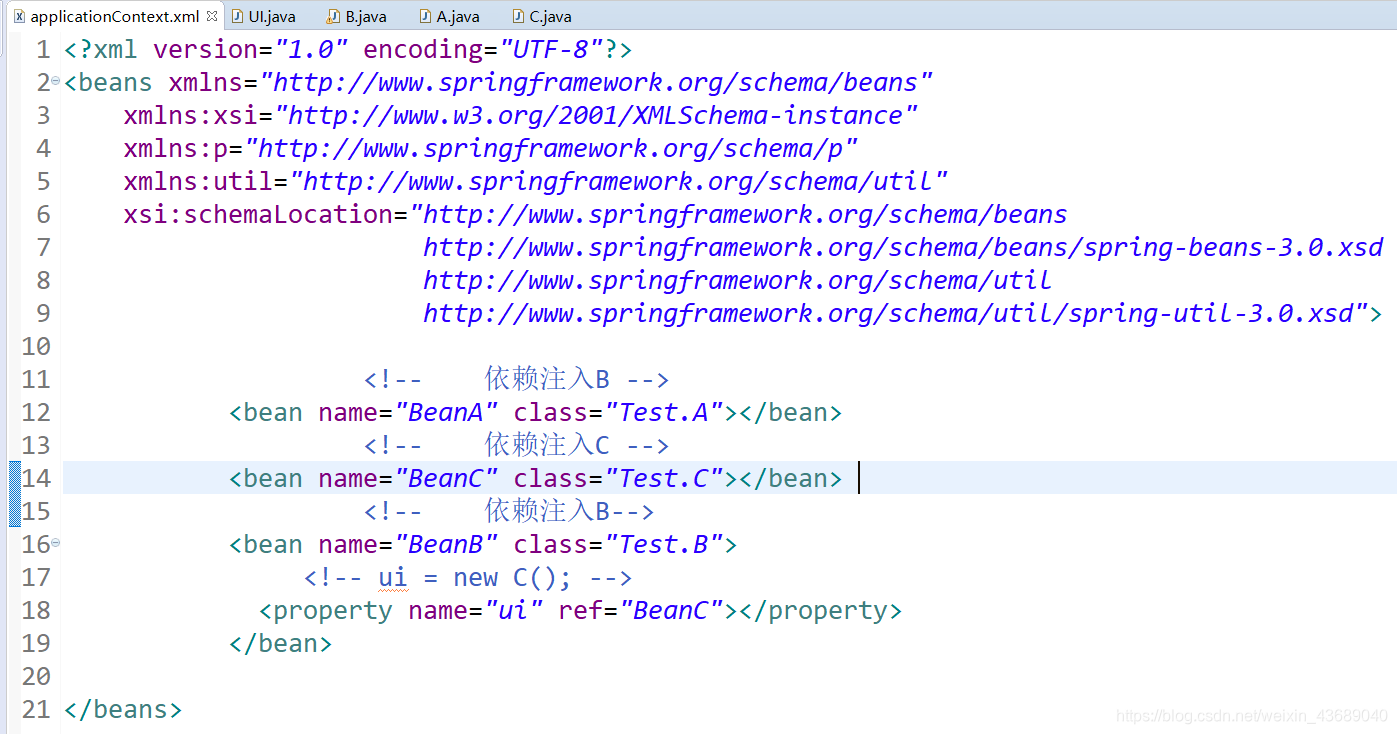
2.在applicationContext.xml中依赖注入实体类
3.在B中检测输出
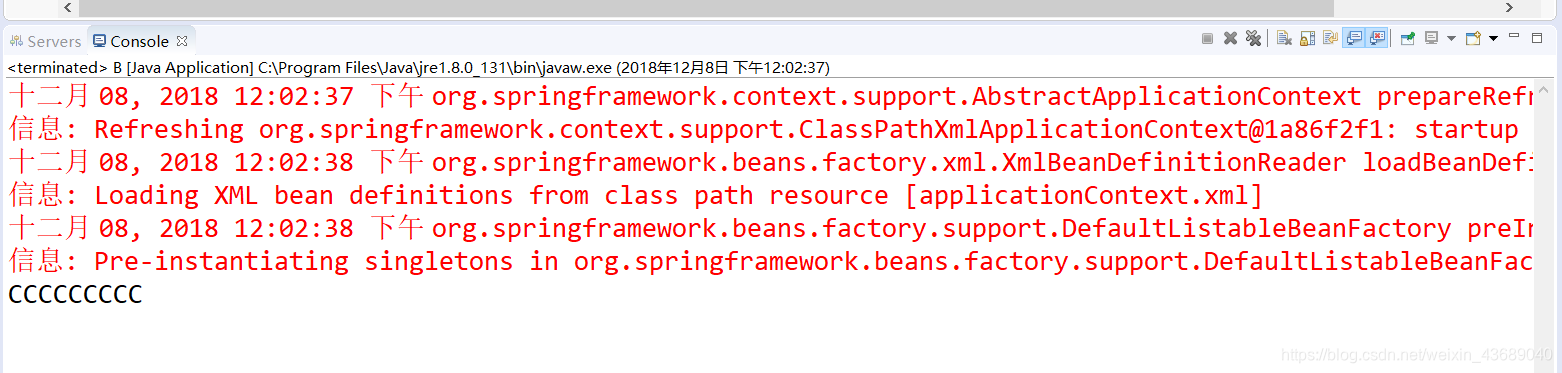
测试完成


 被折叠的 条评论
为什么被折叠?
被折叠的 条评论
为什么被折叠?
 到【灌水乐园】发言


