


 本文阐述小程序组件开发的重要性,包括模块独立性、代码量减少及维护便利性。通过实例讲解组件的实现,涵盖json配置、js逻辑、wxml模板及wxss样式。介绍组件生命周期与通信机制,并演示父组件如何引用及响应子组件事件。
小程序组件开发实例
小程序组件的意义
1.模块相互独立,但又可以实现方便的通信
2.模块相对代码量减少
3.代码方便维护
小程序组件的实现
以一个简单的展示列为例
组件的文件夹组成
组件的文件夹组成跟普通页面一致,包含js,json,wxss,wxml四个文件
假设取名为testcomponent文件夹,则里面包含
testcomponent.js
testcomponent.json
testcomponent.wxss
testcomponent.wxml
组件的详细内容
1.json文件内容
{
'componennt':true,
'usingComponents':{}// 组件里面可引用组件,此处不引用其他组件,即设置空
}
更多详细内容见文档
https://developers.weixin.qq.com/miniprogram/dev/framework/custom-component/
2.js文件内容
Component({
    behaviors: [],
    // 组件的属性列表
    properties: {
    },
    // 组件的初始数据,私有数据,可用于模版渲染
    data: {
        hasReceived:false,
        isShow:false
    },
    ready:function() {
        // 判断是否符合条件,符合条件就展示,不符合就不展示
        this.setData({
            isShow:true
        })
    },
    methods: {
        goreceive: function () {
            this.triggerEvent('goreceive', {
                voucher: this.data.voucher
            });
        }
    }
})
此处涉及到的内容一个是组件的生命周期,另一个是组件之间的通信
| 字段 | 描述 |
|---|---|
| created | 组件生命周期函数,在组件实例进入页面节点树时执行,注意此时不能调用 setData |
| attached | 组件生命周期函数,在组件实例进入页面节点树时执行 |
| ready | 组件生命周期函数,在组件布局完成后执行,此时可获取节点信息(使用 SelectorQuery ) |
| moved | 组件生命周期函数,在组件实例被移动到节点树另一个位置时执行 |
| detached | 组件生命周期函数,在组件实例被从页面节点树移除时执行 |
此处我使用ready,在父组件加载完子组件之后再去更新子组件的状态
组件的通信的关键代码在于
	this.triggerEvent('goreceive', {
            voucher: this.data.voucher
    });
3.wxml文件内容
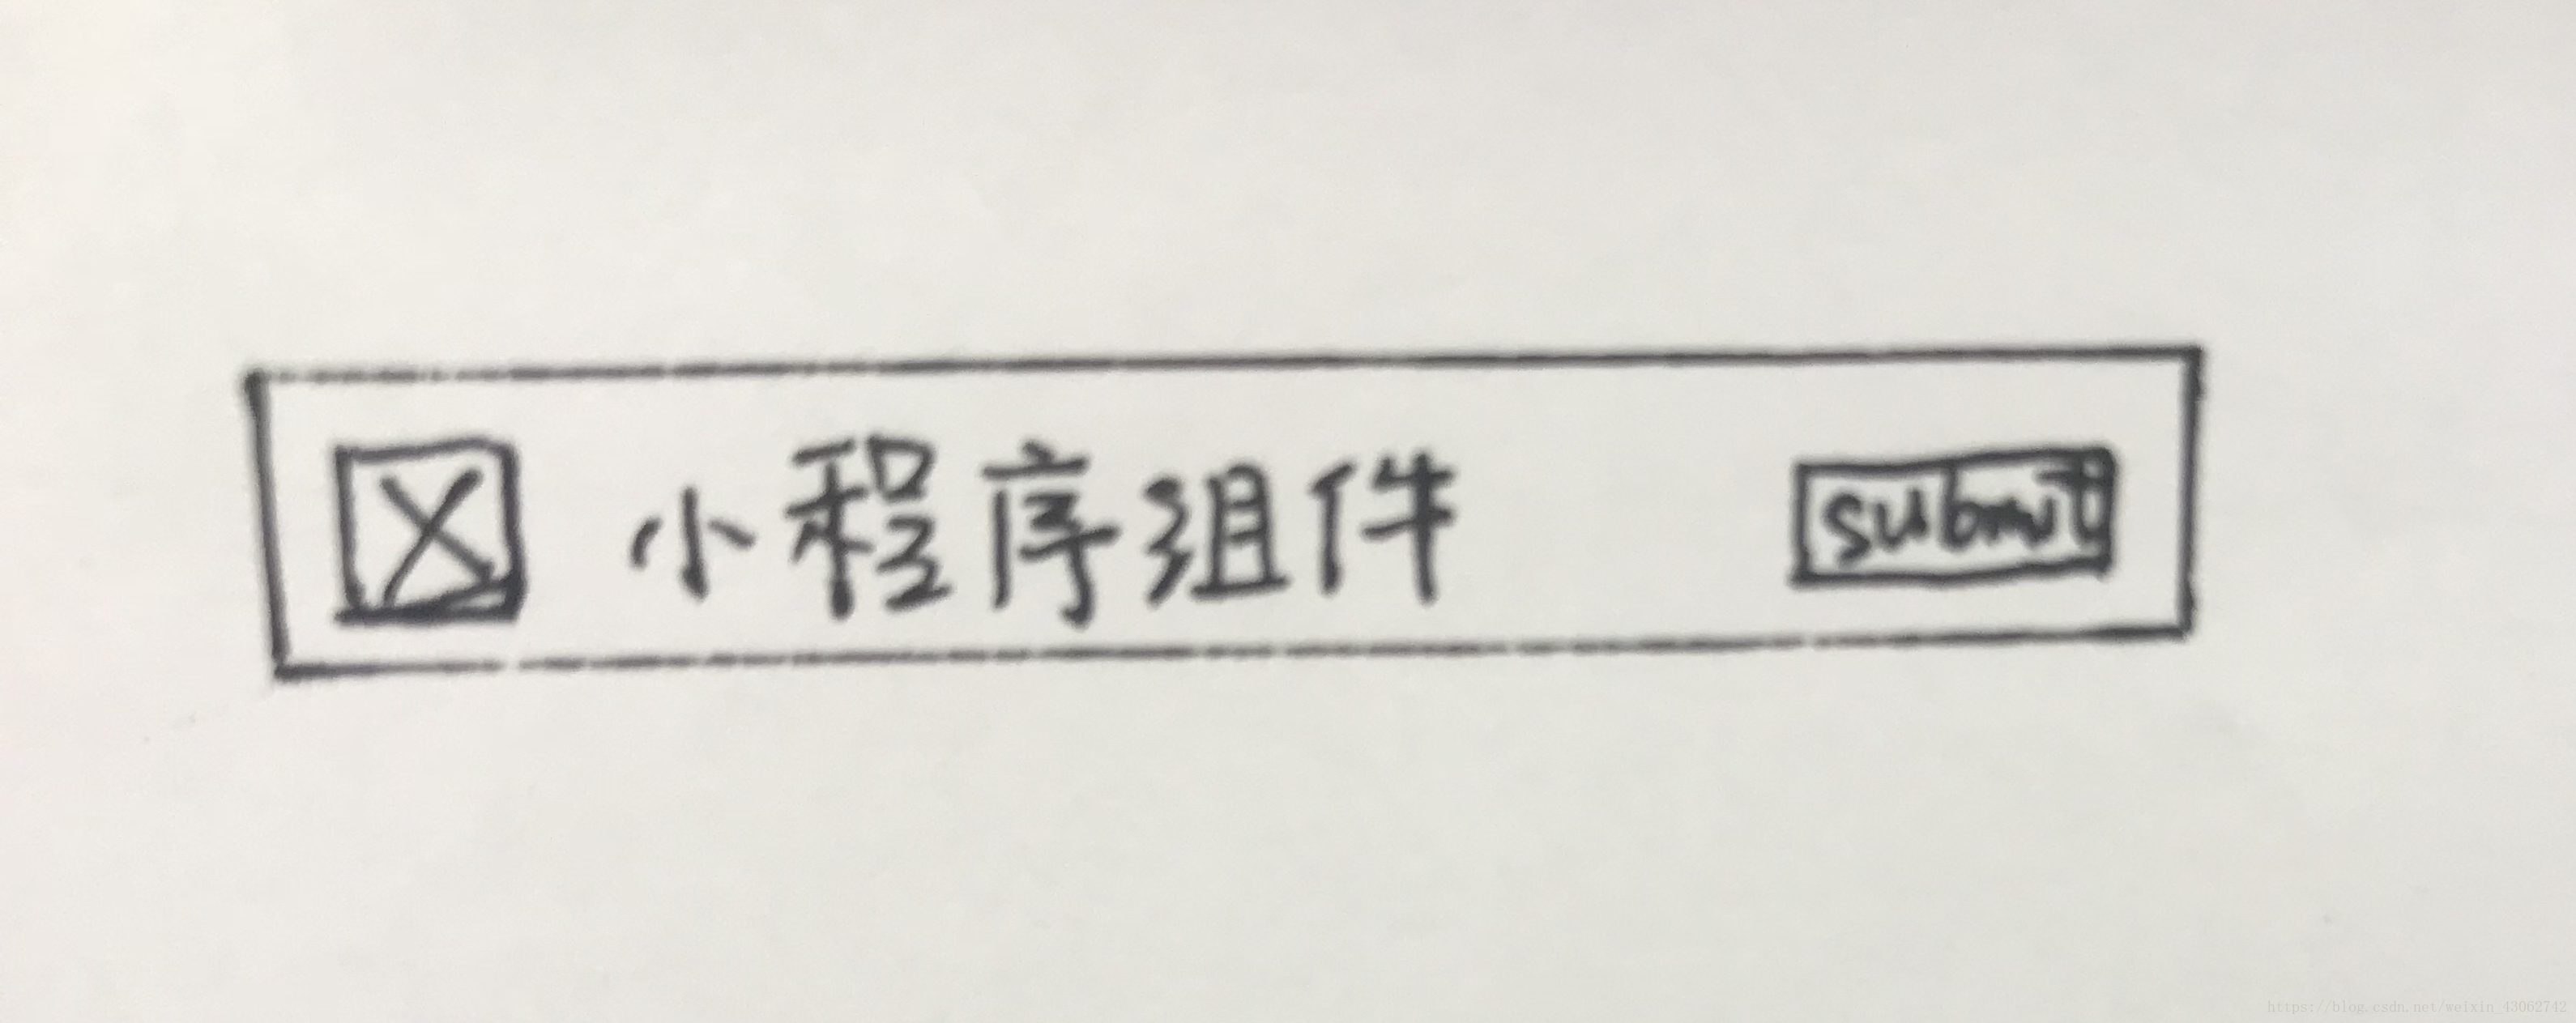
<view class="alternative-box card-container" wx:if="{{isShow}}">
	<view class="card-content">
		<view class="flex-box v-flex-center content">
			<view class="flex1 tips">小程序组件</view>
			<view class="btnreceive" wx:if='{{!hasReceived}}' bindtap='goreceive'>submit</view>
		</view>
	</view>
</view>
在btn上绑定goreceive事件
4.父组件的引用
首先要注册这个组件,在json文件夹中
{
'
'usingComponents':{
'mytest':'./mycomponent/mycomponent'
}
}
其次在wxml中调用
<mytest bind:goreceive="goreceive"><mytest>
最后在js中使用goreceive
goreceive(e) {
console.log(e.datail.data) // 组件中传过来的值
}
至此,点击组件中的btn,可以看见在控制台中打印出传过来的值了。
欢迎质疑。


 被折叠的 条评论
为什么被折叠?
被折叠的 条评论
为什么被折叠?
 到【灌水乐园】发言


