


 本文详细介绍如何在SpringBoot项目中集成SpringSecurity实现基本的安全控制。包括创建项目、添加依赖、编写控制器、配置端口及启动应用等步骤,并提供默认登录账号及密码。
步骤:
1、创建一个springboot 工程
2、引入相关依赖
<dependency>
    <groupId>org.springframework.boot</groupId>
    <artifactId>spring-boot-starter-web</artifactId>
</dependency>
<!--引入security 依赖-->
<dependency>
    <groupId>org.springframework.boot</groupId>
    <artifactId>spring-boot-starter-security</artifactId>
</dependency>
3、编写controller 进行测试
package com.atguigu.securitydemo1.controller;

import org.springframework.web.bind.annotation.GetMapping;
import org.springframework.web.bind.annotation.RequestMapping;
import org.springframework.web.bind.annotation.RestController;

@RestController
@RequestMapping("/test")
public class TestController {
    @GetMapping("hello")
    public String hello(){
        return "hello recurity";
    }
}
4、在application.properties 中配置端口
# 端口
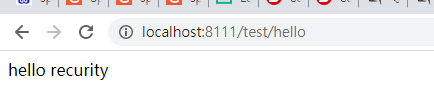
server.port=81115、启动后端,访问网址: http://localhost:8111/test/hello , 出现下图
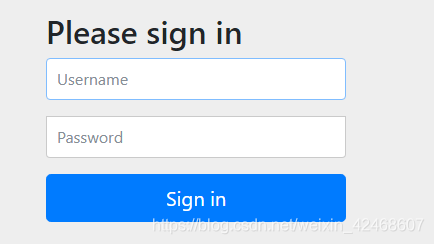
6、上述地址可以登录,SpringSecurity 默认用户名为user,密码在启动控制台可以找到。

登录成功!
到此这个demo就结束了。


 2400
2400

 被折叠的 条评论
为什么被折叠?
被折叠的 条评论
为什么被折叠?
 到【灌水乐园】发言


