


一、基础准备
《Android 手把手进阶自定义View(六)- measure 测量过程解析》
《Android 手把手进阶自定义View(七)- layout 布局过程解析》
《Android 手把手进阶自定义View(八)- draw 绘制过程解析》
前三篇我们学习了 View 的三大流程:测量、布局、绘制,本篇我们来做一个自动换行的 ViewGroup。
二、自动换行的 ViewGroup
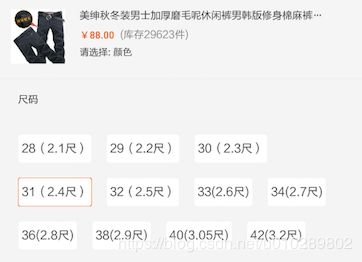
具体要实现的部分是如上图所示的尺码部分,超过一行后会自动换到下一行。
完整代码如下:
class FlexLayout(context: Context?, attrs: AttributeSet?) : ViewGroup(context, attrs) {
//子view的rect
var childrenBounds = ArrayList()
override fun onMeasure(widthMeasureSpec: Int, heightMeasureSpec: Int) {
val widthSpecMode = MeasureSpec.getMode(widthMeasureSpec)
val widthSpecSize = MeasureSpec.getSize(widthMeasureSpec)
//已使用宽度
var widthUsed = 0
//已使用高度
var heightUsed = 0
//当前行width已使用的宽度
var lineWidthUsed = 0
//当前行view的高度最大值
var lineMaxHeight = 0
for (i in 0 until childCount) {
//获取子view
val childView = getChildAt(i)
//测量子view,因为要换行,所以这里的widthUsed不传入,我们下面自己计算
measureChildWithMargins(childView, widthMeasureSpec, 0, heightMeasureSpec, 0)
//换行逻辑
if (widthSpecMode != MeasureSpec.UNSPECIFIED && lineWidthUsed + childView.measuredWidth > widthSpecSize) {
lineWidthUsed = 0
heightUsed += lineMaxHeight
lineMaxHeight = 0
measureChildWithMargins(childView, widthMeasureSpec, 0, heightMeasureSpec, heightUsed)
}
//避免重复创建
var childBound: Rect
if (childrenBounds.size <= i) {
childBound = Rect()
childrenBounds.add(childBound)
} else {
childBound = childrenBounds[i]
}
//设置rect边界
childBound.set(
lineWidthUsed, heightUsed, lineWidthUsed + childView.measuredWidth,
heightUsed + childView.measuredHeight
)
//当前行使用宽度加上当前childView的测量宽度
lineWidthUsed += childView.measuredWidth
//计算最大的宽度
widthUsed = Math.max(widthUsed, lineWidthUsed)
//当前行childView的最大高度
lineMaxHeight = Math.max(lineMaxHeight, childView.measuredHeight)
}
val width = widthUsed
//viewGroup的使用高度要加上最后一行的最大高度
val height = heightUsed + lineMaxHeight
setMeasuredDimension(width, height)
}
override fun onLayout(changed: Boolean, l: Int, t: Int, r: Int, b: Int) {
for (i in 0 until childCount) {
val childView = getChildAt(i)
val childBounds = childrenBounds[i]
childView.layout(childBounds.left, childBounds.top, childBounds.right, childBounds.bottom)
}
}
override fun generateLayoutParams(attrs: AttributeSet?): LayoutParams {
return MarginLayoutParams(context, attrs)
}
}
Build 后 xml 布局文件中的效果:
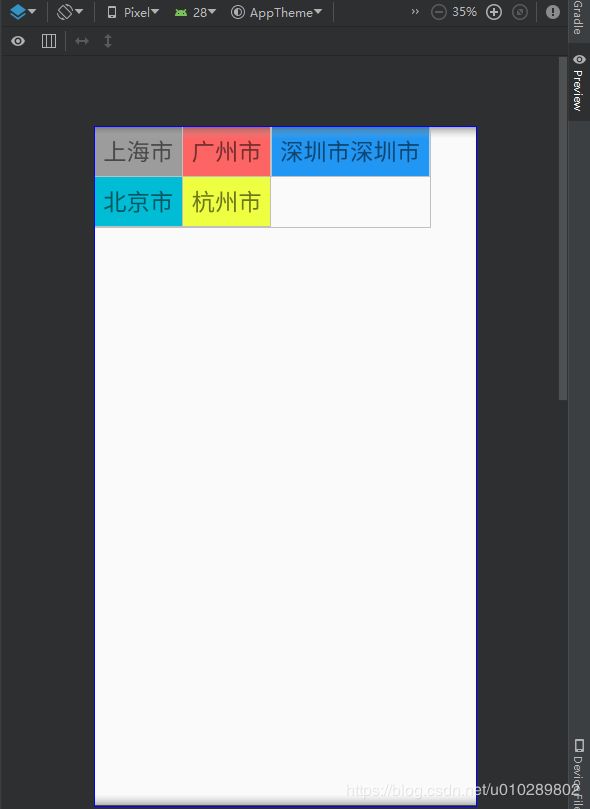
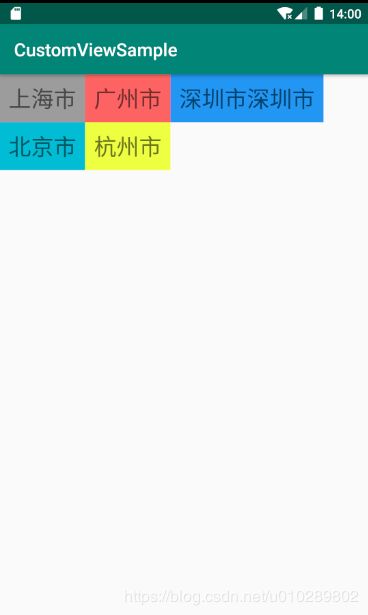
可以看到 ViewGroup 的宽高都符合我们的预期。再看看实际运行效果 :


 2025
2025

 被折叠的 条评论
为什么被折叠?
被折叠的 条评论
为什么被折叠?
 到【灌水乐园】发言


