


 本文详细介绍了如何在Linux环境下使用Synaptic包管理器安装Eclipse及其插件PyDev,并配置支持Python 3.5及C++开发环境的过程。此外,还提供了安装Boost库和CMake的方法。
# Copyright (c) 2016, 付刘伟 (Liuwei Fu)
# All rights reserved.
# 转载请注明出处
1.Install The Eclipse,g++ Use The SynapTic Package Manager:
Eclipse :you should select the eclipse and eclipse-cdt-qt
e:

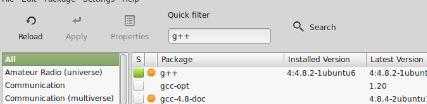
g++:just select g++
e:
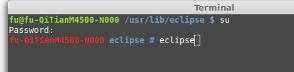
2.Run The Eclipse By The Root Use The Command:
./eclipse
e:
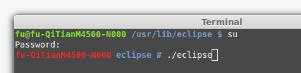
eclipse /*This Command Is Slow Than The First One*/
e:
Then:Run The Eclipse By The User;
e:

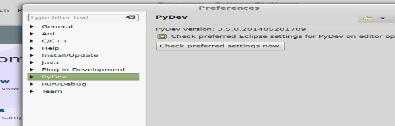
3.Install The PyDev:
Downloat The PyDev 3.5 Or Other Version (Suggest The High Version)
Unzip The PyDev.zip Then You Will Find Two Files:features and plugins
Copy the files Under The features to the eclipse‘s features
Copy The files Under The plugins to The eclipse‘s plugins

Change The Authority of the eclipse file use the command:
sudo chmod -R 777 eclipse
e:

The Path Of Eclipse Is :/usr/lib/eclipse
4.To Run The Eclipse By The Root You Will See The Module Of Pydev Is Installed;
./eclipse
e:

eclipse
e:
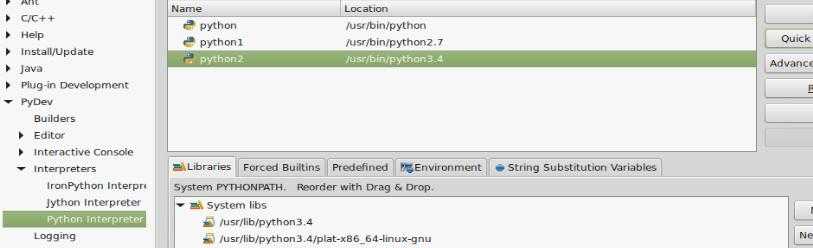
Change the python version:click the Quick Auto-Config and select the python3.4 and remove the python2.7 ,python;just save a python3.4
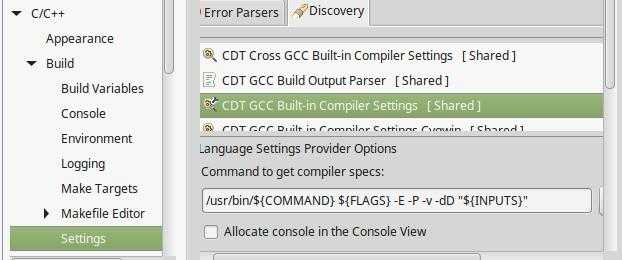
Change the C++ edit path:
5.Use The SynapTic Package Manager To Install The Python3.5 (Maybe You Python Version Is Not 3.5) All Dev And Module :
python python-all python-dev python3-all python3-dev
python-scipy python3-scipy python-tkpython3-tkpython-qt4
python3-qt4numptysqlitemanpython-sqlitepython-tz
libboost-python-devlibboost-python-devpython-supportpython3-tzpython3-matplotlib
python-paramikopython-pampython-commandnotfoundpython3-smbcpython3-uno
python-gnome2python-feedparserpython-dnspythonpython-pyinotifypython3-tornado
python-opencvlibboost-mpi-python-devpython-debtagshwpython3-brlapi
totem-plugins-extraubuntu-drivers-common
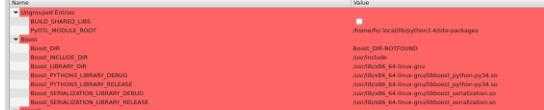
6.Install The Boost libraries:
Download The Boost libraries
Unzip The boost libraries
In The Boost File Use The Command:
./bootstrap.sh
e:

./b2
e:

./b2 install
e:

In The Normal Solution,Boost Will Be Success;
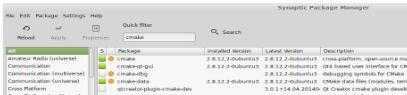
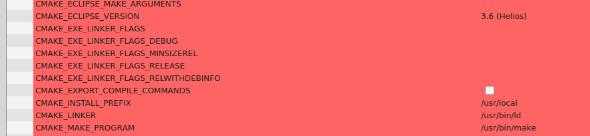
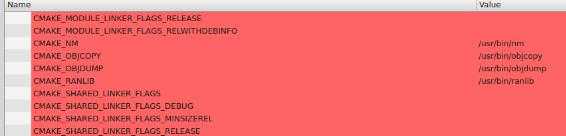
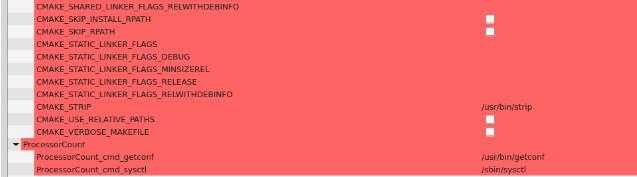
7.Install The Cmake use the SynapTic Package Manager ;
When You achieve above step,you can run the c++ and python!
(Next OTL ,PYOTL is Project That Write By Ruimin Shen(ability man) )
8.To Compile The OTL ,PYOTL Use The Cmake
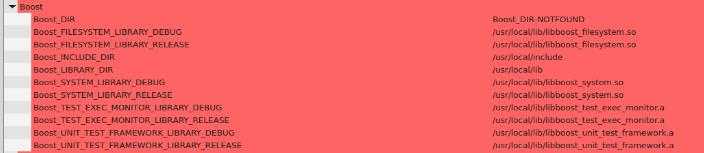
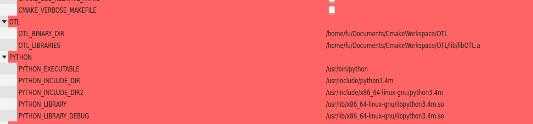
OTL:You Should Change The Path And Set As Same As To me!,If Not Find The Path ,Maybe You Went Wrong in the Above Step!
e:
p1:

p2:

p3:
PYOTL:You Should Change The Path And Set As Same As To me!
e:
p1:

p2:
p3:

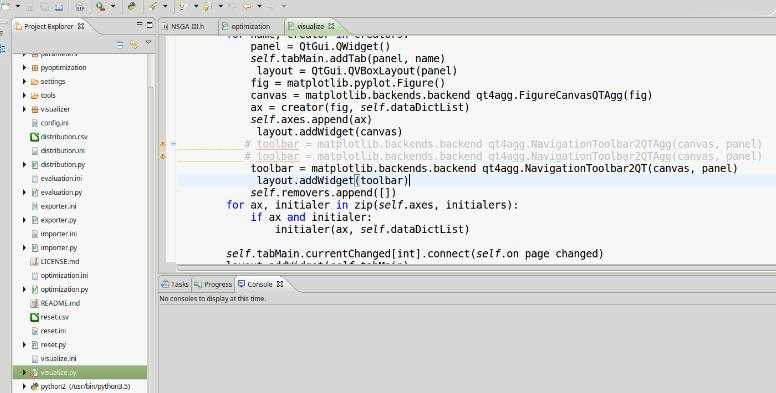
9.Modify the visualize.py code:
10.Import The Eclipse And We Can Write C++ ,Python! Enjoy It!
e:

原文:http://www.cnblogs.com/FuLiuWei/p/fuliuwei.html


 被折叠的 条评论
为什么被折叠?
被折叠的 条评论
为什么被折叠?
 到【灌水乐园】发言


