


 本文详细介绍了ActiveMQ的安装步骤,包括从官网下载、解压、启动及访问管理界面,同时提供了SpringBoot项目中集成ActiveMQ的方法,涵盖了依赖引入、配置、消息生产与消费的实现。
一,安装
1,官网下载地址
http://activemq.apache.org/download.html
2,上传解压
tar -zxvf apache-activemq-5.15.4-bin.tar.gz
3,启动
cd  ~/apache-activemq-5.15.4/bin

./activemq start
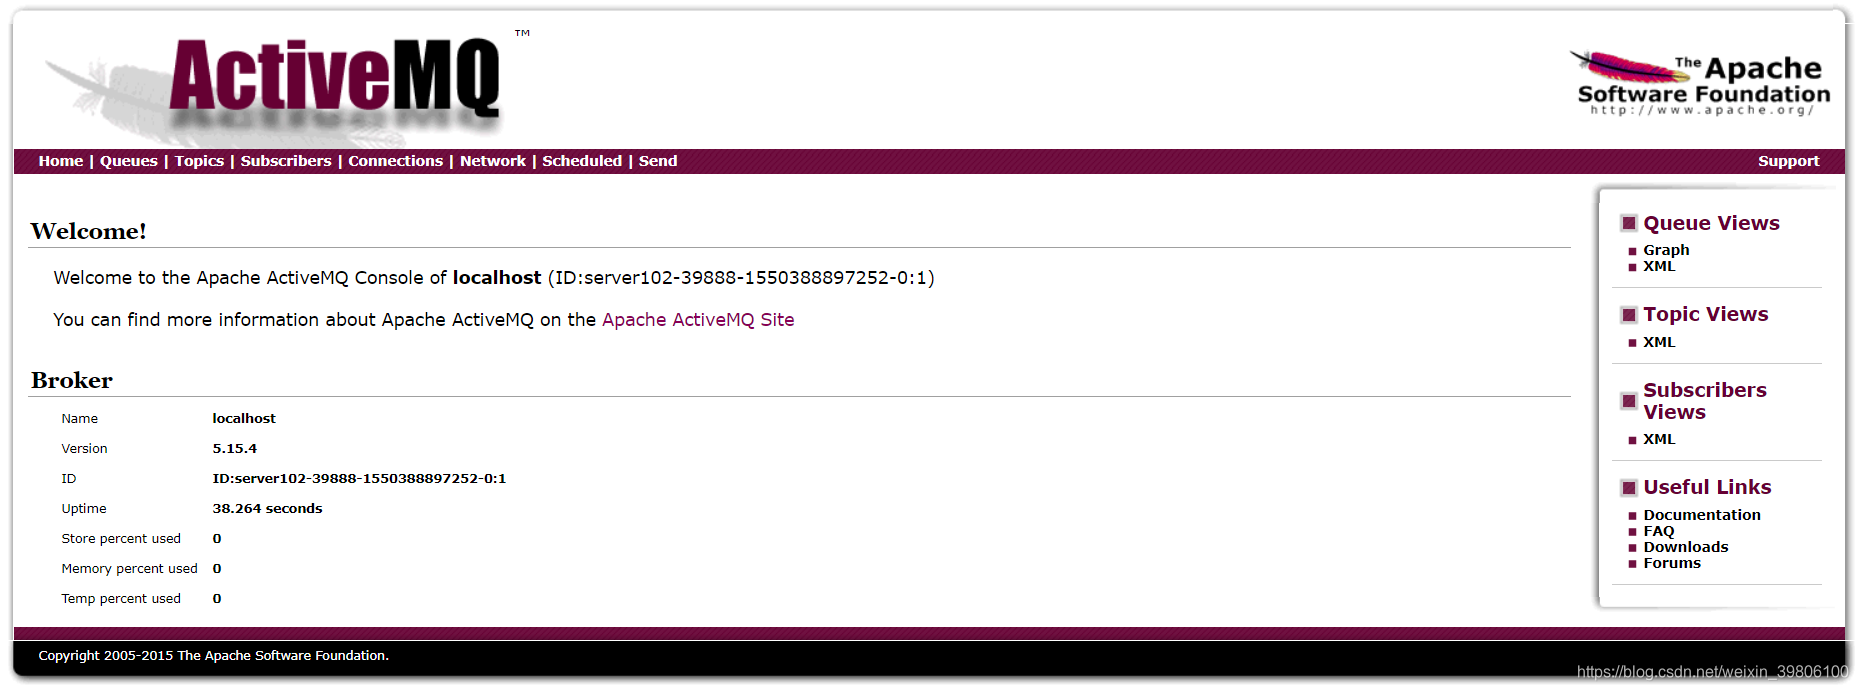
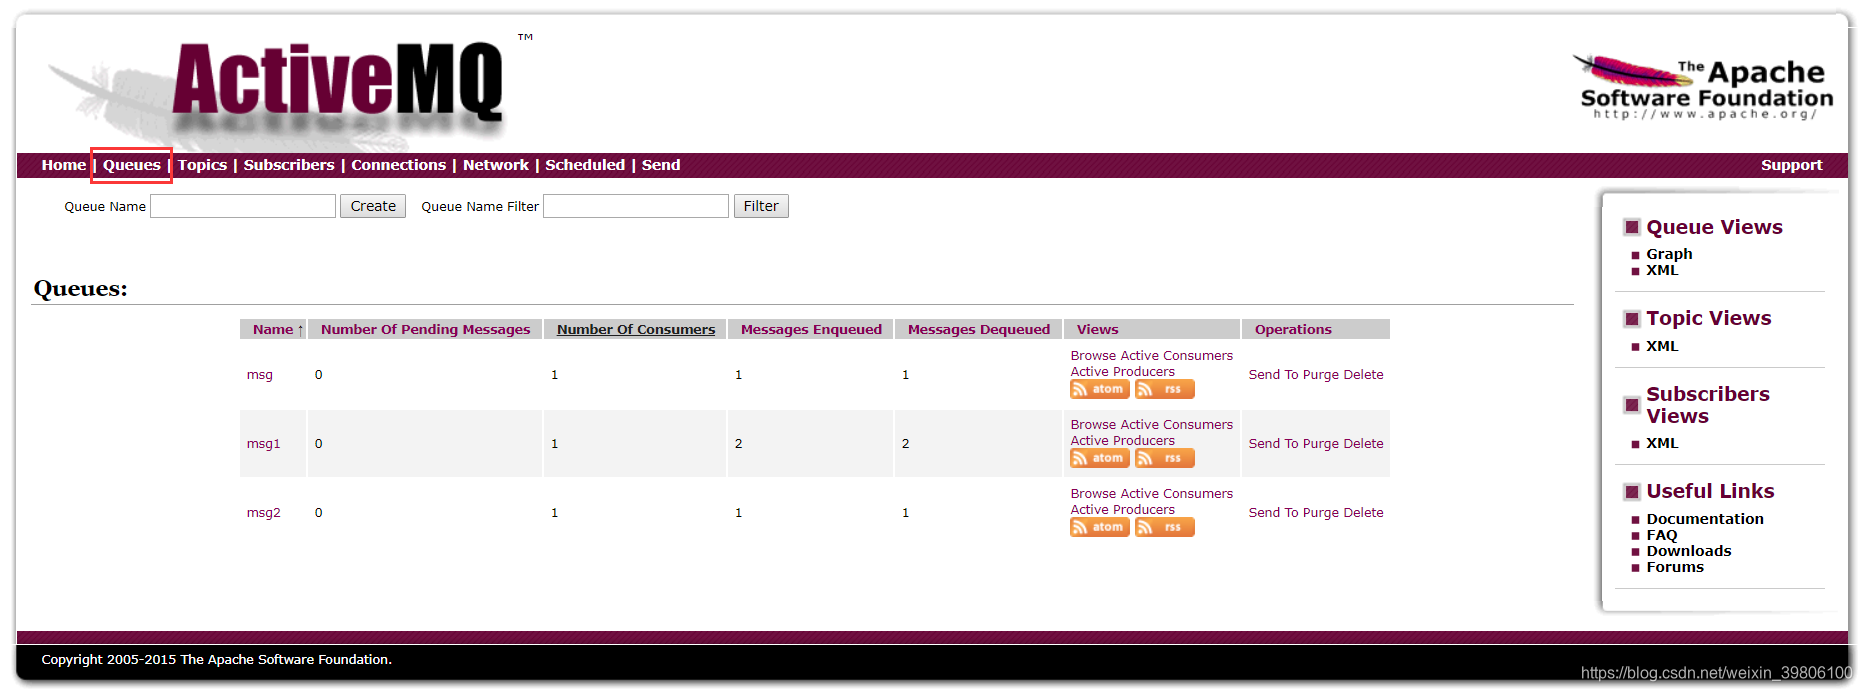
4,访问activemq admin web应用
http://服务器IP:8161/admin/
默认用户名和密码都是admin
二,SpringBoot中的使用
1,引入依赖
<!-- activemq -->
<dependency>
    <groupId>org.springframework.boot</groupId>
    <artifactId>spring-boot-starter-activemq</artifactId>
    <version>1.5.6.RELEASE</version>
</dependency>
2,application.yml配置
server:
  port: 8080
  context-path: /
spring:
  activemq:
    broker-url:  tcp://10.2.255.102:61616
    user: admin
password: admin
3,消息生产者 activemq-provider
package demo.activemq.service;

import org.apache.activemq.command.ActiveMQQueue;
import org.springframework.beans.factory.annotation.Autowired;
import org.springframework.jms.core.JmsMessagingTemplate;
import org.springframework.stereotype.Service;
import javax.jms.Destination;

/**
 *
 * 消息生产者
 */
@Service
public class ProducterService {

	@Autowired
	private JmsMessagingTemplate jmsMessagingTemplate;

	public void sendMessage(String message) {
		//创建一个消息列队
		Destination destination = new ActiveMQQueue("msg");
		jmsMessagingTemplate.convertAndSend(destination, message);
		System.out.println("发送消息:" + message);
	}

	public void sendMessage1(String message) {
		//创建一个消息列队
		Destination destination = new ActiveMQQueue("msg1");
		jmsMessagingTemplate.convertAndSend(destination, message);
		System.out.println("发送消息:" + message);
	}

	public void sendMessage2(String message) {
		//创建一个消息列队
		Destination destination = new ActiveMQQueue("msg2");
		jmsMessagingTemplate.convertAndSend(destination, message);
		System.out.println("发送消息:" + message);
	}
}
测试类
package demo.activemq.test;

import org.junit.Test;
import org.junit.runner.RunWith;
import org.springframework.beans.factory.annotation.Autowired;
import org.springframework.boot.test.context.SpringBootTest;
import org.springframework.test.context.junit4.SpringJUnit4ClassRunner;
import demo.activemq.ActivemqProviderApplication;
import demo.activemq.service.ProducterService;

@RunWith(SpringJUnit4ClassRunner.class)
@SpringBootTest(classes = ActivemqProviderApplication.class)
public class SendMsgTest {

	@Autowired
	private ProducterService producterService;

	@Test
	public void test() {
		producterService.sendMessage("msg: hello activemq");
		try {
			Thread.sleep(5000);
		} catch (InterruptedException e) {
			// TODO Auto-generated catch block
			e.printStackTrace();
		}
		producterService.sendMessage1("msg1: hello");
		producterService.sendMessage1("msg1: activemq");

		producterService.sendMessage2("msg2: activemq");
	}

}
4,消息消费者 activemq-consume
package demo.activemq.service;
import org.springframework.jms.annotation.JmsListener;
import org.springframework.stereotype.Service;
/**
*
* 消息的消费者
*/
@Service
public class ConsumerService {
@JmsListener(destination = "msg")
public void receiveQueueMsg(String text) {
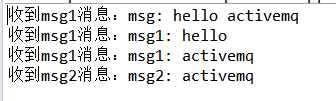
System.out.println("收到msg1消息:" + text);
}
@JmsListener(destination = "msg1")
public void receiveQueueMsg1(String text) {
System.out.println("收到msg1消息:" + text);
}
@JmsListener(destination = "msg2")
public void receiveQueueMsg2(String text) {
System.out.println("收到msg2消息:" + text);
}
}


 948
948

 被折叠的 条评论
为什么被折叠?
被折叠的 条评论
为什么被折叠?
 到【灌水乐园】发言


