


Pytes是 一个单元测试框架,可以生成html报告。
不要点击:https://item.taobao.com/item.htm?id=613711271112
安装pytest和allure:pip install pytest : pip install allure-pytest
pytest生成报告的插件:pip install pytest-html
#卸载
# pip uninstall pytest
#安装
# pip install -U pytest
# 查看
# pytest --version
2、===========================
2、pytest的运行“”(文件名是login.py)
import pytest
import allure
def test_login():print("正在登录")
if __name__ == "__main__":pytest.main("-s login.py")
#命令行(用的多,要进入当前文件夹的目录运行保险):pytest -s xxx.py#如何快速打开当前项目目录?#控制台下方有一个terminal的打开即可
3、pytest配置文件ini文件:pytest.ini (必须在同一字执行目录下 )
[pytest]
#添加参数
addopts = -s
#搜索那个文件夹
testpaths = ./app1
#文件
python_files = test_*.py
#类名
python_classes = Test*
#函数名
python_functions = test_*
4、生成测试报告html,命令行输入:pytest --html=report/report.html
生成report文件夹下reporr.htmld报告
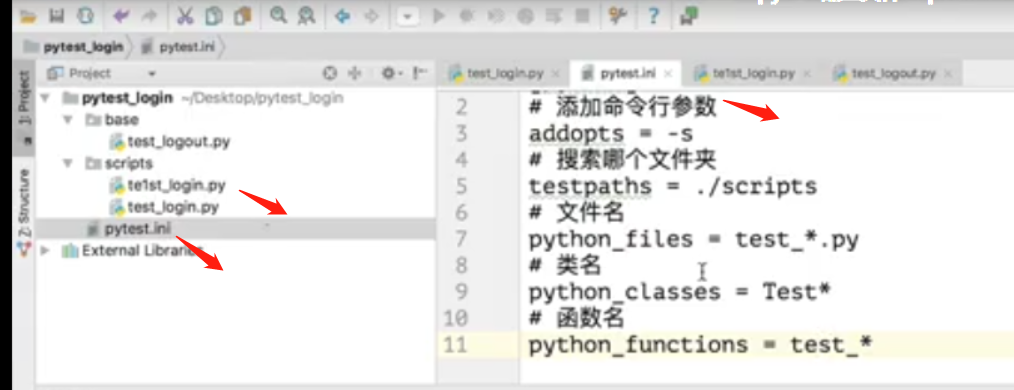
修改pytest配置文件:pytest.ini (必须在同一字执行目录下 )
[pytest]
#添加命令参数
addopts = -s --html=report/report.html
#搜索那个文件夹
testpaths = ./scripts
#搜索文件名
python_files =test_*.py
#类名
python_classes = Test*
#函数名
python_functions = test_*
配置文件弄好了就可以在 命令行输入pytest就可以执行所以报告而且自动生成html报告
(用例和报告 文件夹必须分开)
5、_pycache_出错
只要是复制过来的文件都可能自动生成_pycache_文件,执行pytest时会报错_pycache_
把_pycache_文件删掉即可。
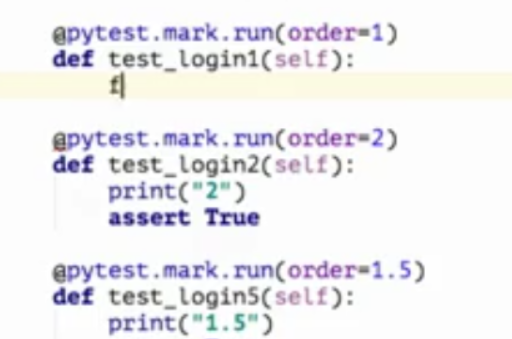
6、控制函数顺序@pytest.mark.run(order=XX)
@pytest.mark.run(order=1)
@pytest.mark.run(order=3)
@pytest.mark.run(order=2)
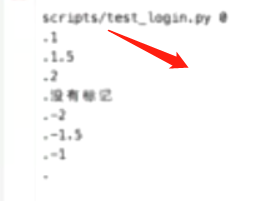
顺序123.
执行优先级:
0>较小的正数>较大的正数>无标记>较小的负数>较大的负数。如图:
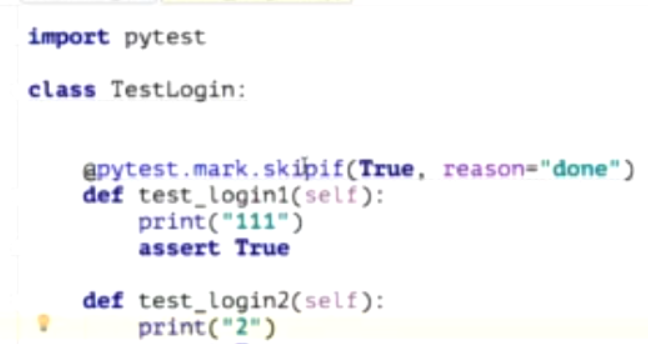
7跳过函数@pytest.mark.skipif(True,reason="done")
(和顺序函数一样,必须先导入 import pytest)
@pytest.mark.skipif(True,reason="done")
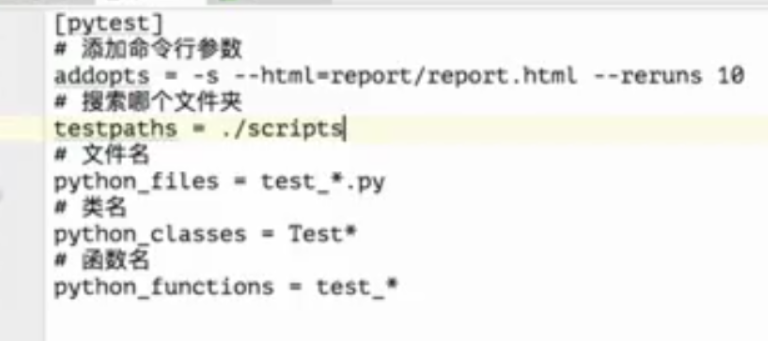
8、失败重试10次:在配置文件后面加10
[pytest]
#添加命令参数
addopts = -s --html=report/report.html --reruns 10
#搜索那个文件夹
testpaths = ./scripts
#搜索文件名
python_files =test_*.py
#类名
python_classes = test*
#函数名
python_functions = test_*
如图所示:
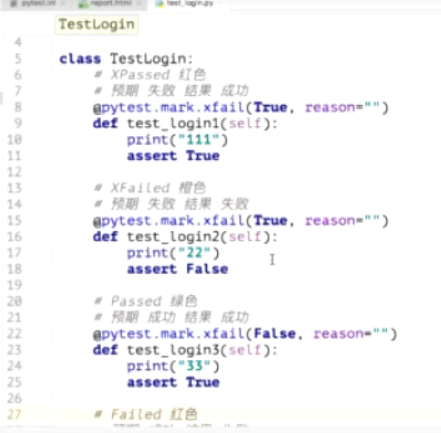
9、预期结果:
#写True表示预期是False,假,失败
@pytest.mark.xfail(True,reason="")
#写False表示预期是True,真,成功
@pytest.mark.xfail(False,reason="")
如图:
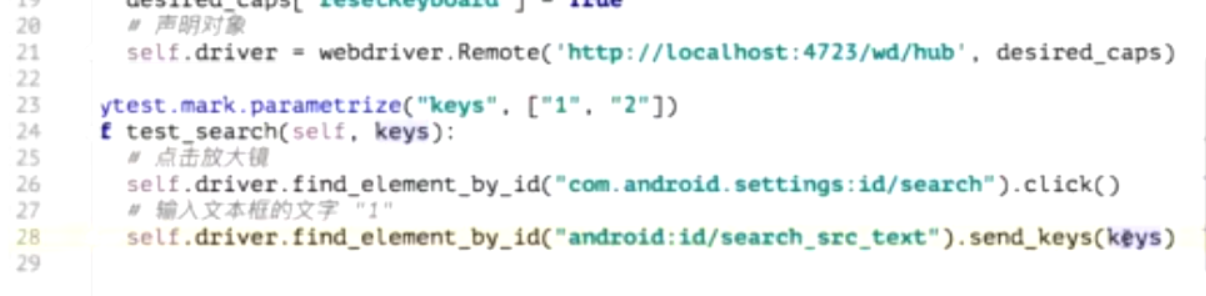
10、参数化:
keys是参数名,1和2是参数值
@pytest.mark.parametrize("keys",["1","2"])
如图所示:
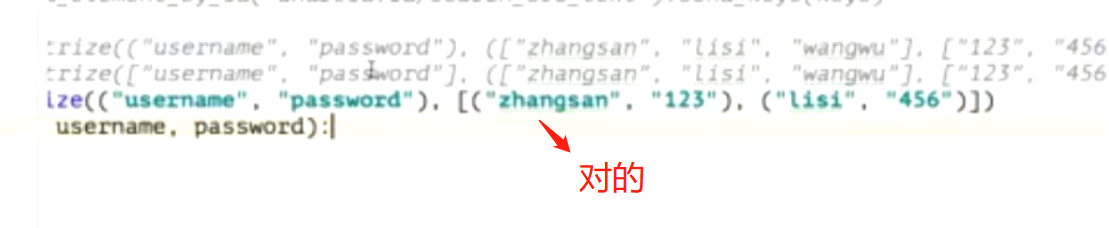
11、多个参数化
@pytest.mark.parametrize(("username","password"),[("zhangsan","123"),("lisi","456")])

12、封装前置代码:
from appium import webdriver
def int_driver():
#设置参数desired_caps = {}
desired_caps['platformName'] = 'Android' # Android系统 or IOS系统
desired_caps['platformVersion'] = '5.1' # Android系统版本
desired_caps['deviceName'] = '1' # (安卓随便写,苹果的写系统的型号)
desired_caps['appPackage'] = 'com.android.settings' # APP夜神模拟器包名
desired_caps['appActivity'] = '.Settings' # APP启动Activity
# 解决中文不能输入问题
desired_caps['unicodeKeyboard'] = True # 每次打开APP不开启重置,否则每次都进入四个欢迎页
desired_caps['resetKeyboard'] = True # 隐藏键盘
driver = webdriver.Remote('http://localhost:4723/wd/hub', desired_caps) # 启动APP
return driver
self.driver = init_driver() #在另一文件里调用此方法
#以下是解决用pytest执行报错的方法:需要导入os 和sys 模块importos,sys
sys.path.append((os.getcwd()))


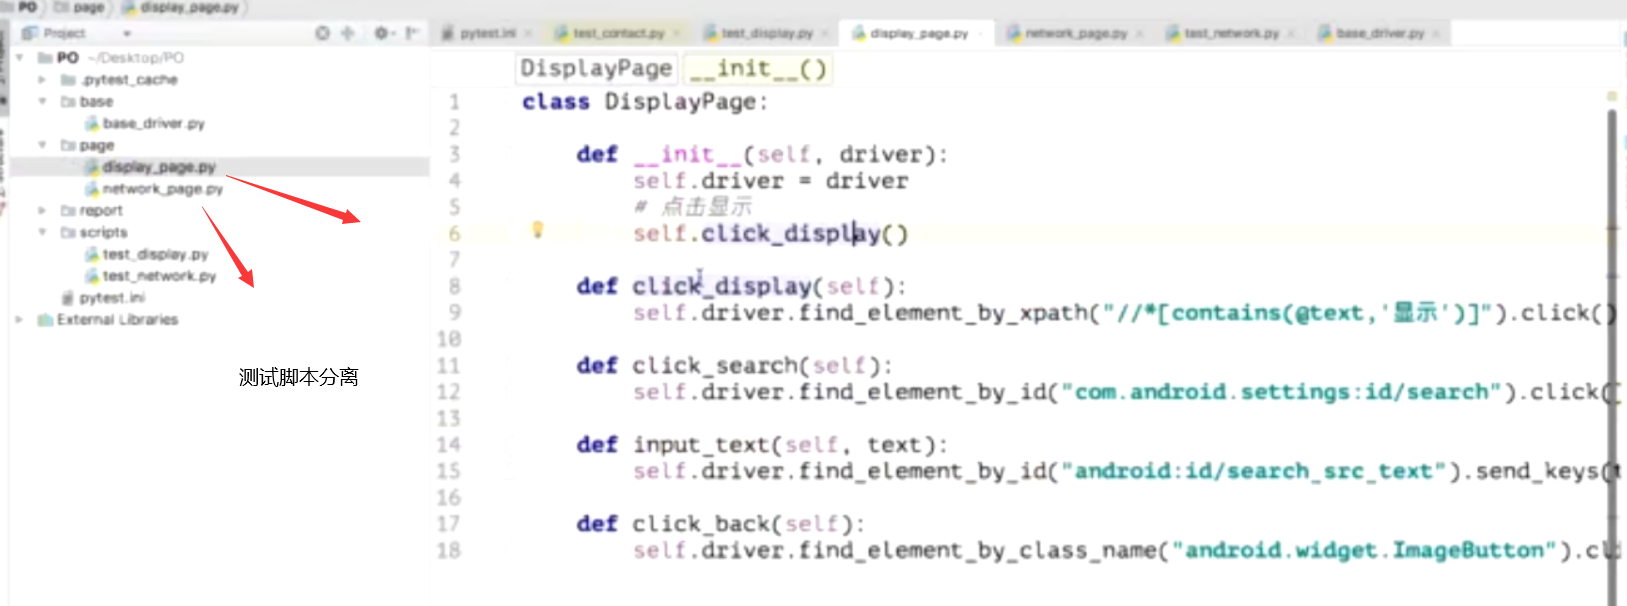
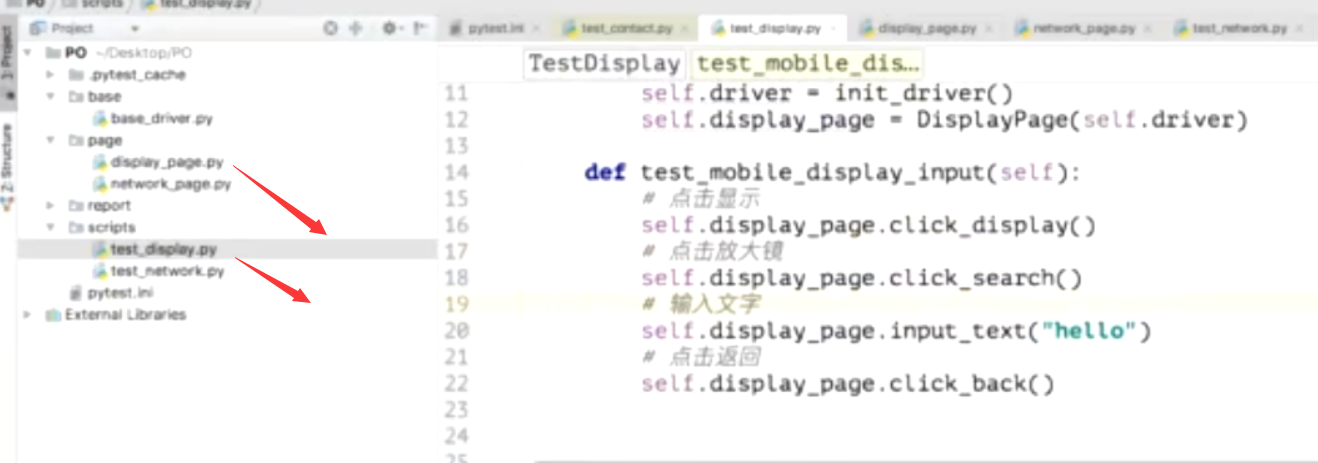
12、测试脚本分离技术


 被折叠的 条评论
为什么被折叠?
被折叠的 条评论
为什么被折叠?
 到【灌水乐园】发言


