


在Android中,总是把“wrap_content“或”fill_parent“组件属性”layout_width“和”layout_height“搞混?
看看下面的定义:
wrap_content–组件只想显示大到足以包围其内容只。
fill_parent–组件想要显示为大,填补剩余的空间。(后改名为match_parent在API级别8)
让我们看看下面的演示:
1。wrap_content
一个按钮元件,设置”wrap_content“在宽度和高度属性。它告诉Android显示按钮足够大,把它的内容”按钮ABC“只有。
"
android:layout_width="fill_parent"
android:layout_height="fill_parent" >
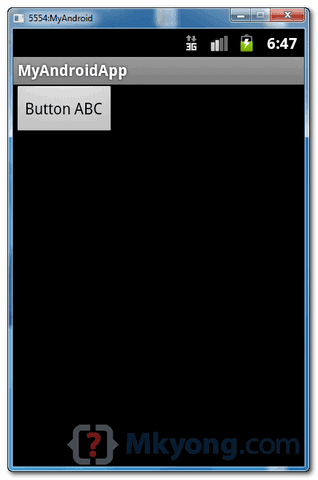
image.png
2。fill_parent–宽度
改变“layout_width“”fill_parent“,按钮的宽度将填补剩余的空间,因为”一样大相对布局”按钮的高度,但仍足以把它的内容。
"
android:layout_width="fill_parent"
android:layout_height="fill_parent" >
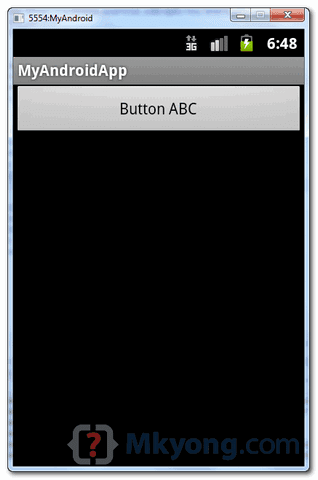
image.png
3.fill_parent–高度
改变“layout_height“”fill_parent“,按钮的高度将填补剩余的空间,因为”一样大相对布局”按钮的宽度,但仍足以把它的内容。
"
android:layout_width="fill_parent"
android:layout_height="fill_parent" >
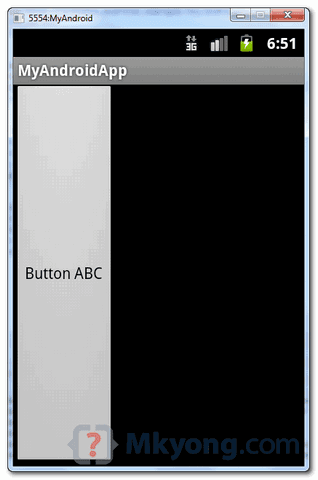
image.png
4。fill_parent–宽度、高度
改变“layout_width“和”layout_height“”fill_parent”按钮将显示为整个设备的屏幕一样大,它只填满整个屏幕空间。
"
android:layout_width="fill_parent"
android:layout_height="fill_parent" >
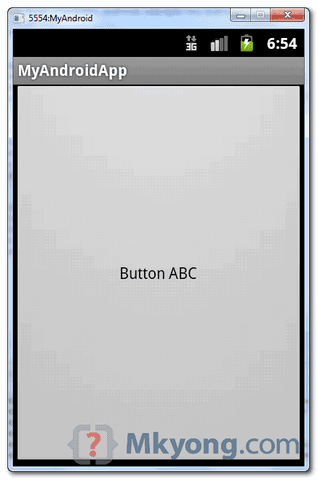
image.png
原文博客地址:http://www.apkbus.com/blog-919651-76525.html
事实上,你可以指定一个确切的宽度和高度,但这是不推荐的,由于Android设备的各种屏幕尺寸。你只是不知道什么尺寸的Android设备上运行你的幻想中的应用。


 1万+
1万+

 被折叠的 条评论
为什么被折叠?
被折叠的 条评论
为什么被折叠?
 到【灌水乐园】发言


