


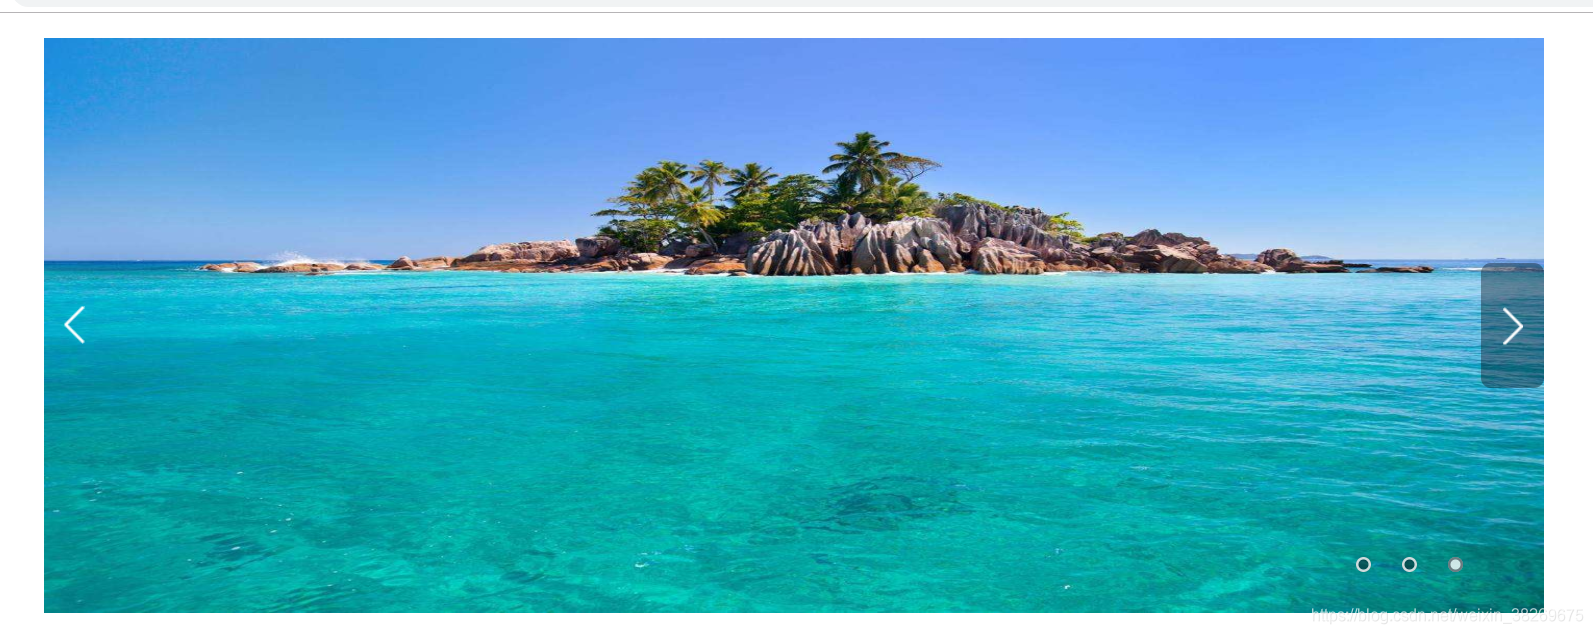
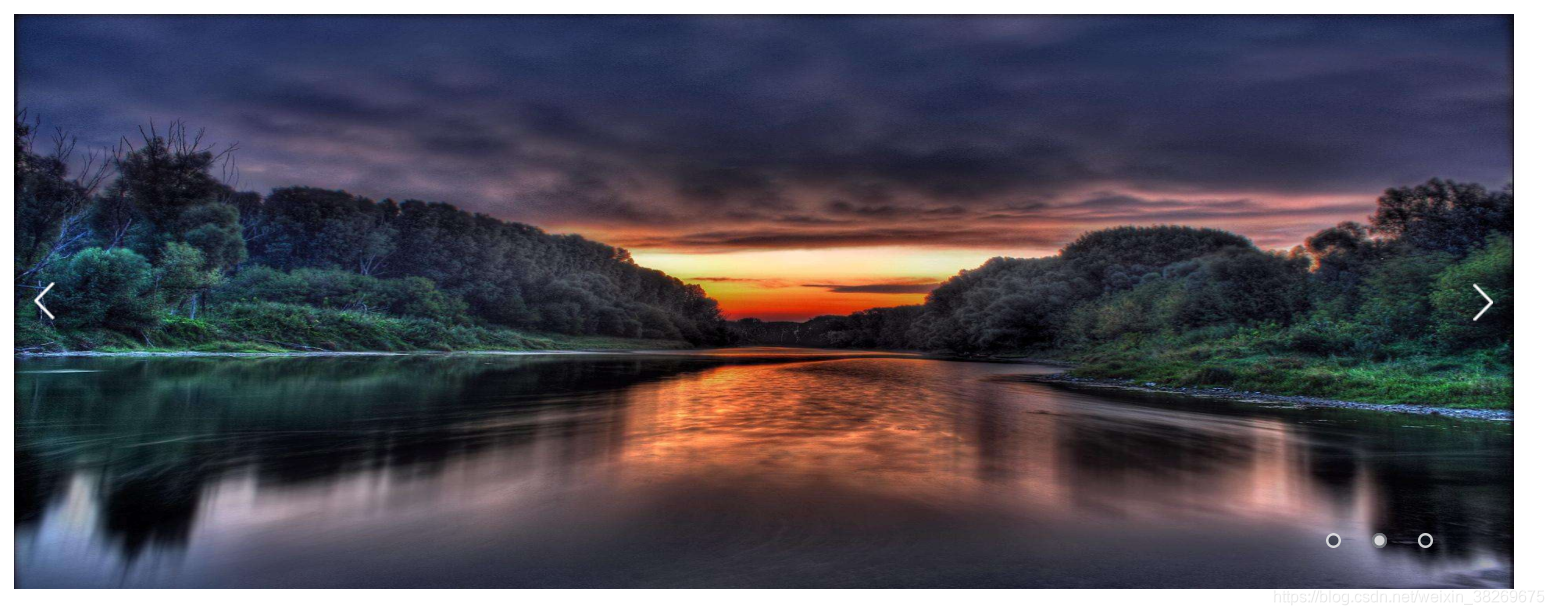
 本文介绍如何使用JavaScript、CSS和HTML实现一个自动切换的轮播图效果。通过设置图片绝对定位,配合定时器自动切换,鼠标悬停时停止切换,同时实现圆点和按钮的交互功能,点击圆点或按钮可以手动切换轮播图片。
轮播的背景图实际上都被层叠了在一个位置上(在这里使用的是 absolute这个属性)
下面是html的图片部分:
	<div class="picture" id="picture">
			<a href="" title="" class="active">
			<div class="pi" id='pi'>
				<img src="img/6.jpg" alt="" class="active1">
			</div>
		</a>
		<a href="" title="">
			<div class="pi">
				<img src="img/7.jpg" alt="">
			</div>
		</a>
		<a href="" title="">
			<div class="pi">
				<img src="img/8.jpg" alt="">
			</div>
		</a>
		</div>
下面是它对应的css属性:
	.picture,.pi{
			width: 1200px;
			height: 460px;
			position: absolute;
			top: 0;
		}
         .pi img{
         	width: 1200px;
         	height: 460px;

         }
        .picture a{
        	display: none;
        }
        .picture .active{
        	display: block;
        }
图片的切换:默认状态下,每隔3秒自动切换,鼠标在上面停止切换,下面是图片切换对应的js:
			main.function(){
				stop();
			}
			main.function(){
				start();
			}
圆点会随着图片的切换而切换到对应的位置上
下面是圆点的html:
<div class="dot" id="dot">
			<span class="active"></span>
			<span></span>
			<span></span>
		</div>
圆点的css属性:
.dot{
			width: 150px;
			height: 50px;
			position: absolute;
			right: 10px;
			bottom: 10px;
		}
		.dot span{
			width: 12px;
			height: 12px;
			border-radius: 50%;
			background-color: rgba(7, 17, 27, 0.5);
			display: inline-block;
			margin: 15px 10px;
			box-shadow:  0 0 0 2px rgba(255, 255, 255, 0.8) inset;
     		cursor: pointer;
		}
		.dot .active{
			background-color: rgba(255, 255, 255, 0.8);
			box-shadow:  0 0 0 2px rgba(7, 17, 27, 0.5) inset;
		}
点击圆点可以切换图片,下面是圆点切图的js:
for(var i=0;i<dot.length;i++)
			{
				dot[i].id=i;
				dot[i].function(){
					index=this.id;
					changeP();
				}
			}
点击两边的按钮也是可以切换图片的,两边的按钮对应的html:
<a class="b left" id="b1"></a>
			<a class="b right" id="b2"></a>
l两边按钮对应的css:
.b{
			width: 50px;
			height: 100px;
			/* border: 1px red solid;  */
			position: absolute;
			left: 0;
			top: 50%;
			margin-top: -50px;
			line-height: 100px;
			background: url('img/arrow.png') center center no-repeat;
			cursor: pointer;
			border-radius: 8px;
		}
		.left{
			transform: rotate(180deg);
		}
		.right{
			left: auto;
			right: 0;
		}
点击按钮切图的js:
b1.function(){
		    	index--;
		    	if(index<0)
		    		index=2;
		    	changeP();
		    }
		    b2.function(){
		    	index++;
		    	if(index==3)
		    		index=0;
		    	changeP();
		    }
完整代码:
<!DOCTYPE html>
<html lang="en">
<head>
	<meta charset="UTF-8">
	<title>lunbo</title>
	<style>
		.main{
			width: 1200px;
			height: 460px;
			margin: 20px auto;
			position: relative;
		}
		.picture,.pi{
			width: 1200px;
			height: 460px;
			position: absolute;
			top: 0;
		}
         .pi img{
         	width: 1200px;
         	height: 460px;

         }
        .picture a{
        	display: none;
        }
        .picture .active{
        	display: block;
        }
		.dot{
			width: 150px;
			height: 50px;
			position: absolute;
			right: 10px;
			bottom: 10px;
		}
		.dot span{
			width: 12px;
			height: 12px;
			border-radius: 50%;
			background-color: rgba(7, 17, 27, 0.5);
			display: inline-block;
			margin: 15px 10px;
			box-shadow:  0 0 0 2px rgba(255, 255, 255, 0.8) inset;
     		cursor: pointer;
		}
		.dot .active{
			background-color: rgba(255, 255, 255, 0.8);
			box-shadow:  0 0 0 2px rgba(7, 17, 27, 0.5) inset;
		}
		.b{
			width: 50px;
			height: 100px;
			/* border: 1px red solid;  */
			position: absolute;
			left: 0;
			top: 50%;
			margin-top: -50px;
			line-height: 100px;
			background: url('img/arrow.png') center center no-repeat;
			cursor: pointer;
			border-radius: 8px;
		}
		.left{
			transform: rotate(180deg);
		}
		.right{
			left: auto;
			right: 0;
		}
		.b:hover{
			background-color: rgba(7, 17, 27, 0.4);
		}
	</style>
</head>
<body>
	<div class="main" id='main'>
		<div class="picture" id="picture">
			<a href="" title="" class="active">
			<div class="pi" id='pi'>
				<img src="img/6.jpg" alt="" class="active1">
			</div>
		</a>
		<a href="" title="">
			<div class="pi">
				<img src="img/7.jpg" alt="">
			</div>
		</a>
		<a href="" title="">
			<div class="pi">
				<img src="img/8.jpg" alt="">
			</div>
		</a>
		</div>
		<div class="dot" id="dot">
			<span class="active"></span>
			<span></span>
			<span></span>
		</div>
			<a class="b left" id="b1"></a>
			<a class="b right" id="b2"></a>

	</div>
	<script>
		var timer=null;
		var main=byId('main');
		var index=0;
		var a=byId('picture').getElementsByTagName('a');
		var dot=byId('dot').getElementsByTagName('span');
		var b1=byId("b1");
		var b2=byId("b2");
		console.log(main);
		console.log(a.length);
		console.log(dot.length);
		function byId(id)
		{
			return typeof(id)==='string'?document.getElementById(id):id;
		}
		function changeP(){
			for(var i=0;i<a.length;i++)
			{
					a[i].style.display = 'none';
					dot[i].className='';
			}
			a[index].style.display = 'block';
			dot[index].className='active';
		}
		function start(){
			timer=setInterval(function(){
				console.log(index);
				changeP();
				index++;
				if(index==3)
					index=0;
			}, 3000);
		}
		function stop(){
			if(timer)
			clearInterval(timer);
		}
		function show(){
			main.function(){
				stop();
			}
			main.function(){
				start();
			}
			main.onmouseout();
			for(var i=0;i<dot.length;i++)
			{
				dot[i].id=i;
				dot[i].function(){
					index=this.id;
					changeP();
				}
			}
		    b1.function(){
		    	index--;
		    	if(index<0)
		    		index=2;
		    	changeP();
		    }
		    b2.function(){
		    	index++;
		    	if(index==3)
		    		index=0;
		    	changeP();
		    }
		}
		show();
	</script>
</body>
</html>


 1万+
1万+

 被折叠的 条评论
为什么被折叠?
被折叠的 条评论
为什么被折叠?
 到【灌水乐园】发言


