


 本文介绍了如何在Nginx服务器上配置多个二级域名(如www.xxxx.cn和blog.xxxx.cn)并使用多个CA证书实现HTTPS访问。首先,通过腾讯云申请CA证书并进行域名解析。然后,将证书文件放置于Nginx配置目录,并修改nginx.conf文件以分别将请求转发至不同端口。最后,通过命令测试Nginx配置的正确性。
说明
一级域名类似于baidu.com这样的,像www.biadu.com、tieba.baidu.com这样的属于二级域名,我们平时买的都是一级域名,有了一级域名之后对于二级域名我们是可以根据自己的需要随意配置的,我们的目的是配置出http(s)://www.xxxx.cn和http(s)://blog.xxxx.cn这样的二级可以用http(s)访问的域名。
并且是在一台服务器的Nginx下配置多个二级域名(例如:www.xxxx.cn和blog.xxxx.cn)及其CA证书(HTTPS)(emm 没办法,穷,一台服务器得多用)
快速开始
先来熟悉一下nginx的基本命令(如果nginx是默认安装的话,nginx在/usr/local/nginx下):
/usr/local/nginx/sbin/nginx  启动

/usr/local/nginx/sbin/nginx -c /usr/local/nginx/conf/nginx.conf  启动,载入当前配置

/usr/local/nginx/sbin/nginx -t 测试配置

/usr/local/nginx/sbin/nginx -s reload   加载配置--不是重启,但可以当重启使用

/usr/local/nginx/sbin/nginx -s stop    退出

/usr/local/nginx/sbin/nginx -s quit  保持未结束的进程后退出
好了,进入正题,既然要配置HTTPS,首先得有CA证书,这里以腾讯云的CA证书和域名为例(注意,由于现在免费的CA证书不是通配符的,所以我们必须为www.xxxx.cn和blog.xxxx.cn都得申请证书)。
申请CA证书戳-->https://console.cloud.tencent.com/ssl,在这按照提示申请CA证书
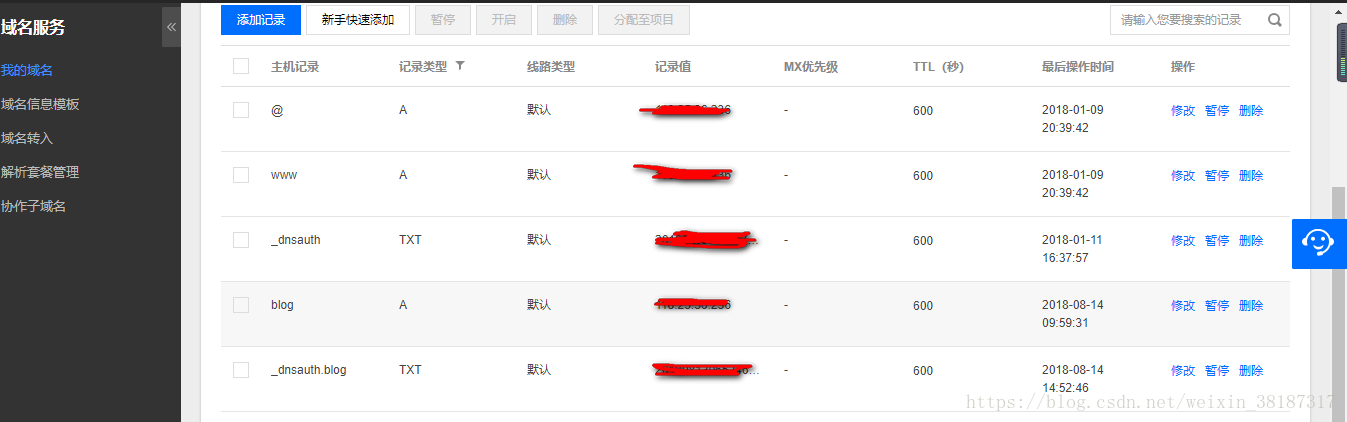
然后添加域名解析戳->https://console.cloud.tencent.com/domain/mydomain,添加www和blog的主机记录,记录值填你的服务器IP最后类似下图
然后下载你的两个CA证书,解压选择nginx目录下的两个文件(可以对其重命名,否则太长可能出问题,例如1_www.crt和1_www.key,1_blog.ctr和1_blog.key),将这四个文件拷贝到你服务器的/usr/local/nginx/conf/目录下。
然后修改nginx.conf文件:
	# 配置访问www.xxxx.cn的请求
    server {
        listen 80 default_server;
        listen 443 ssl;
	    charset utf-8;

   		server_name  www.xxxx.cn;

    	ssl_certificate /usr/local/nginx/conf/1_www.crt;
    	ssl_certificate_key /usr/local/nginx/conf/1_www.key;
    	ssl_session_timeout 5m;
    	ssl_protocols TLSv1 TLSv1.1 TLSv1.2;
    	ssl_ciphers ECDHE-RSA-AES128-GCM-SHA256:HIGH:!aNULL:!MD5:!RC4:!DHE;
    	ssl_prefer_server_ciphers on;


		#location ~ \.jsp$ {
		#	root /root/tomcat-8.5/webapps;
		#  	proxy_pass http://127.0.0.1:8080;
		#   proxy_set_header Host $host:		$server_port;
    	#   proxy_set_header X-Real-IP 			$remote_addr;
    	#   proxy_set_header X-Real-PORT 		$remote_port;
    	#   proxy_set_header X-Forwarded-For 	$proxy_add_x_forwarded_for;
		#}

		#location ~ \.html$ {
		#	root /root/tomcat-8.5/webapps;
		#  	proxy_pass http://127.0.0.1:8080;
		#	proxy_set_header Host 				$http_addr;
		#	proxy_set_header X-Real-IP 			$remote_addr;
		#	proxy_set_header X-Forwarded-For	$proxy_add_x_forwarded_for;
		#}

		location ~ /^[H,h][T,t][T,t][P,p][S,s]/ {

       	 	proxy_pass http://127.0.0.1:8080;
       	 	proxy_set_header Host 				$http_addr;
      	  	proxy_set_header X-Real-IP 			$remote_addr;
      	  	proxy_set_header X-Forwarded-For 	$proxy_add_x_forwarded_for;
      	  	#以上三行,目的是将代理服务器收到的用户的信息传到真实服务器上

			root /root/tomcat-8.5/webapps;
			index index.html index.htm;            #默认情况
		}

    	location / {

        	proxy_pass http://127.0.0.1:8080;
			proxy_set_header Host 				$http_addr;
			proxy_set_header X-Real-IP 			$remote_addr;
			proxy_set_header X-Forwarded-For 	$proxy_add_x_forwarded_for;

			root /root/tomcat-8.5/webapps;
			index index.html index.htm;            #默认情况
    	}

        #error_page  404              /404.html;

        # redirect server error pages to the static page /50x.html
        #
        error_page   500 502 503 504  /50x.html;
        location = /50x.html {
            root   html;
        }

        # proxy the PHP scripts to Apache listening on 127.0.0.1:80
        #
        #location ~ \.php$ {
        #    proxy_pass   http://127.0.0.1;
        #}

        # pass the PHP scripts to FastCGI server listening on 127.0.0.1:9000
        #
        #location ~ \.php$ {
        #    root           html;
        #    fastcgi_pass   127.0.0.1:9000;
        #    fastcgi_index  index.php;
        #    fastcgi_param  SCRIPT_FILENAME  /scripts$fastcgi_script_name;
        #    include        fastcgi_params;
        #}

        # deny access to .htaccess files, if Apache's document root
        # concurs with nginx's one
        #
        #location ~ /\.ht {
        #    deny  all;
        #}
    }


	# 配置访问blog.xxxx.cn的请求
    server {
        listen 80;
        listen 443 ssl;
	    charset utf-8;

    	server_name  blog.xxxx.cn;


    	ssl_certificate /usr/local/nginx/conf/1_blog.crt;
    	ssl_certificate_key /usr/local/nginx/conf/1_blog.key;
    	ssl_session_timeout 5m;
    	ssl_protocols TLSv1 TLSv1.1 TLSv1.2;
    	ssl_ciphers ECDHE-RSA-AES128-GCM-SHA256:HIGH:!aNULL:!MD5:!RC4:!DHE;
    	ssl_prefer_server_ciphers on;


		location ~ /^[H,h][T,t][T,t][P,p][S,s]/ {

        	proxy_pass http://127.0.0.1:8081;
        	proxy_set_header Host 				$http_addr;
        	proxy_set_header X-Real-IP 			$remote_addr;
        	proxy_set_header X-Forwarded-For 	$proxy_add_x_forwarded_for;
        	#以上三行,目的是将代理服务器收到的用户的信息传到真实服务器上

			root /root/tomcat-8.5/webapps;
			index index.html index.htm;            #默认情况
		}

		# 这里配置使用HTTP访问的请求
    	location / {

        	proxy_pass http://127.0.0.1:8081;
			proxy_set_header Host 				$http_addr;
			proxy_set_header X-Real-IP 			$remote_addr;
			proxy_set_header X-Forwarded-For 	$proxy_add_x_forwarded_for;

			root /root/tomcat-8.5/webapps;
			index index.html index.htm;            #默认情况
        }

        #error_page  404              /404.html;

        # redirect server error pages to the static page /50x.html
        #
        error_page   500 502 503 504  /50x.html;
        location = /50x.html {
            root   html;
        }
    }
这样就成功将访问http(s)://www.xxxx.cn的转发到8080端口,而访问http(s)://blog.xxxx.cn的转发到8081端口
最后测试看nginx配置是否正确:
/usr/local/nginx/sbin/nginx -t 测试配置

/usr/local/nginx/sbin/nginx -s reload   加载配置--不是重启,但可以当重启使用


 9288
9288

 被折叠的 条评论
为什么被折叠?
被折叠的 条评论
为什么被折叠?
 到【灌水乐园】发言


