


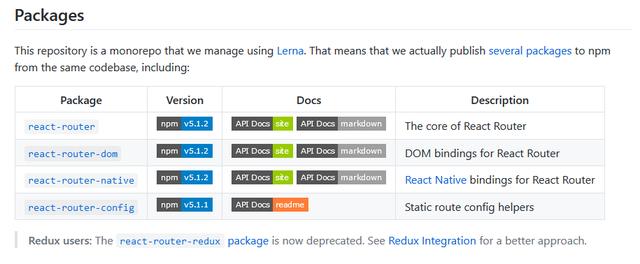
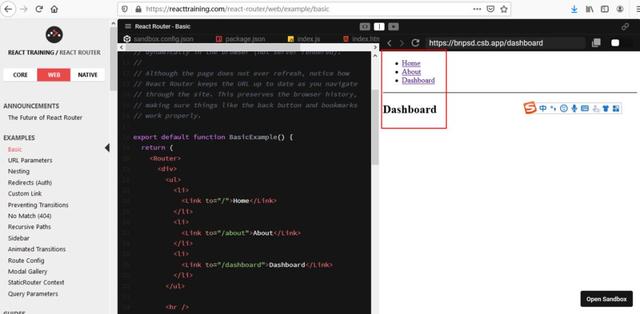
路由react-router可以实现根组件自动挂载其他不同的子组件,今天写一个路由的配置首先打开github搜索react-router,看一下上面有写好的示例,照葫芦画瓢即可:
https://reacttraining.com/react-router/web/example/basic
具体步骤1:新建组件
在components文件夹底下新建3个组件页面,用于页面跳转路由的示例:
Home.js
import React, { Component } from 'react';class Home extends Component { constructor(props) { super(props); //react定义数据 this.state = { } } render() { return (
我是Home组件界面
) }}export default Home;
New.js
import React, { Component } from 'react';class News extends Component { constructor(props) { super(props); //react定义数据 this.state = { } } render() { return (
我是News界面
) }}export default News;
About.js
import React from 'react';class About extends React.Component { //构造函数 constructor(props) { super(props); //react定义数据 this.state = { } } render() { return (
我是About界面
) }}export default About;
2:安装路由模块
打开终端,进入项目,输入安装路由模块的命令。
cnpm install react-router-dom --save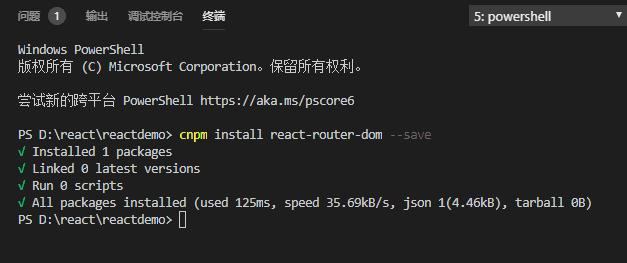
3:引入路由模块
安装完成之后,在根组件App.js里面引入路由模块。
import {BrowserRouter as Router,Route,Link} from "react-router-dom";4:路由代码
复制文档里面的路由配置的代码到根模块App.js里面。
5:引入前面面创建的3个组件
import Home from './components/Home';import About from './components/About';import News from './components/News';到这一步的时候,路由配置完成了。
6:页面跳转标签
我们需要写个li标签,将跳转组件的路径写在里面。
- Home
- News
- About
好了,现在可以测试一下了

App.js参考代码
import React from 'react';import {BrowserRouter as Router,Route,Link} from "react-router-dom";//引入新建的组件import Home from './components/Home';import About from './components/About';import News from './components/News';function App() { return(
Home News About
);}export default App;


 被折叠的 条评论
为什么被折叠?
被折叠的 条评论
为什么被折叠?
 到【灌水乐园】发言


