


 本文介绍了如何在小程序中实现选项卡切换效果,包括CSS样式和JavaScript交互代码。示例代码展示了swiper组件的使用,以及如何通过bindchange事件处理滑动时的切换,并更新当前选中状态。
本文实例为大家分享了小程序实现选项卡效果的具体代码,供大家参考,具体内容如下
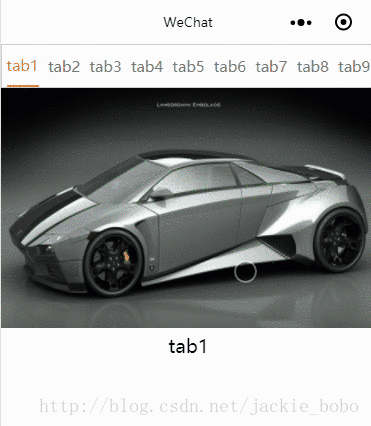
效果图:
github源码下载
{{item.title}}
{{item.title}}
CSS:
/**index.wxss**/
/**index.wxss**/
.swiper-tab {
line-height: 80rpx;
border: 1px solid #ccc;
display: flex;
justify-content: space-around;
align-items: center;
}
.swiper-tab-list {
font-size: 30rpx;
color: #777;
text-align: center;
}
.active {
color: #da7c0c;
border-bottom: 5rpx solid #da7c0c;
}
.swiper-box {
display: block;
height: 100%;
width: 100%;
overflow: hidden;
}
.swiper-box view {
text-align: center;
}
image {
width: 100%;
}
js:
Page({
/**
* 页面的初始数据
*/
data: {
currentTab:0,
tabCont: [{ "title": "tab1", "pic": "../../img/1.jpg", "index": "0" }, { "title": "tab2", "pic": "../../img/2.jpg", "index": "1" }, { "title": "tab3", "pic": "../../img/3.jpg", "index": "2" }, { "title": "tab4", "pic": "../../img/2.jpg", "index": "3" }, { "title": "tab5", "pic": "../../img/2.jpg", "index": "4" }, { "title": "tab6", "pic": "../../img/2.jpg", "index": "5" }, { "title": "tab7", "pic": "../../img/2.jpg", "index": "6" }, { "title": "tab8", "pic": "../../img/2.jpg", "index": "7" }, { "title": "tab9", "pic": "../../img/2.jpg", "index": "8" }],
},
/**
* 生命周期函数--监听页面加载
*/
onLoad: function (options) {
},
/**
* 生命周期函数--监听页面初次渲染完成
*/
onReady: function () {
},
/**
* 生命周期函数--监听页面显示
*/
onShow: function () {
},
/**
* 生命周期函数--监听页面隐藏
*/
onHide: function () {
},
/**
* 生命周期函数--监听页面卸载
*/
onUnload: function () {
},
/**
* 页面相关事件处理函数--监听用户下拉动作
*/
onPullDownRefresh: function () {
},
/**
* 页面上拉触底事件的处理函数
*/
onReachBottom: function () {
},
/**
* 用户点击右上角分享
*/
onShareAppMessage: function () {
},
// swiper滑动时触发bindchange事件,获取事件对象e获取当前所在滑块的 index,并将其更新至data的currentTab中,视图渲染通过判断currentTab的让对应的tab hover。
GetCurrentTab:function(e){
console.log(e.detail.current);
var that = this;
this.setData({
currentTab:e.detail.current
});
// console.log("11111"+this.data.currentTab);
},
swithNav:function(e){
var that = this;
that.setData({
currentTab:e.target.dataset.current
});
}
})
以上就是本文的全部内容,希望对大家的学习有所帮助,也希望大家多多支持脚本之家。


 1036
1036

 被折叠的 条评论
为什么被折叠?
被折叠的 条评论
为什么被折叠?
 到【灌水乐园】发言


