


 本文介绍如何在Spring Boot项目中整合Disconf配置中心,并通过XML配置文件实现动态配置加载。主要内容包括:使用@ImportResource导入XML配置文件、Disconf配置文件详解及Spring Bean配置。
spring-boot虽然不推荐使用xml文件做为配置文件,但是并没有把路堵死,所以与disconf的整合,仍旧可以沿用之前的xml方式来处理。
一、在Application类上用注解导入xml
package com.example;

import org.springframework.boot.SpringApplication;
import org.springframework.boot.autoconfigure.SpringBootApplication;
import org.springframework.context.annotation.ComponentScan;
import org.springframework.context.annotation.ImportResource;

@SpringBootApplication
@ComponentScan(basePackages = {"com.example"})
@ImportResource({"classpath:spring-context.xml"})
public class WebApplication {

    public static void main(String[] args) {
        SpringApplication.run(WebApplication.class, args);
    }
}
注意这行 @ImportResource({"classpath:spring-context.xml"}) ,这里导入了一个xml的配置入口文件,这个是关键!
spring-context.xml内容如下:
<?xml version="1.0" encoding="UTF-8"?>

<beans xmlns="http://www.springframework.org/schema/beans"
       xmlns:xsi="http://www.w3.org/2001/XMLSchema-instance"
       xsi:schemaLocation="http://www.springframework.org/schema/beans
        http://www.springframework.org/schema/beans/spring-beans.xsd">

    <import resource="classpath:spring-disconf.xml"/>
    <import resource="classpath:spring-bean.xml"/>

</beans>
二、disconf配置文件spring-disconf.xml
<?xml version="1.0" encoding="UTF-8"?>

<beans xmlns="http://www.springframework.org/schema/beans"
       xmlns:xsi="http://www.w3.org/2001/XMLSchema-instance" xmlns:aop="http://www.springframework.org/schema/aop"
       xsi:schemaLocation="http://www.springframework.org/schema/beans
        http://www.springframework.org/schema/beans/spring-beans.xsd
        http://www.springframework.org/schema/aop
        http://www.springframework.org/schema/aop/spring-aop.xsd">

    <aop:aspectj-autoproxy proxy-target-class="true"/>

    <bean id="disconfMgrBean" class="com.baidu.disconf.client.DisconfMgrBean"
          destroy-method="destroy">
        <property name="scanPackage" value="com.example"/>
    </bean>
    <bean id="disconfMgrBean2" class="com.baidu.disconf.client.DisconfMgrBeanSecond"
          init-method="init" destroy-method="destroy">
    </bean>

    <bean id="configproperties_disconf"
          class="com.baidu.disconf.client.addons.properties.ReloadablePropertiesFactoryBean">
        <property name="locations">
            <list>
                <value>app.properties</value>
            </list>
        </property>
    </bean>

    <bean id="propertyConfigurer"
          class="com.baidu.disconf.client.addons.properties.ReloadingPropertyPlaceholderConfigurer">
        <property name="ignoreResourceNotFound" value="true"/>
        <property name="ignoreUnresolvablePlaceholders" value="true"/>
        <property name="propertiesArray">
            <list>
                <ref bean="configproperties_disconf"/>
            </list>
        </property>
    </bean>
</beans>
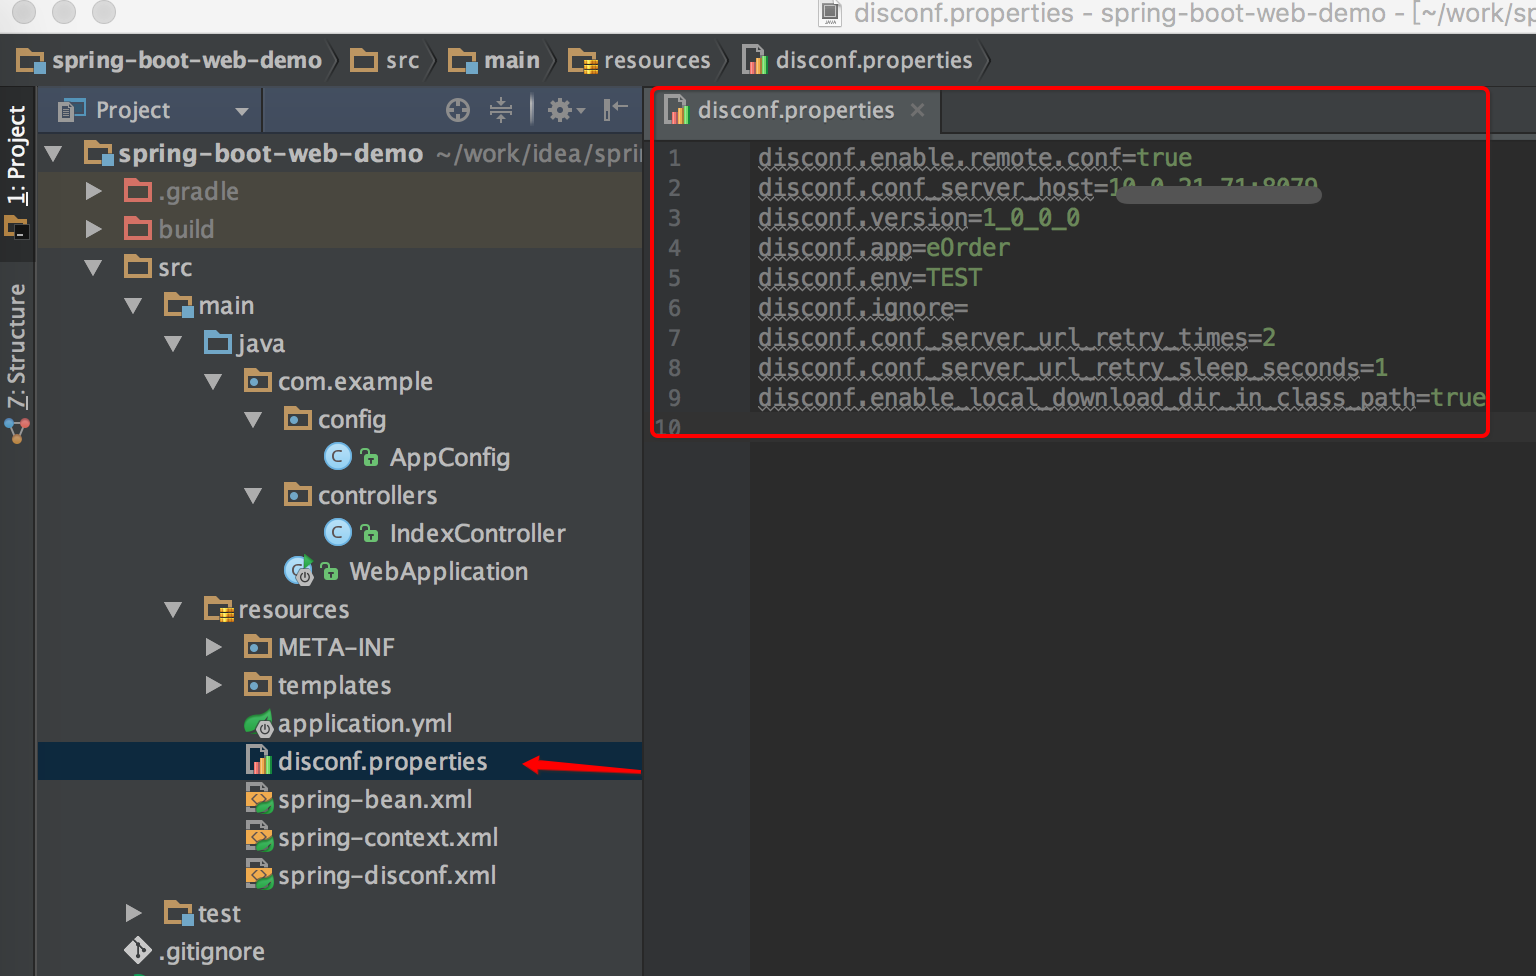
跟以前不用spring-boot的时候,一毛一样。当然还要有一个disconf.properties文件,参考下图:
三、spring-bean.xml中使用disconf注入的属性
<?xml version="1.0" encoding="UTF-8"?>
<beans xmlns="http://www.springframework.org/schema/beans"
       xmlns:xsi="http://www.w3.org/2001/XMLSchema-instance"
       xsi:schemaLocation="http://www.springframework.org/schema/beans
       http://www.springframework.org/schema/beans/spring-beans.xsd">

    <bean id="appConfig" class="com.example.config.AppConfig">
        <property name="checkSign" value="${checkSign}"/>
        <property name="sendEmailWhenStart" value="${sendEmailWhenStart}"/>
        <property name="env" value="${app.env}"/>
        <property name="sendEmailWhenError" value="${sendEmailWhenError}"/>
    </bean>

</beans>
AppConfig是一个演示用的配置类
package com.example.config;

import lombok.Data;

/**
 * Created by yangjunming on 2017/4/17.
 */
@Data
public class AppConfig {
    private String env;
    private boolean sendEmailWhenStart;
    private boolean sendEmailWhenError;
    private boolean checkSign;
}
剩下的事情,就跟之前用spring+disconf时完全一样了,不再赘述。


 2万+
2万+

 被折叠的 条评论
为什么被折叠?
被折叠的 条评论
为什么被折叠?
 到【灌水乐园】发言


