


 本文详细介绍了如何在Android应用中实现一个工程从另一个工程的页面进行跳转的方法,包括将工程设置为librarymodule、添加依赖、修改AndroidManifest.xml文件及实现逻辑跳转的完整步骤。
操作很简单,但是搜索资料很麻烦,竟然一天都没有搞定。特此Mark。
文章结构:
1.场景需求
2.操作原理
3.操作步骤
3.1 配置library module
3.2 添加依赖
3.3 调用实现
4.运行
5.优点好处
1.场景需求:
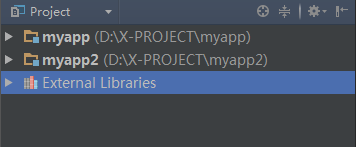
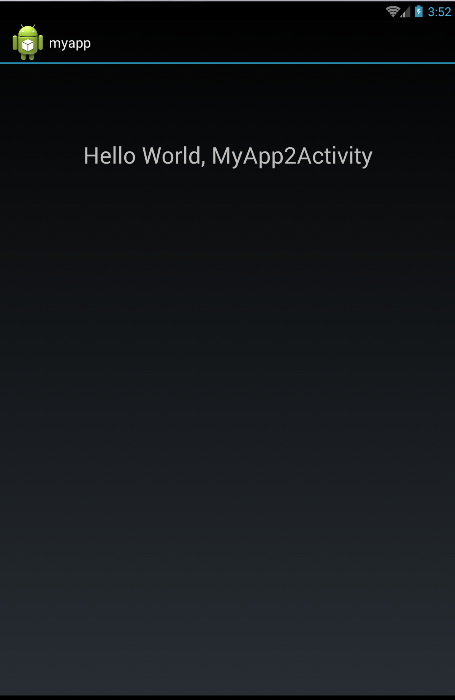
独立开发了两个工程,myapp & myapp2。 myapp打印“Hello World, MyApp1Activity”,myapp2打印“Hello World, MyApp2Activity”。截图如下:
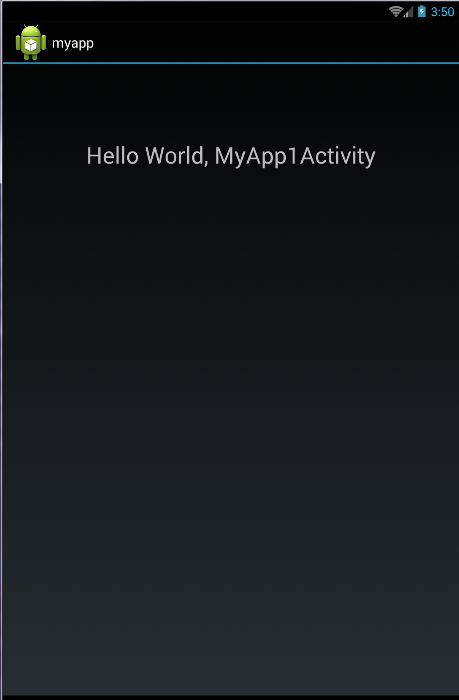

现在需要从myapp1中打开原是myapp2中的页面。
2.操作原理:
其实就是要把myapp2设为library module然后给myapp1添加module dependency即可。
3.操作步骤:
3.1配置library module
打开Project structure,点开你要作为library的module即myapp2,然后点击android,在右边框的Library module前√打上(在eclipse中有个 Is_Library的选项,在idea中的这个选项让我好找啊!)。

现在就已经将myapp2设为了library module,具体项目变化就是:
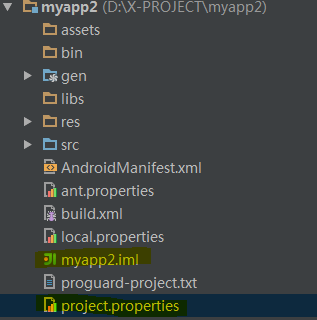
这两个文件发生了变化。其中project.properties中多了一行配置:
android.library=true
而myapp2.iml(idea项目配置文件,idea自动生成)中的配置成了这样子:

这是library module的配置,跟application module 是有区别的。如myapp1的配置就是这样:
3.2添加依赖
选中你要引用library的module即myapp1,如下图操作红色框框起来的按钮即可。

选中右边module dependency之后会出现弹窗,选中需要引用的myapp2即可。
至此引用操作完成,剩下的就是操作逻辑的实现。
3.3调用实现:
1).在myapp1的AndroidManifest.xml中加入myapp2中的MyApp2Activity。代码如下:
 1 <?xml version="1.0" encoding="utf-8"?>
 2 <manifest xmlns:android="http://schemas.android.com/apk/res/android"
 3           package="com.example.myapp"
 4           android:versionCode="1"
 5           android:versionName="1.0">
 6     <uses-sdk android:minSdkVersion="16"/>
 7     <application android:label="@string/app_name" android:icon="@drawable/ic_launcher">
 8         <activity android:name=".MyApp1Activity"
 9                   android:label="@string/app_name">
10             <intent-filter>
11                 <action android:name="android.intent.action.MAIN"/>
12                 <category android:name="android.intent.category.LAUNCHER"/>
13             </intent-filter>
14         </activity>
15         <activity android:name="com.example.myapp2.MyApp2Activity"
16                   android:label="@string/app_name">
17
18         </activity>
19     </application>
20 </manifest>
2).在myapp1的入口MyApp1Activity添加一个按钮,跳转到myapp2中的MyApp2Activity。代码如下:
 1 package com.example.myapp;
 2
 3 import android.app.Activity;
 4 import android.content.Intent;
 5 import android.os.Bundle;
 6 import android.view.View;
 7 import android.widget.Button;
 8 import com.example.myapp2.MyApp2Activity;
 9
10 public class MyApp1Activity extends Activity {
11     /**
12      * Called when the activity is first created.
13      */
14     @Override
15     public void onCreate(Bundle savedInstanceState) {
16         super.onCreate(savedInstanceState);
17         setContentView(R.layout.main);
18         init();
19     }
20     private void init(){
21         Button btn = (Button) findViewById(R.id.lib_button);
22         btn.setOnClickListener(new View.OnClickListener() {
23             @Override
24             public void onClick(View v) {
25                 Intent intent = new Intent(MyApp1Activity.this,MyApp2Activity.class);
26                 startActivity(intent);
27             }
28         });
29
30     }
31 }
需要注意:
1.myapp1中一定要在menifest中加入MyApp2Activity的声明,不然会报错。
2.调用MyApp2Activity时要import MyApp2Activity所在包名路径,如上边的import com.example.myapp2.MyApp2Activity;
4.运行
至此便可以运行程序了,截图如下:
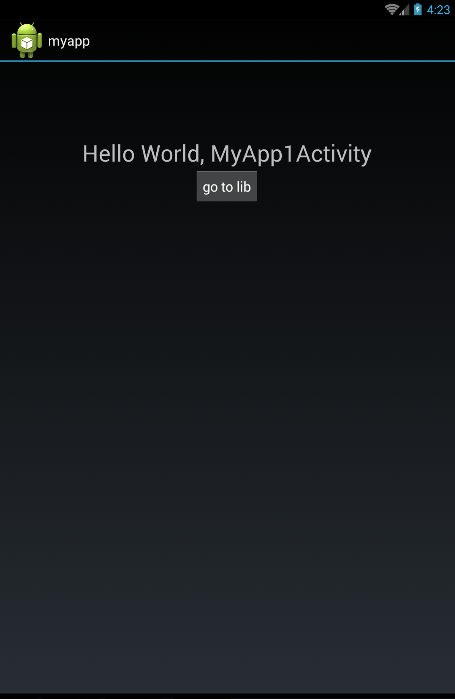
点击按钮跳转到myapp2中的MyApp2Acitivity
操作完成。
5.优点好处:
接下来就可以独立开发工程了,开发完后以library module的形式导入,实在太容易扩展了。赞!
参考:此文


 1167
1167

 被折叠的 条评论
为什么被折叠?
被折叠的 条评论
为什么被折叠?
 到【灌水乐园】发言


