


 本文介绍如何将即时通讯框架t-io与Java Web框架JFinal进行整合,以实现与硬件设备的长连接通信。文章提供了详细的步骤和代码示例,包括如何配置t-io依赖、整合到JFinal项目中以及在Controller层发送消息。

本人 JFinal 脑残粉,最近公司几个项目都需要跟硬件交互,这就得用到长连接,之前一直没接触过该领域,本来还想花时间研究下netty,讲真挺难啃的,找资料的时候翻到 t-io,略微了解发现似乎学习成本极低,没想到作者本人也极其nice,解答我这个门外小伙子好多个问题,顺利用上此框架,刚好解了我的燃眉之急。
什么是 t-io? t-io是基于java aio实现的即时通讯框架,源于作者另一个久经考验的talent-nio框架,但在易用性、性能及代码可读性方面又远远超越了talent-nio。
顺便放上传送门:https://my.oschina.net/talenttan/blog/863545
最新demo代码:https://gitee.com/xiaoxustudent/jfinal-tio
废话不说,下面正题:
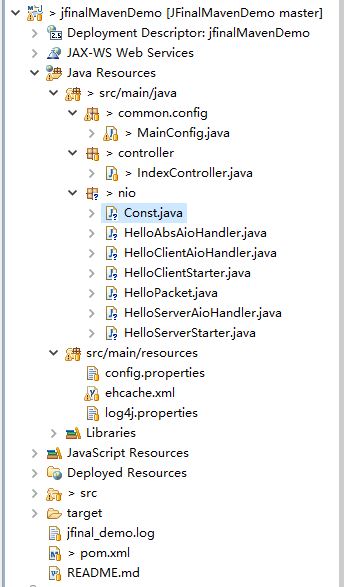
- 下载talent-aio的demo,demo极其简单,主要还是看HelloAbsAioHandler这个类的编码协议,剩下的就是看Aio的类了,api 貌似都在这。具体不介绍了,上面有链接,要注意的是Client端与Server端协议要一致。在这里说下我之前踩的坑,比如talent-aio的demo代码中的协议是有header的,Server端对客户端没有要求,但必须遵循交互协议,所以若是你用百度出来的socket实例连Server要注意,这里我们用回本身提供的Client代码就可以了。
- 导入talnet-aio依赖。
<dependency> <groupId>com.talent-aio</groupId> <artifactId>talent-aio-server</artifactId> <version>1.6.6.v20170318-RELEASE</version> </dependency> - 怎么整合到JFinal上去呢?我们只要将talent-aio的server端在JFinal启动的时候顺便也启动起来就ok了。得益JFinal 插件扩展极其方便(说的这里很感谢波总), 过程也极其简单,让HelloServerStarter实现JFinal的IPlugin接口就ok 了。
import java.io.IOException; import com.jfinal.plugin.IPlugin; import com.talent.aio.server.AioServer; import com.talent.aio.server.ServerGroupContext; import com.talent.aio.server.intf.ServerAioHandler; import com.talent.aio.server.intf.ServerAioListener; /** * * @author tanyaowu * @创建时间 2016年11月17日 下午5:59:24 * * @操作列表 编号 | 操作时间 | 操作人员 | 操作说明 (1) | 2016年11月17日 | tanyaowu | 新建类 * */ public class HelloServerStarter implements IPlugin { public static ServerGroupContext<Object, HelloPacket, Object> serverGroupContext = null; static AioServer<Object, HelloPacket, Object> aioServer = null; // 可以为空 static ServerAioHandler<Object, HelloPacket, Object> aioHandler = null; static ServerAioListener<Object, HelloPacket, Object> aioListener = null; static String serverIp = null; static int serverPort = Const.PORT; public static void main(String[] args) throws IOException { aioHandler = new HelloServerAioHandler(); aioListener = null; // 可以为空 serverGroupContext = new ServerGroupContext<>(aioHandler, aioListener); aioServer = new AioServer<>(serverGroupContext); aioServer.start(serverIp, serverPort); } @Override public boolean start() { aioHandler = new HelloServerAioHandler(); aioListener = null; // 可以为空 serverGroupContext = new ServerGroupContext<>(aioHandler, aioListener); aioServer = new AioServer<>(serverGroupContext); try { aioServer.start(serverIp, serverPort); } catch (IOException e) { e.printStackTrace(); return false; } return true; } @Override public boolean stop() { return aioServer.stop(); } } - 这里为了方便我把demo的代码copy过来了,具体环境中看个人操作,不多说。
- 然后我们在MainConfig中 加入这个插件就可以了。
-
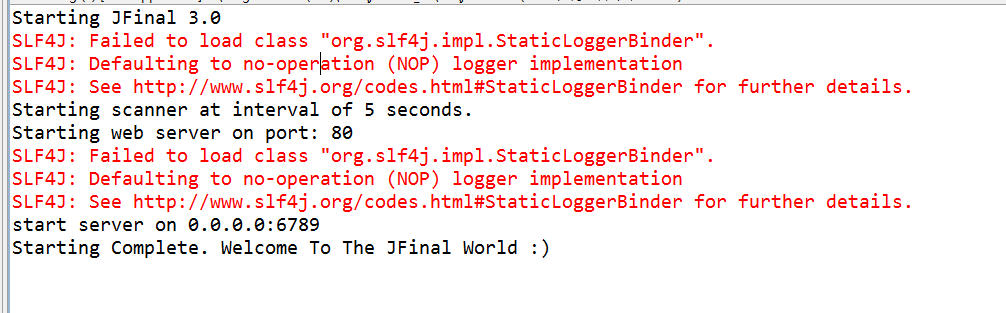
@Override
	public void configPlugin(Plugins me) {
		me.add(new HelloServerStarter());
	}
启动结果如下:
-
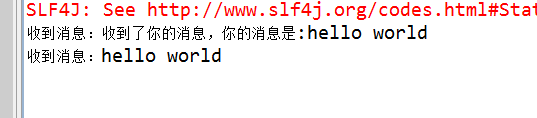
- 右键执行HelloClientStarter,会发现服务器收到了信息,客户端也收到了服务器返回的信息。
- 客户端:收到消息:收到了你的消息,你的消息是:hello world
- 服务器:收到消息:hello world
- 当然业务需求肯定没简单,这里我弄了个简单常用的功能场景。客户端连接上来后,服务器保存起这个客户,Controller收到业务请求,需要发送信息给指定客户端。 实现方式如下:
- 在 HelloServerAioHandler 中,客户端连进来的时候用Aio.bindUser(channelContext, userid)这个方法把用户存起来,这里我写死1234,实际应该是根据IP或者发送信息来确定。
/**
 * **************************************************************************
 *
 * @说明:
 * @项目名称: talent-aio-examples-server
 *
 * @author: tanyaowu
 * @创建时间: 2016年11月18日 上午9:13:15
 *
 * **************************************************************************
 */
package nio;

import com.talent.aio.common.Aio;
import com.talent.aio.common.ChannelContext;
import com.talent.aio.server.intf.ServerAioHandler;

/**
 *
 * @author tanyaowu
 * @创建时间 2016年11月18日 上午9:13:15
 *
 * @操作列表 编号 | 操作时间 | 操作人员 | 操作说明 (1) | 2016年11月18日 | tanyaowu | 新建类
 *
 */
public class HelloServerAioHandler extends HelloAbsAioHandler implements
		ServerAioHandler<Object, HelloPacket, Object> {
	/**
	 * 处理消息
	 */
	@Override
	public Object handler(HelloPacket packet,
			ChannelContext<Object, HelloPacket, Object> channelContext)
			throws Exception {
		byte[] body = packet.getBody();
		if (body != null) {
			String str = new String(body, HelloPacket.CHARSET);
			System.out.println("收到消息:" + str);
			// 绑定长连接
			Aio.bindUser(channelContext, "1234");
			HelloPacket resppacket = new HelloPacket();
			resppacket.setBody(("收到了你的消息,你的消息是:" + str)
					.getBytes(HelloPacket.CHARSET));
			Aio.send(channelContext, resppacket);

		}
		return null;
	}
}
然后在中Controller调用Aio.sendToUser(HelloServerStarter.serverGroupContext, getPara(), hello); 发送消息给该客户端。
package controller;

import nio.HelloPacket;
import nio.HelloServerStarter;

import com.jfinal.core.Controller;
import com.talent.aio.common.Aio;

public class IndexController extends Controller{
	public void index(){
		render("index.jsp");
	}

	public void aio(){
		HelloPacket hello = new HelloPacket();
		byte arr[] = {104, 101, 108, 108, 111, 32, 119, 111, 114, 108, 100}	;
		hello.setBody(arr);
		Aio.sendToUser(HelloServerStarter.serverGroupContext, getPara(), hello);
		renderJson();
	}

}
启动项目访问http://localhost/aio/1234,客户端就能收到信息。
-
2018-11-06 最新截图
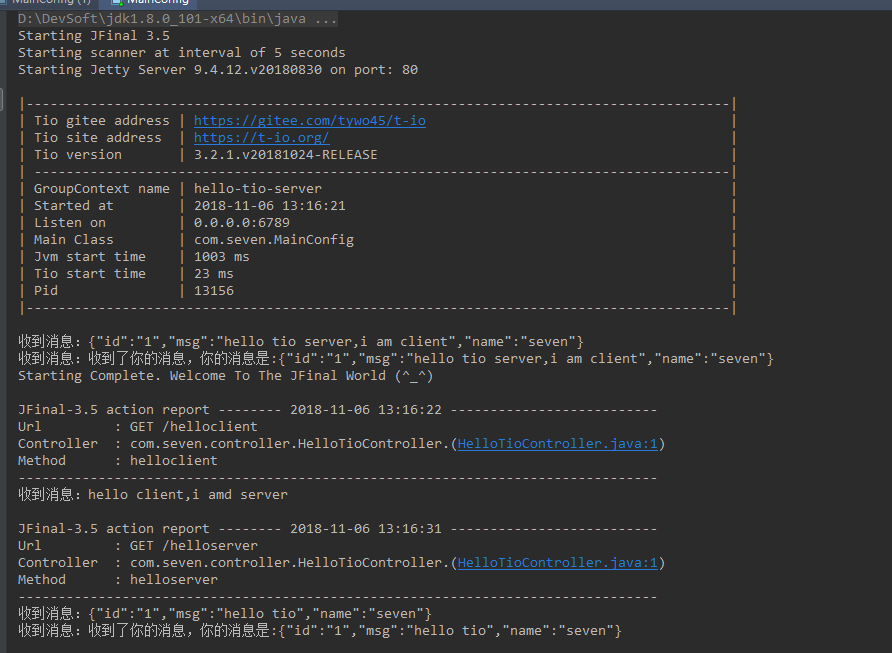
-
总结:这是我第一次写博文,有什么写得不好的请多笑纳,也是希望能帮到有同样需求的人。附上代码:https://gitee.com/xiaoxustudent/jfinal-tio


 560
560

 被折叠的 条评论
为什么被折叠?
被折叠的 条评论
为什么被折叠?
 到【灌水乐园】发言


