


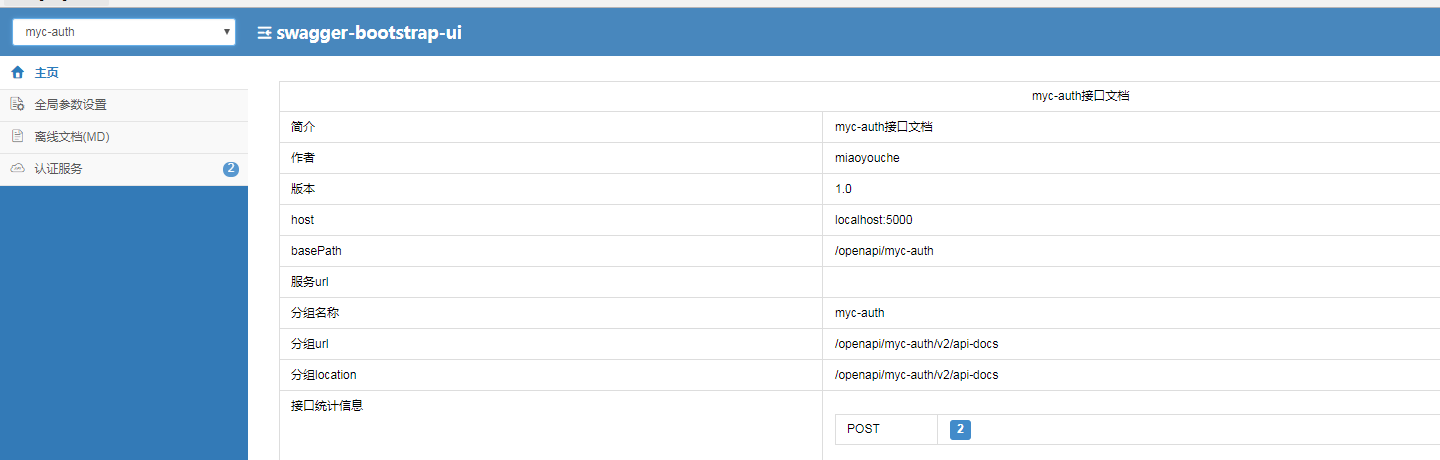
先看下效果图:

myc-order:代表订单服务
myc-user:代表用户服务
myc-car:代表车服务
...等等
下面我简单说下集成步骤和关键点。
1.在每个服务的pom中添加以下依赖。
  <dependency>
            <groupId>io.springfox</groupId>
            <artifactId>springfox-swagger2</artifactId>
        </dependency>
注意:仅仅需要添加这个就行。zuul负责ui
2.将这个放到你的config启动,注意这里我用了一个占位符获取当前文档的名称,避免写死后续可能添加其他模块。
@ConditionalOnClass(value = {Swagger.class})
@Configuration
@EnableSwagger2
public class SwaggerConfig {
    @Value("${spring.application.name}")
    private String applicationName;
    @Bean
    public Docket createRestApi() {
        return new Docket(DocumentationType.SWAGGER_2)
                .apiInfo(apiInfo())
                .select()
                .apis(RequestHandlerSelectors.basePackage("com.miaoyouche"))
                .paths(PathSelectors.any())
                .build()
                .globalOperationParameters(parameters());
    }

    private ApiInfo apiInfo() {
        return new ApiInfoBuilder()
                .title(applicationName+"接口文档")
                .description(applicationName+"接口文档")
                .contact(new Contact("miaoyouche", "http://www.miaoyouche.com", "mail.xxx@miaoyouche.com"))
                .version("1.0")
                .build();
    }

    private List<Parameter> parameters() {
        ParameterBuilder parameterBuilder = new ParameterBuilder();
        List<Parameter> parameters = new ArrayList<>();
        parameterBuilder.name("Authorization")
                .description("Authorization")
                .modelRef(new ModelRef("string"))
                .parameterType("header")
                .required(false).build();
        parameters.add(parameterBuilder.build());
        return parameters;
    }

}
接着是zuul的配置
3.在zuul的config中添加如下配置,注意这里有个apiNames是所有的分组服务名,避免写死,直接从配置文件读取
@Component
@Primary
public class DocumentationConfig implements SwaggerResourcesProvider {
    @Value("${rest.api.names}")
    private String[] apiNames;

    @Override
    public List<SwaggerResource> get() {
        List resources = new ArrayList<>();
        if (apiNames != null) {
            Arrays.stream(apiNames).forEach(s ->
                    resources.add(swaggerResource(s, "/openapi/" + s + "/v2/api-docs", "2.0"))
            );
        }
        return resources;
    }

    private SwaggerResource swaggerResource(String name, String location, String version) {
        SwaggerResource swaggerResource = new SwaggerResource();
        swaggerResource.setName(name);
        swaggerResource.setLocation(location);
        swaggerResource.setSwaggerVersion(version);
        return swaggerResource;
    }
}
4.zuul的pom文件中添加以下依赖:
  <dependency>
            <groupId>io.springfox</groupId>
            <artifactId>springfox-swagger2</artifactId>
        </dependency>
 <dependency>
            <groupId>com.github.xiaoymin</groupId>
            <artifactId>swagger-bootstrap-ui</artifactId>
        </dependency>
5.zuul的代理配置:
zuul:
  routes:
    myc-user:
      path: /openapi/myc-user/**
      serviceId: myc-user
    myc-car:
      path: /openapi/myc-car/**
      serviceId: myc-car
    myc-auth:
      path: /openapi/myc-auth/**
      serviceId: myc-auth
    myc-order:
      path: /openapi/myc-order/**
      serviceId: myc-order
  stripPrefix: true
  sensitiveHeaders:
下面就是启动项目进行访问了:
http://localhost:port/doc.html


 818
818

 被折叠的 条评论
为什么被折叠?
被折叠的 条评论
为什么被折叠?
 到【灌水乐园】发言


