 iOS进度条实现


 本文介绍了一个简单的iOS应用案例,展示了如何使用Swift实现进度条的显示和动态更新,并通过按钮控制进度条的变化。
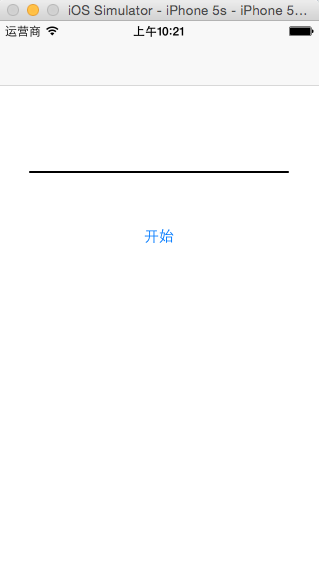
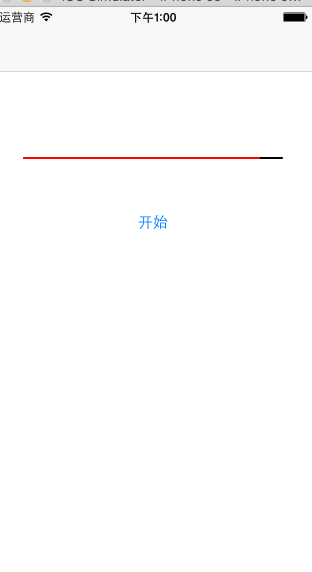
一: 效果图
效果描述: 点击开始按钮,进度条随着时间改变
二: 工程图

三: 修改工程文件
1. 这里使用手动释放的方法:点击工程名,点击右边的Build Settings,在搜索框中输入gar,把Automatic Reference Counting 改为NO
2. 在AppDelegate.h中,把实例变量window的引用计数方式strong 为retain
3. 在AppDelegate.m中,重写dealloc方法
4. 在AppDelegate.m中,初始化self.window的时候添加自动释放
四: 代码区
AppDelegate.h
#import <UIKit/UIKit.h>

@interface AppDelegate : UIResponder <UIApplicationDelegate>

@property (retain, nonatomic) UIWindow *window;


@end
AppDelegate.m
#import "AppDelegate.h"
#import "RootViewController.h"

@interface AppDelegate ()

@end

@implementation AppDelegate

- (void)dealloc
{
    self.window = nil;

    [super dealloc];
}
- (BOOL)application:(UIApplication *)application didFinishLaunchingWithOptions:(NSDictionary *)launchOptions {
    self.window = [[[UIWindow alloc] initWithFrame:[[UIScreen mainScreen] bounds]] autorelease];
    // Override point for customization after application launch.

    RootViewController *rootVC = [[RootViewController alloc] init];

    UINavigationController *navigationController = [[UINavigationController alloc] initWithRootViewController:rootVC];

    self.window.rootViewController = navigationController;

    [rootVC release];

    [navigationController release];


    self.window.backgroundColor = [UIColor whiteColor];
    [self.window makeKeyAndVisible];
    return YES;
}

@end
RootViewController.h
#import <UIKit/UIKit.h>

@interface RootViewController : UIViewController

@end
RootViewController.m
#import "RootViewController.h"
@interface RootViewController ()
// 创建进度条实例变量
@property (nonatomic , retain) UIProgressView *progressView;
@end
@implementation RootViewController
- (void)viewDidLoad {
[super viewDidLoad];
// Do any additional setup after loading the view.
// 调用对象,生成progressView
[self createProgressView];
// 创建控制按钮
UIButton *button = [UIButton buttonWithType:UIButtonTypeSystem];
// 设置按钮位置大小
button.frame = CGRectMake(120, 200, 80, 30);
// 设置按钮样式,添加文字
[button setTitle:@"开始" forState:UIControlStateNormal];
// 添加到视图对象
[self.view addSubview:button];
// 关联方法
[button addTarget:self action:@selector(beginGame) forControlEvents:UIControlEventTouchUpInside];
}
// 创建progressView对象的方法
-(void)createProgressView {
// 创建progressView对象
self.progressView = [[UIProgressView alloc] initWithFrame:CGRectMake(30, 150, 260, 0)];
// 设置风格
_progressView.progressViewStyle = UIProgressViewStyleDefault;
// 设置进度颜色
_progressView.progressTintColor = [UIColor redColor];
// 设置轨迹色
_progressView.trackTintColor = [UIColor blackColor];
// 初始化起始位置
_progressView.progress = 0.0;
// 添加到父视图
[self.view addSubview:_progressView];
// 释放
[_progressView release];
}
// 按钮事件
- (void)beginGame {
// 初始化progressView的进度位置
self.progressView.progress = 0.0;
// 设置事件触发时间间隔
[NSTimer scheduledTimerWithTimeInterval:0.05 target:self selector:@selector(handleProgressBar:) userInfo:nil repeats:YES];
}
//
-(void)handleProgressBar:(NSTimer *)timer {
// 防止时间过度递增
if (_progressView.progress >= 1.0) {
[timer invalidate]; // 时间终止
}
// progressView进度累加
self.progressView.progress +=0.01;
}
- (void)didReceiveMemoryWarning {
[super didReceiveMemoryWarning];
// Dispose of any resources that can be recreated.
}
/*
#pragma mark - Navigation
// In a storyboard-based application, you will often want to do a little preparation before navigation
- (void)prepareForSegue:(UIStoryboardSegue *)segue sender:(id)sender {
// Get the new view controller using [segue destinationViewController].
// Pass the selected object to the new view controller.
}
*/
@end


 945
945

 被折叠的 条评论
为什么被折叠?
被折叠的 条评论
为什么被折叠?
 到【灌水乐园】发言


