一:编辑安装脚本
[root@KVM ~]# cat ins-win01.sh
virt-install -v -n SN001_windows01 -r 1024 --vcpus=1 -c /root/tasks/win2003.iso --vnc --vncport=5900 --vnclisten=0.0.0.0 --os-type=windows -f /dev/vg01/windows01_sys -f /dev/vg01/windows01_data -w bridge:br2 --connect qemu:///system
----------------------------------------
-v 全虚拟化客户端 半虚拟化为-p
-n 虚拟机名称
-r 虚拟机分配的内存
--vcpu 虚拟机分配的cpu核数
-c 使用的CD-ROM路径
--vnc 使用图形配置
--vncport vnc使用的端口
--vnclisten vnc监听的地址
--os-type 虚拟机类型
-f 指定虚拟机的存储设备
-w 虚拟机使用的桥
[root@KVM ~]#sh ins-win01.sh
运行脚本后查看vnc端口 为5900
[root@KVM ~]# ps -ef|grep vnc
root 15432 15431 0 18:02 pts/1 00:00:02 /usr/bin/python -tt /usr/sbin/virt-install -v -n SN349_windows01 -r 1024 --vcpus=1 -c /root/tasks/win2003.iso --vnc --vncport=5900 --vnclisten=0.0.0.0 --os-type=windows -f /dev/vg01/windows01_sys -f /dev/vg01/windows01_data -w bridge:br2 --connect qemu:///system
qemu 15444 1 99 18:02 ?
二:使用vnc客户端工具管理windows虚拟机
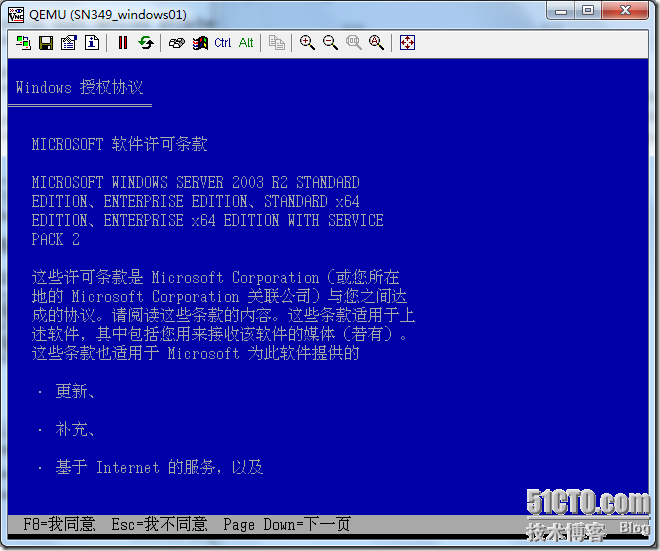
--使用vnc客户端工具连接至虚拟机即可
转载于:https://blog.51cto.com/songxj/1173166


 本文提供了一个用于安装Windows虚拟机的脚本示例,并详细解释了各参数的意义,包括虚拟机配置、存储设置及网络桥接等。同时介绍了如何通过VNC客户端远程管理虚拟机。


 3489
3489

 被折叠的 条评论
为什么被折叠?


