


 本文详细介绍了如何在Windows环境下使用Nexus搭建Maven私服,并提供了从下载、安装到配置使用的完整流程。通过本教程,你可以轻松地将本地项目与私服连接起来。
记录菜鸟旅程:
公司的项目大部分用maven进行管理,关于maven的作用待以后详述,今天记录下自己在windows上利用nexus搭建maven私服的过程。
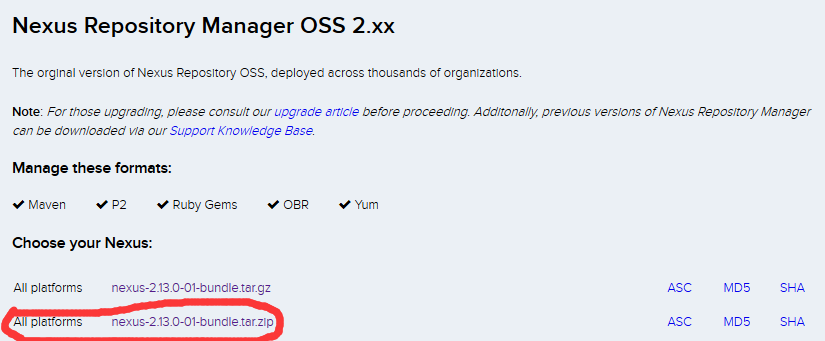
第一步:下载maven,开源版本的下载地址http://www.sonatype.org/nexus/go ,我下载的是nexus-2.13.0-01版本,如下图
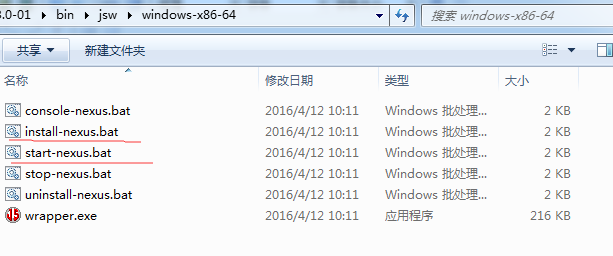
第二步:解压文件到本地,我的系统版本为win7 64位,所以我去\bin\jsw\windows-x86-64下去安装并启动服务,首先执行install-nexus.bat,再执行start-nexus.bat
如图
第三步:打开客户端 http://localhost:8081/nexus 点击右上角Log,默认用户 amdin, 密码 admin123 进入操作页面
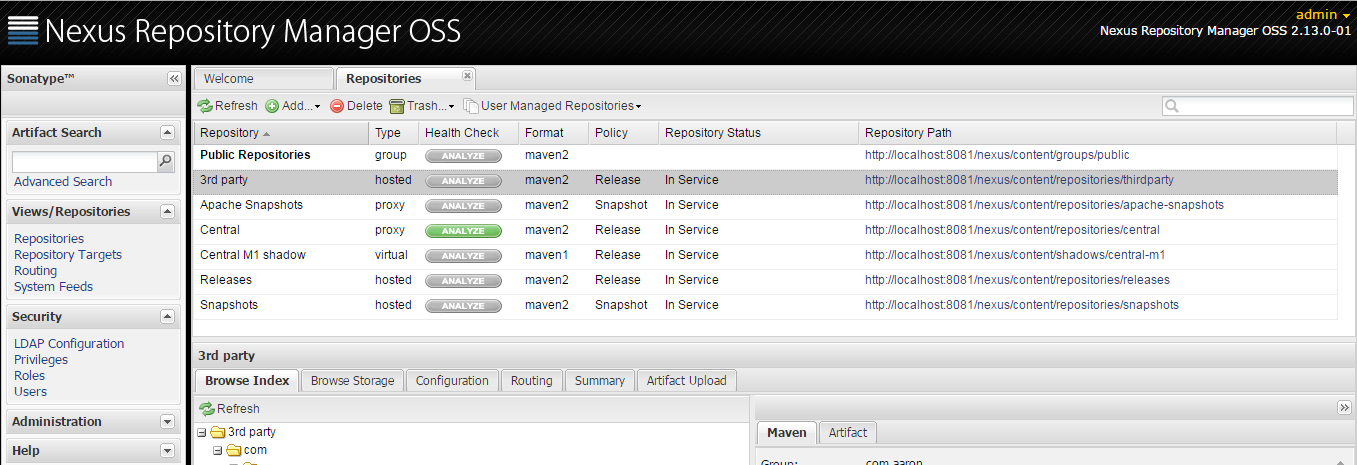
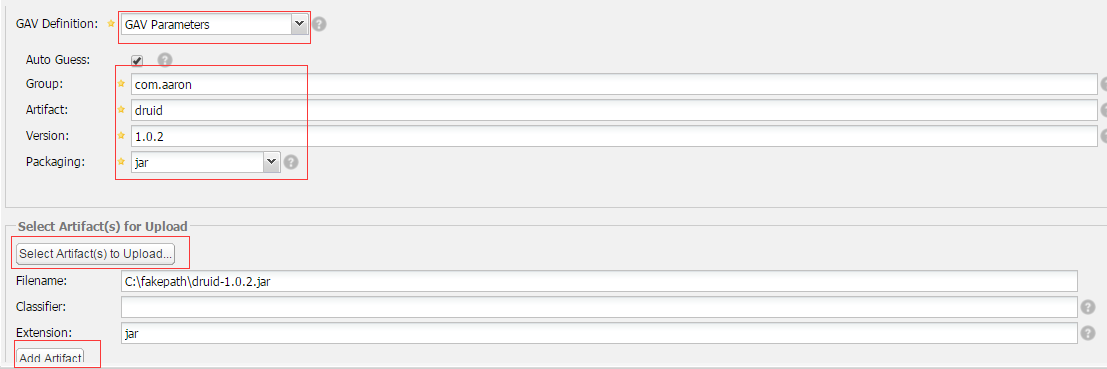
第四步:上传本地jar包到私服。操作很简单,点击左侧 Repositories , 点击3rd party, 点击Artifact Upload ,如下操作
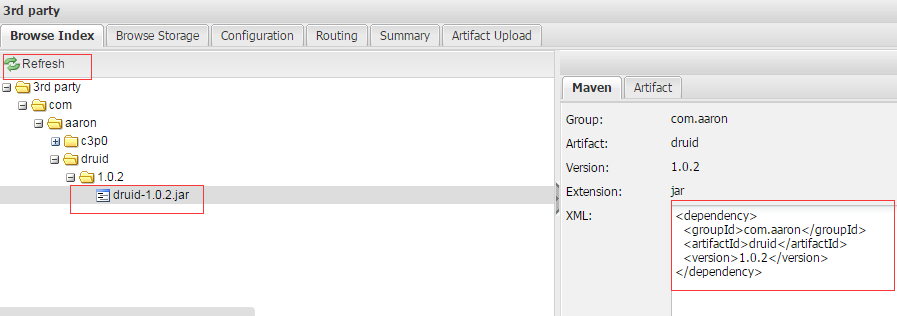
第五步:上述步骤完成后,已经上传到了私服,怎么使用呢?点击Browes Index 查询pom中文件格式
第六步:新建maven项目,在pom.xml中引入本地私服,代码如下
<repositories>
<repository>
<id>nexus</id>
<name>Team Nexus Repository</name>
<url>http://localhost:8081/nexus/content/groups/public</url>
</repository>
</repositories>
<pluginRepositories>
<pluginRepository>
<id>nexus</id>
<name>Team Nexus Repository</name>
<url>http://localhost:8081/nexus/content/groups/public</url>
</pluginRepository>
</pluginRepositories>
第七步:引用,代码:
<dependencies>
<dependency>
<groupId>com.aaron</groupId>
<artifactId>druid</artifactId>
<version>1.0.2</version>
</dependency>
</dependencies>
至此,配置完成,其他深入的用法,日后慢慢追加。


 2152
2152

 被折叠的 条评论
为什么被折叠?
被折叠的 条评论
为什么被折叠?
 到【灌水乐园】发言


