


 本文详细介绍了如何在单机环境下部署多个Tomcat实例,并通过Nginx的upstream模块实现负载均衡。从Nginx的安装、配置到启动过程中的常见错误处理,再到利用upstream模块配置多Tomcat实例的负载均衡,提供了完整的步骤和解决方案。
1.环境说明
本测试环境基于 https://blog.51cto.com/11573159/2407685 单机部署多tomcat,让nginx利用upstream模块负载多tomcat实例
2.nginx下载
[root@localhost ~]# yum -y install wget
[root@localhost ~]# wget http://nginx.org/download/nginx-1.13.12.tar.gz
3.解压nginx到安装目录
[root@localhost ~]# mkdir /usr/local/nginx
[root@localhost ~]# mv nginx-1.13.12/* /usr/local/nginx/
4.安装编译环境
[root@localhost ~]# yum -y install gcc gcc-c++ zlib zlib-devel pcre-devel openssl openssl-devel
后边configure时再提示有什么组件少的,直接安装即可
5.安装
[root@localhost ~]# cd /usr/local/nginx/
[root@localhost nginx]# ls
auto  CHANGES  CHANGES.ru  conf  configure  contrib  html  LICENSE  man  README  src
[root@localhost nginx]# ./configure
[root@localhost nginx]# make && make install
6.启动nginx
[root@localhost nginx]# sbin/nginx -s reload    #启动nginx
nginx: [alert] could not open error log file: open() "/usr/local/nginx/logs/error.log" failed (2: No such file or directory)
2019/06/12 13:00:39 [notice] 17915#0: signal process started
2019/06/12 13:00:39 [error] 17915#0: open() "/usr/local/nginx/logs/nginx.pid" failed (2: No such file or directory)
7.nginx启动报错处理
如上启动后出错了,提示没有error.log文件,解决方法很简单,根据提示路径创建即可
[root@localhost nginx]# ls
auto  CHANGES  CHANGES.ru  conf  configure  contrib  html  LICENSE  Makefile  man  objs  README  sbin  src
[root@localhost nginx]# mkdir logs
[root@localhost nginx]# touch logs/error.log
还有个错误是少了logs/nginx.pid,使用nginx -c的参数指定nginx.conf文件的位置可解决
[root@localhost nginx]# /usr/local/nginx/sbin/nginx -c /usr/local/nginx/conf/nginx.conf
[root@localhost nginx]# sbin/nginx -s reload   #再次重启OK
[root@localhost nginx]# firewall-cmd --permanent --add-service=http #开通防火墙http
success
[root@localhost nginx]# firewall-cmd --reload
success
8.利用upstream模块配置多tomcat负载
[root@localhost ~]# vim /usr/local/nginx/conf/nginx.conf
events {
    worker_connections  1024;
}
http {
    include       mime.types;
    default_type  application/octet-stream;

    #log_format  main  '$remote_addr - $remote_user [$time_local] "$request" '
    #                  '$status $body_bytes_sent "$http_referer" '
    #                  '"$http_user_agent" "$http_x_forwarded_for"';
    #access_log  logs/access.log  main;
    sendfile        on;
    #tcp_nopush     on;
    #keepalive_timeout  0;
    keepalive_timeout  65;

    #gzip  on;        #添加如下upstream模块配置
upstream nginxserver {
server 192.168.0.68:8081 weight=1; #tomcat1,不配置权重的话默认是1,可不配置
server 192.168.0.68:8082 weight=2; #tomcat2,权重配2,意思是轮询显示的时候,tomcat1显示1次后切换到tomcat2显示2次页面请求,再显示tomcat1,则根据权重轮询显示
}
    server {
        listen       80;   #nginx监听端口,默认80,可根据实际情况修改
        server_name  localhost;
        #charset koi8-r;
        #access_log  logs/host.access.log  main;
        location / {
            root   html;
            index  index.html index.htm;
            proxy_pass http://nginxserver;      #添加代理地址,名称和upstream后一致
        }
[root@localhost ~]# /usr/local/nginx/sbin/nginx -s reload   #重启nginx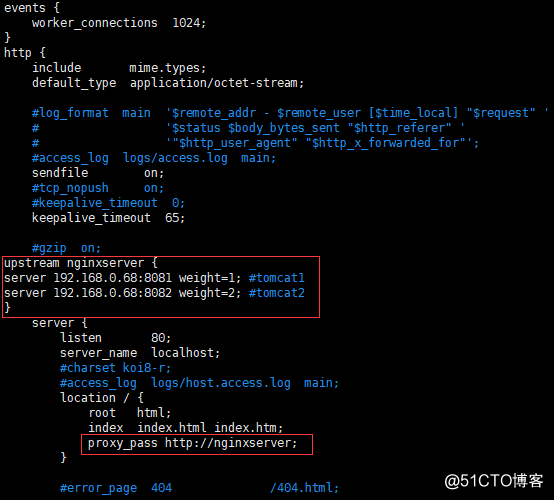
9.验证页面负载
http://192.168.0.68/ #显示tomcat1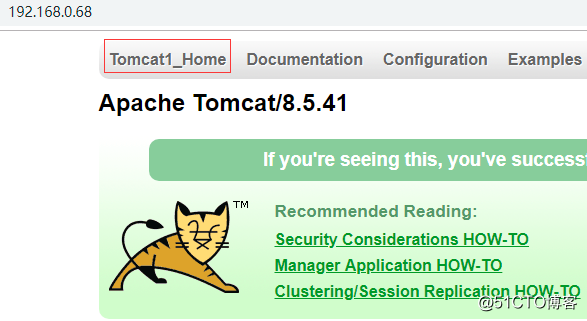
刷新页面,显示tomcat2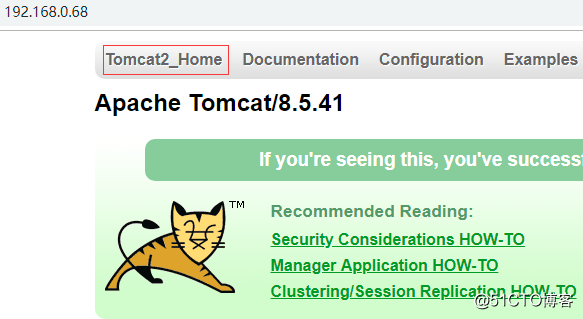
再次刷新页面,依然显示tomcat2
再次刷新页面,显示tomcat1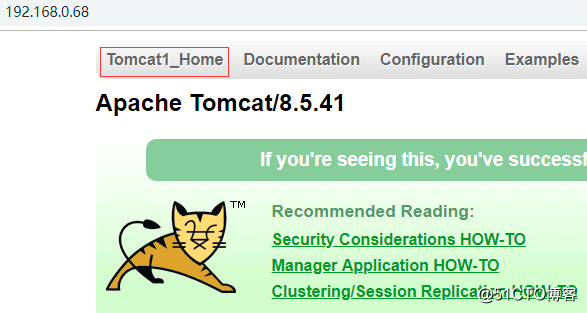
转载于:https://blog.51cto.com/11573159/2407749


 479
479

 被折叠的 条评论
为什么被折叠?
被折叠的 条评论
为什么被折叠?
 到【灌水乐园】发言


