


使用Maven创建的springmvc工程发布到tomcat
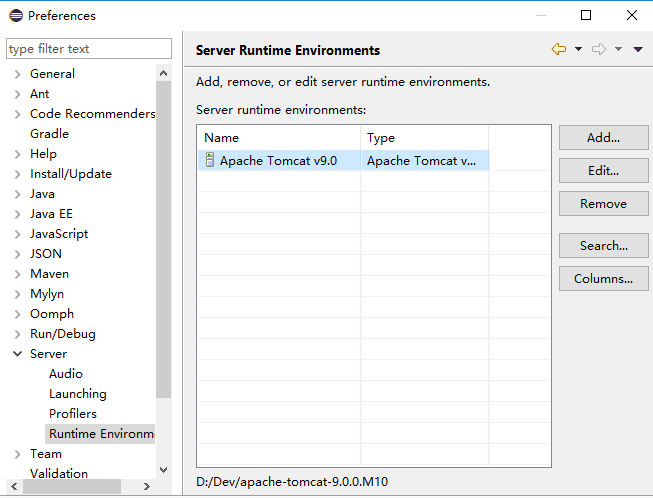
1、建好tomcat环境:(点击add, 选择Tomcat)
(如果列表中没有Apache Tomcat,可能是因为eclipse缺少插件,可以:
Help > Install New Software
Select the neon site: http://download.eclipse.org/releases/neon
Expand the 'Web, XML, and Java EE Development' node
Select and install 'JST Server Adapters' and 'JST Server Adapters Extensions'
Window > Preferences > Server > Runtime Environments > Add)
默认会同时新建一个tomcat server
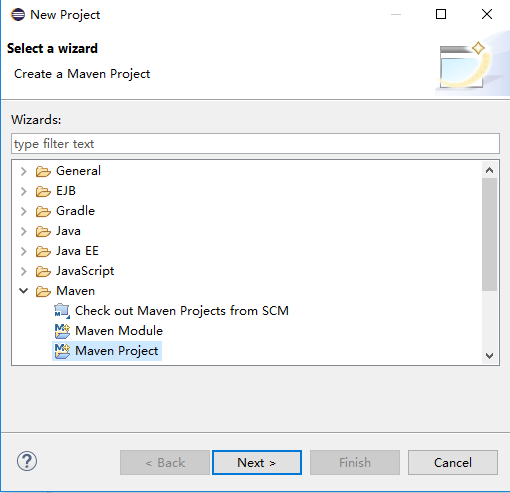
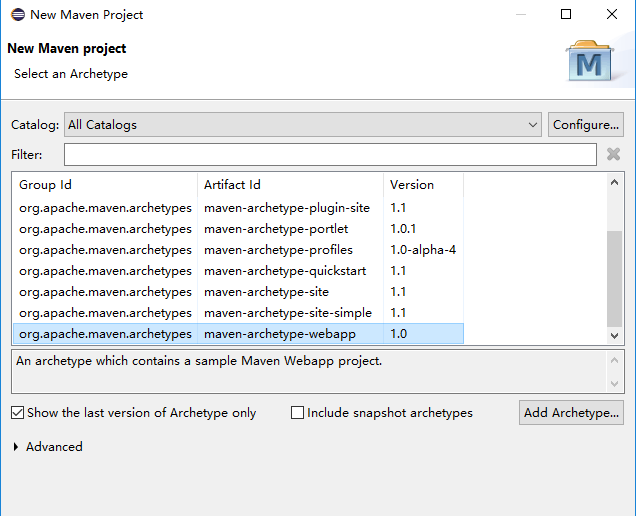
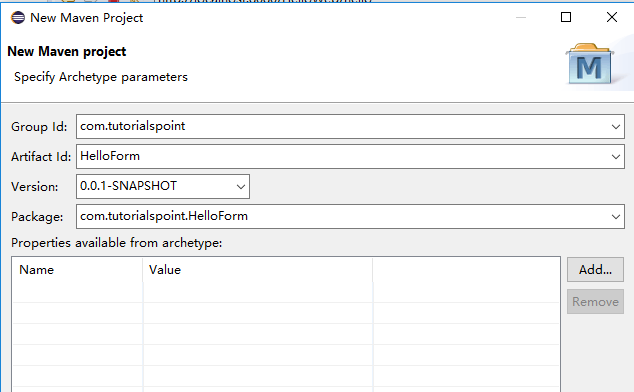
2、创建一个Maven Project, 选择类型为webapp
3、双击pom.xml, 添加依赖

4、修改maven project的properties中的project Facets
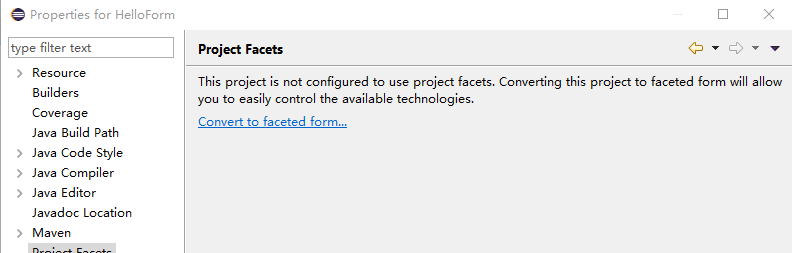
勾上Dynamic Web Module
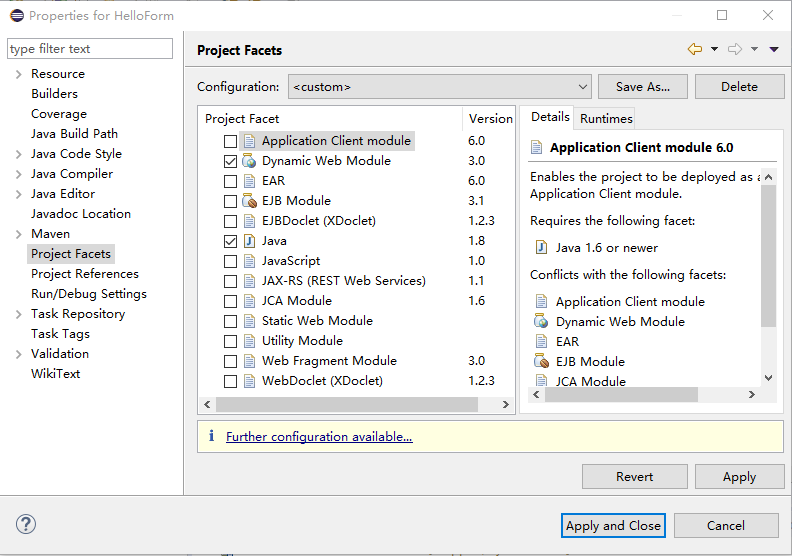
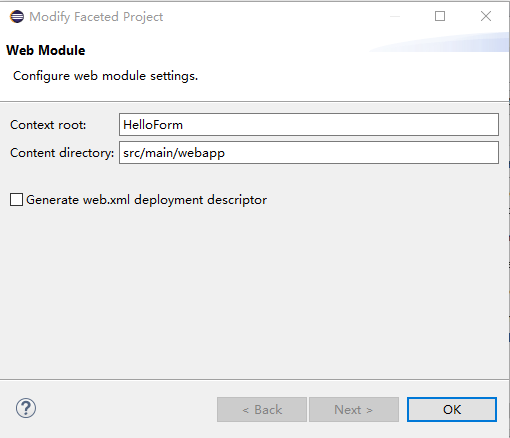
点击futher configuration available... 修改Content directory为:src/main/webapp
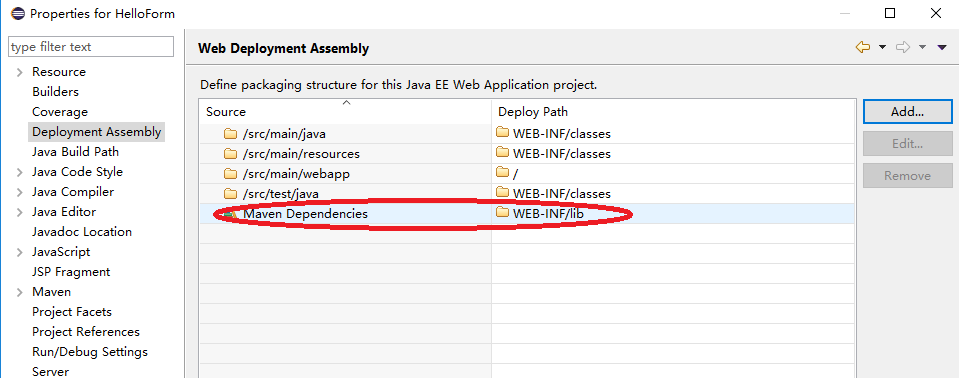
选择工程的properties,找到Deployment Assembly, 可以看到
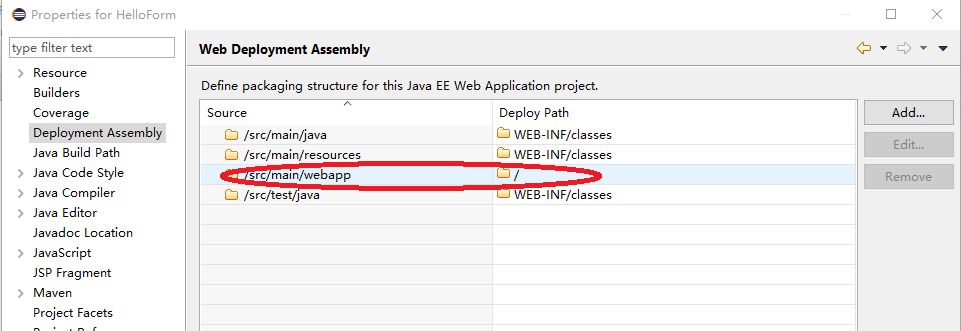
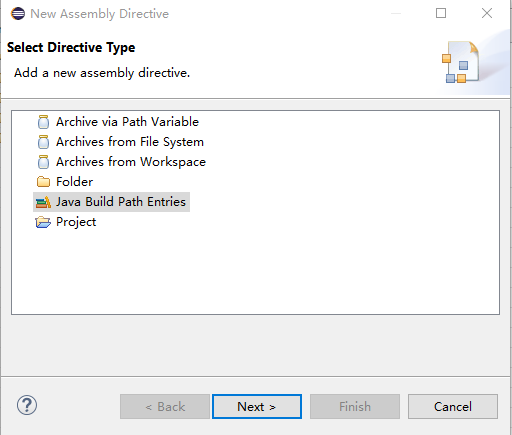
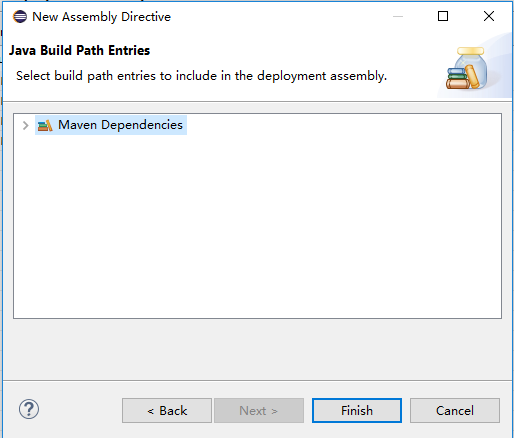
再点击Add,选择Java Build Path Entries,将Maven的包添加到运行时。(否则可能在Eclipse调试时,加时过程中找不到org.springframework.web.servlet.DispatcherServlet)
5、修改web.xml
xmlns="http://java.sun.com/xml/ns/j2ee"
xmlns:xsi="http://www.w3.org/2001/XMLSchema-instance"
xsi:schemaLocation="http://java.sun.com/xml/ns/j2ee
http://java.sun.com/xml/ns/j2ee/web-app_2_4.xsd">
Spring MVC Application
HelloWeb
org.springframework.web.servlet.DispatcherServlet
1
HelloWeb
/
6、WEB-INF下加入HelloWeb-servlent.xml
xmlns:context="http://www.springframework.org/schema/context"
xmlns:xsi="http://www.w3.org/2001/XMLSchema-instance"
xsi:schemaLocation="
http://www.springframework.org/schema/beans
http://www.springframework.org/schema/beans/spring-beans-3.0.xsd
http://www.springframework.org/schema/context
http://www.springframework.org/schema/context/spring-context-3.0.xsd">
7、在src/main/java下新建com.tutorialspoint.HelloController
package com.tutorialspoint;
import org.springframework.stereotype.Controller;
import org.springframework.web.bind.annotation.RequestMapping;
import org.springframework.web.bind.annotation.RequestMethod;
import org.springframework.ui.ModelMap;
@Controller
@RequestMapping("/hello")
public class HelloController{
@RequestMapping(method = RequestMethod.GET)
public String printHello(ModelMap model) {
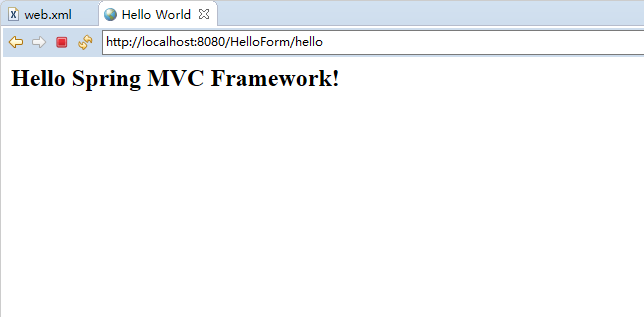
model.addAttribute("message", "Hello Spring MVC Framework!");
return "hello";
}
}
8、在WEB-INF下新建jsp目录,放入hello.jsp
Hello World${message}
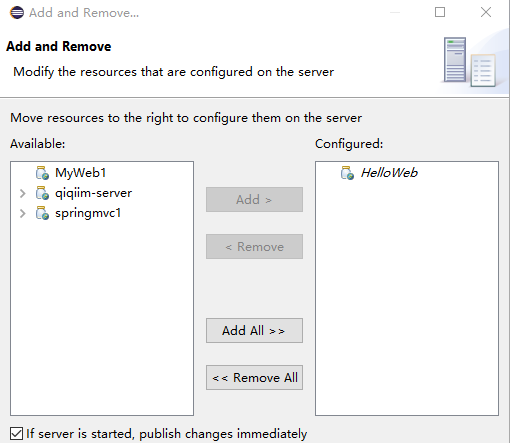
、右击右下脚的Tomcat Server, 选择Add and Remove
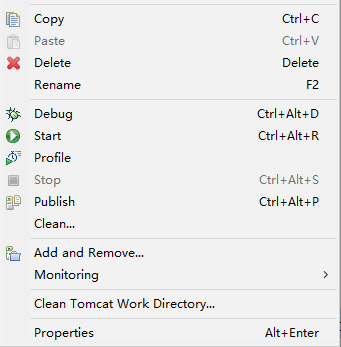
将工程添加到server
4、run on server


 被折叠的 条评论
为什么被折叠?
被折叠的 条评论
为什么被折叠?
 到【灌水乐园】发言


