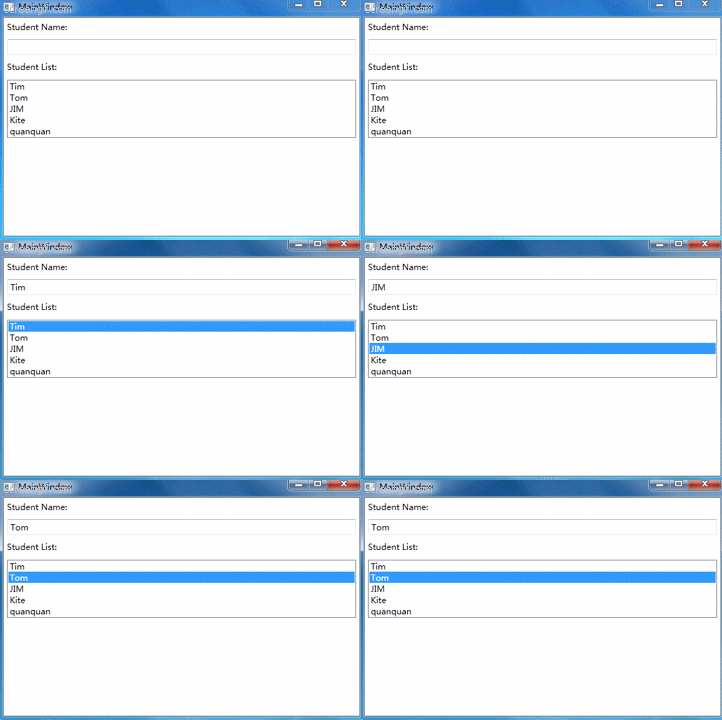
namespace Demo10
{
    public class Student
    {
        private string name;

        public string Name
        {
            get { return name; }
            set { name = value; }
        }
    }
}
<Window x:Class="Demo10.MainWindow"
        xmlns="http://schemas.microsoft.com/winfx/2006/xaml/presentation"
        xmlns:x="http://schemas.microsoft.com/winfx/2006/xaml"
        Title="MainWindow" Height="350" Width="525">
    <StackPanel>
        <TextBlock Margin="5" Text="Student Name:"/>
        <TextBox Margin="5" x:Name="txtName"/>

        <TextBlock Margin="5" Text="Student List:"/>
        <ListBox Margin="5" x:Name="lsbList"/>
    </StackPanel>
</Window>
using System.Collections.Generic;
using System.Windows;
using System.Windows.Controls;
using System.Windows.Data;
using System.Windows.Documents;

namespace Demo10
{
    /// <summary>
    /// MainWindow.xaml 的交互逻辑
    /// </summary>
    public partial class MainWindow : Window
    {
        public MainWindow()
        {
            InitializeComponent();

            List<Student> stuList = new List<Student>()
            {
                new Student(){Name ="Tim"},
                new Student(){Name ="Tom"},
                new Student(){Name ="JIM"},
                new Student(){Name ="Kite"},
                new Student(){Name ="quanquan"},
            };

            this.lsbList.ItemsSource = stuList;
            this.lsbList.DisplayMemberPath = "Name";

            Binding binding = new Binding("SelectedItem.Name") { Source=this.lsbList};
            this.txtName.SetBinding(TextBox.TextProperty,binding);
        }
    }
}


 本文介绍了一个使用WPF进行界面设计的例子,并通过C#实现了数据绑定功能,展示了如何将一个学生列表显示在界面上,并实时更新选定的学生姓名。


 1467
1467

 被折叠的 条评论
为什么被折叠?


