


 本文介绍了一种在iOS应用中实现多种图片滤镜效果的方法。通过遍历一系列的Core Image滤镜,如CIPhotoEffectChrome和CIVignetteEffect等,并将这些效果应用于相同的图片上,展示了如何快速地改变图片的视觉风格。
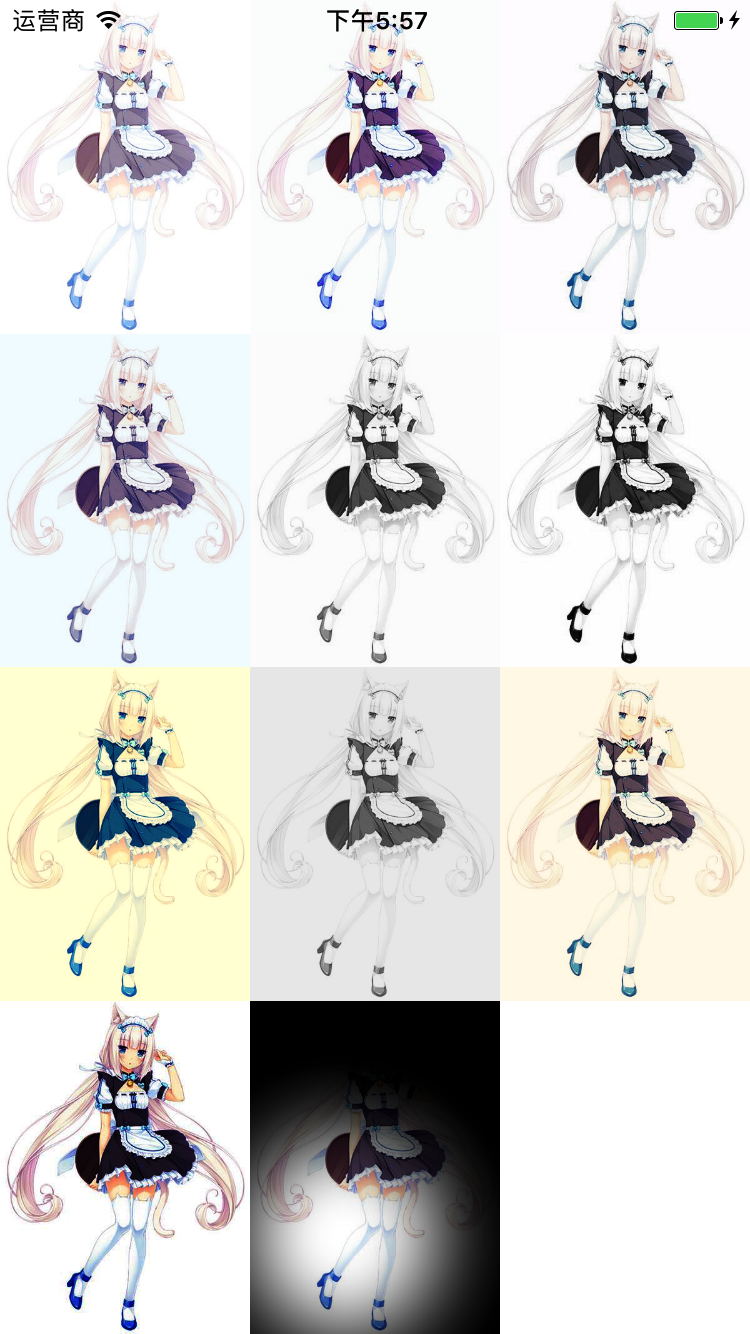
- (void)viewDidLoad
{
    [super viewDidLoad];
    // Do any additional setup after loading the view, typically from a nib.

    // 滤镜效果
    NSArray *operations = @[@"CILinearToSRGBToneCurve",
                            @"CIPhotoEffectChrome",
                            @"CIPhotoEffectFade",
                            @"CIPhotoEffectInstant",
                            @"CIPhotoEffectMono",
                            @"CIPhotoEffectNoir",
                            @"CIPhotoEffectProcess",
                            @"CIPhotoEffectTonal",
                            @"CIPhotoEffectTransfer",
                            @"CISRGBToneCurveToLinear",
                            @"CIVignetteEffect"];

    CGFloat width = self.view.frame.size.width/3;
    CGFloat height = self.view.frame.size.height/4;

    NSMutableArray *imageViews = [NSMutableArray arrayWithCapacity:0];

    for (int i = 0; i < [operations count]; i++)
    {
        UIImageView *imageView = [[UIImageView alloc]initWithFrame:
                                  CGRectMake(i%3*width, i/3*height, width, height)];
        imageView.image = [UIImage imageNamed:@"timg.jpeg"];
        [imageViews addObject:imageView];
        [self.view addSubview:imageView];
    }

    dispatch_async(dispatch_get_global_queue(0, 0),^{

        NSMutableArray *images = [NSMutableArray arrayWithCapacity:0];

        for (int i = 0; i < [operations count]; i++)
        {
            UIImage *image = [UIImage imageNamed:@"timg.jpeg"];
            CIImage *cImage = [[CIImage alloc]initWithImage:image];

            //使用资源
            CIFilter *filter = [CIFilter filterWithName:operations[i]
                                          keysAndValues:kCIInputImageKey,cImage, nil];

            //使用默认参数
            [filter setDefaults];

            //生成上下文
            CIContext*context = [CIContext contextWithOptions:nil];

            //滤镜生成器输出图片
            CIImage *outputimage = [filter outputImage];

            //转换为UIImage
            CGImageRef ref = [context createCGImage:outputimage fromRect:[outputimage extent]];
            UIImage *temp = [UIImage imageWithCGImage:ref];

            [images addObject:temp];

            //释放
            CGImageRelease(ref);
        }

        dispatch_async(dispatch_get_main_queue(), ^{
            for (int x = 0; x < [images count]; x++)
            {
                UIImageView *imageView = imageViews[x];
                imageView.image = images[x];
            }
        });
    });
}
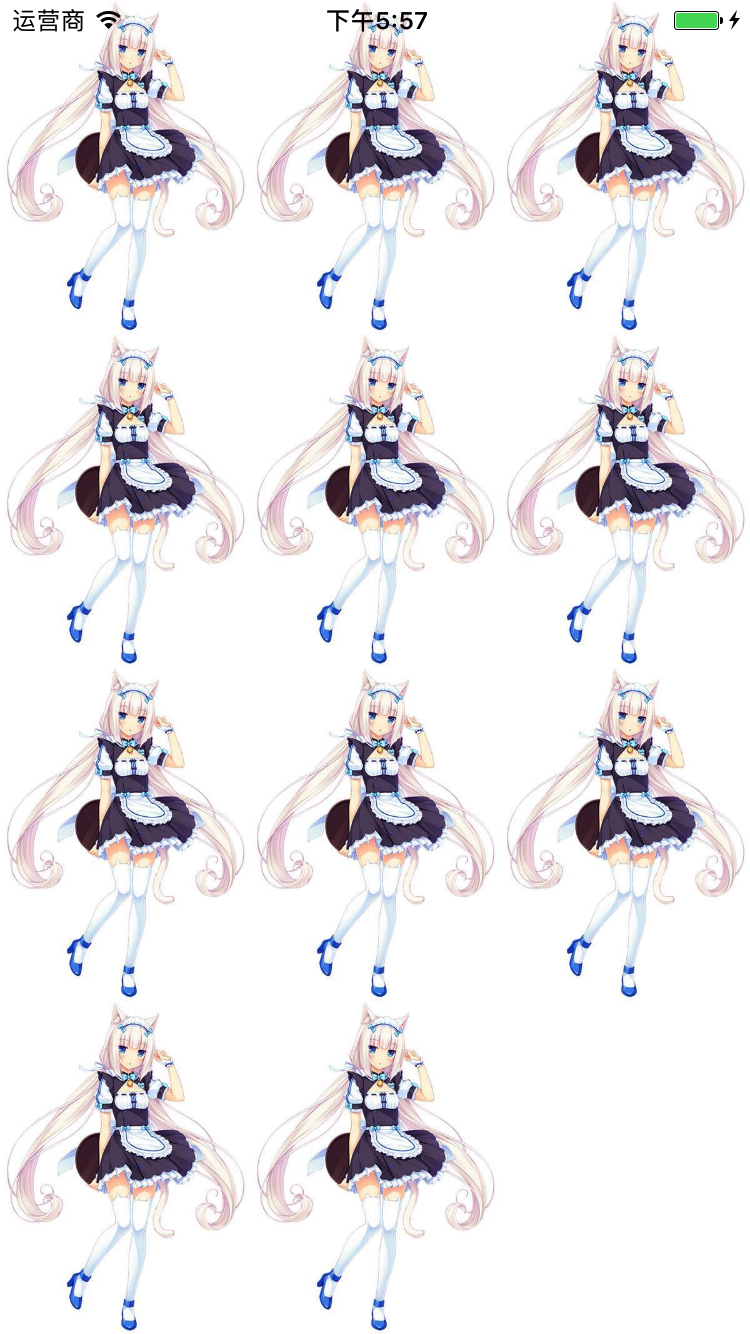
原图
添加滤镜后效果图


 5831
5831

 被折叠的 条评论
为什么被折叠?
被折叠的 条评论
为什么被折叠?
 到【灌水乐园】发言


