


安装node.js的环境和grunt插件在上一篇已经将过,点击这里跳到上一篇
所以我们直接从压缩插件的安装开始讲 起
1.安装uglify插件
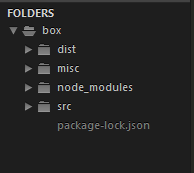
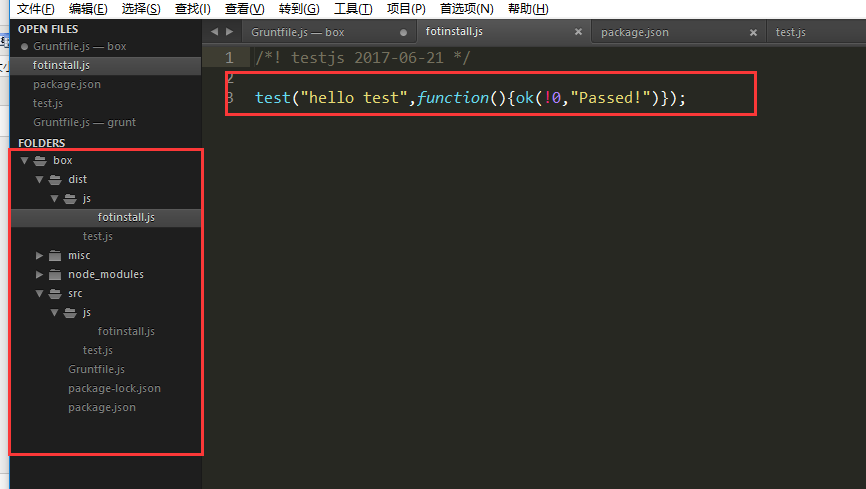
目录结构如下:
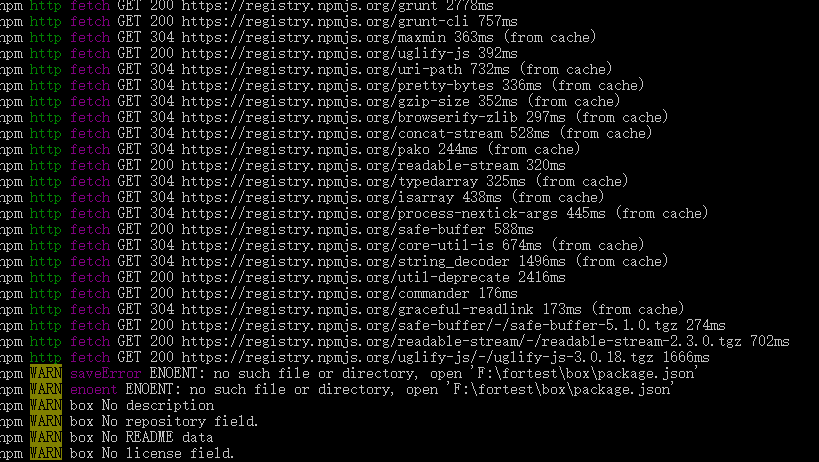
命令行:npm install grunt-contrib-uglify
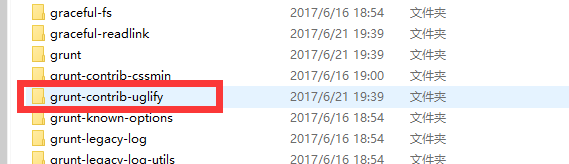
安装完后我们的node_modules下面就多了一个文件夹
2.配置Gruntfile.js文件
如下配置就可以压缩所有js文件,压缩后的文件名为原名
module.exports = function (grunt) {
    grunt.initConfig({
        pkg: grunt.file.readJSON('package.json'),
         uglify: {
            options: {
                banner: '/*! <%= pkg.name %> <%= grunt.template.today("yyyy-mm-dd") %> */\n' //添加banner
            },
            buildall: {
                options: {
                    mangle: true,
                    compress: {
                        drop_console: true//在控制台中抑制警告消息。
                    },
                    report: "min" //输出压缩率,可选的值有 false(不输出信息),gzip
                },
                files: [{
                    expand: true,
                    cwd: 'src', //js目录下
                    src: '**/*.js', //所有js文件
                    dest: 'dist' //输出到此目录下
                }]
            }
        }
    });
    //添加uglify任务
    grunt.loadNpmTasks('grunt-contrib-uglify');

    //默认执行该任务
    grunt.registerTask('default', ['uglify']);
}
3.配置package.json文件
依然是通过 npm init命令来配置
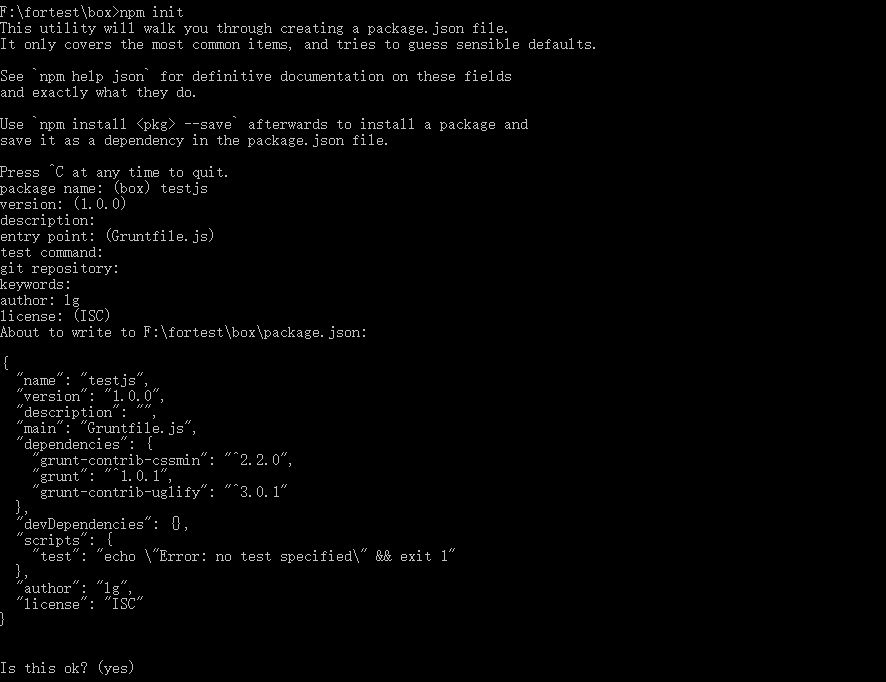
代码如下:
{
  "name": "testjs",
  "version": "1.0.0",
  "description": "",
  "main": "Gruntfile.js",
  "dependencies": {
    "grunt-contrib-cssmin": "^2.2.0",
    "grunt": "^1.0.1",
    "grunt-contrib-uglify": "^3.0.1"
  },
  "devDependencies": {},
  "scripts": {
    "test": "echo \"Error: no test specified\" && exit 1"
  },
  "author": "lg",
  "license": "ISC"
}
4.最后就是来压缩我们的文件了
输入 grunt
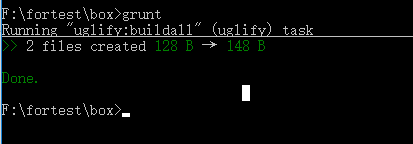
可以看到我们src下面的文件已经压缩到dist下面了
如果想了解更多关于uglify的内容请参见官网


 被折叠的 条评论
为什么被折叠?
被折叠的 条评论
为什么被折叠?
 到【灌水乐园】发言


