


 本文介绍如何在Windows窗体应用程序中利用Spring.NET框架创建并配置IoC容器。通过定义接口和服务类,并配置App.config文件,实现了依赖注入。文章还提供了测试按钮的代码示例。
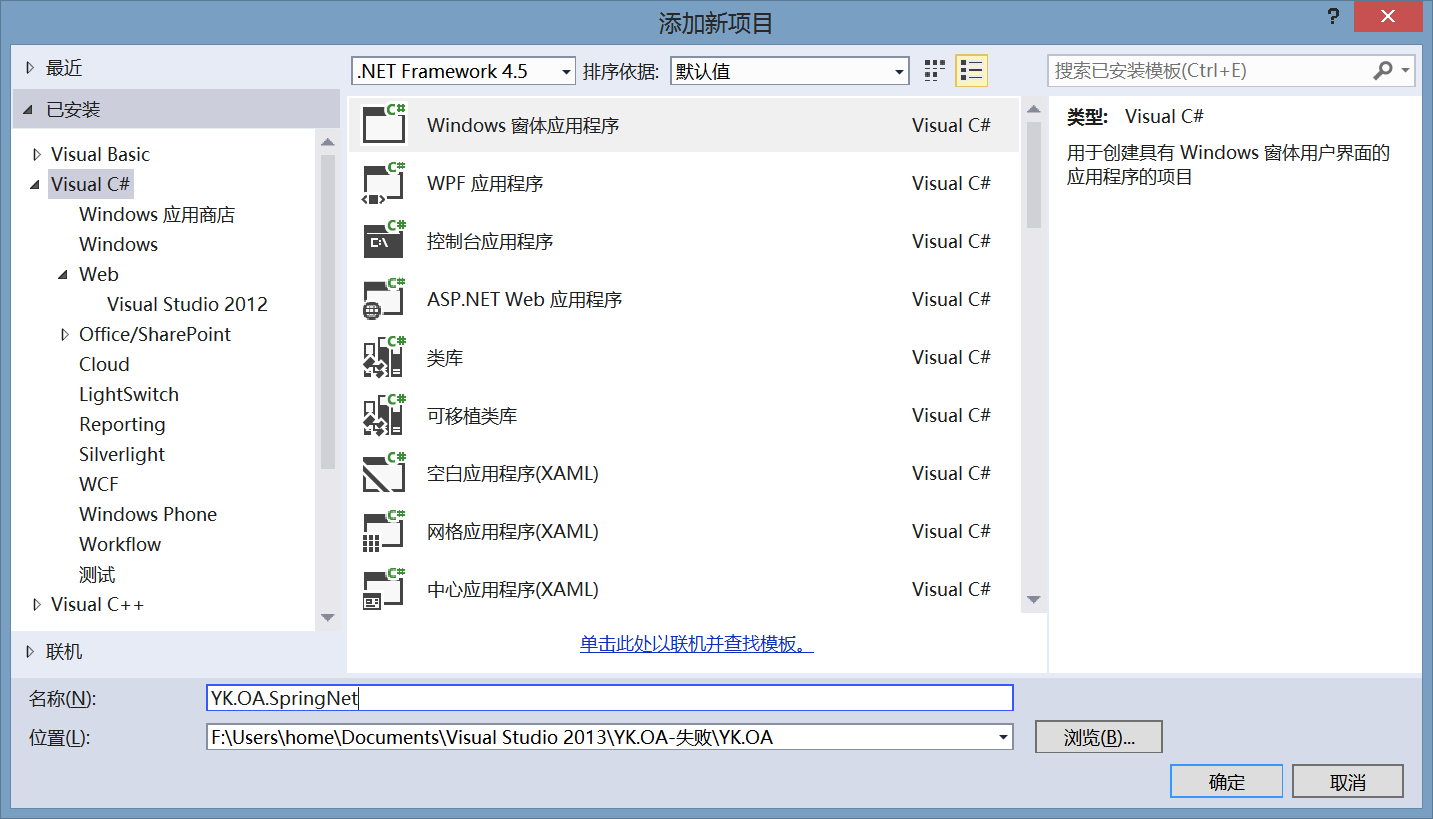
1.话不多说看操作.新建"Windows窗体应用程序"
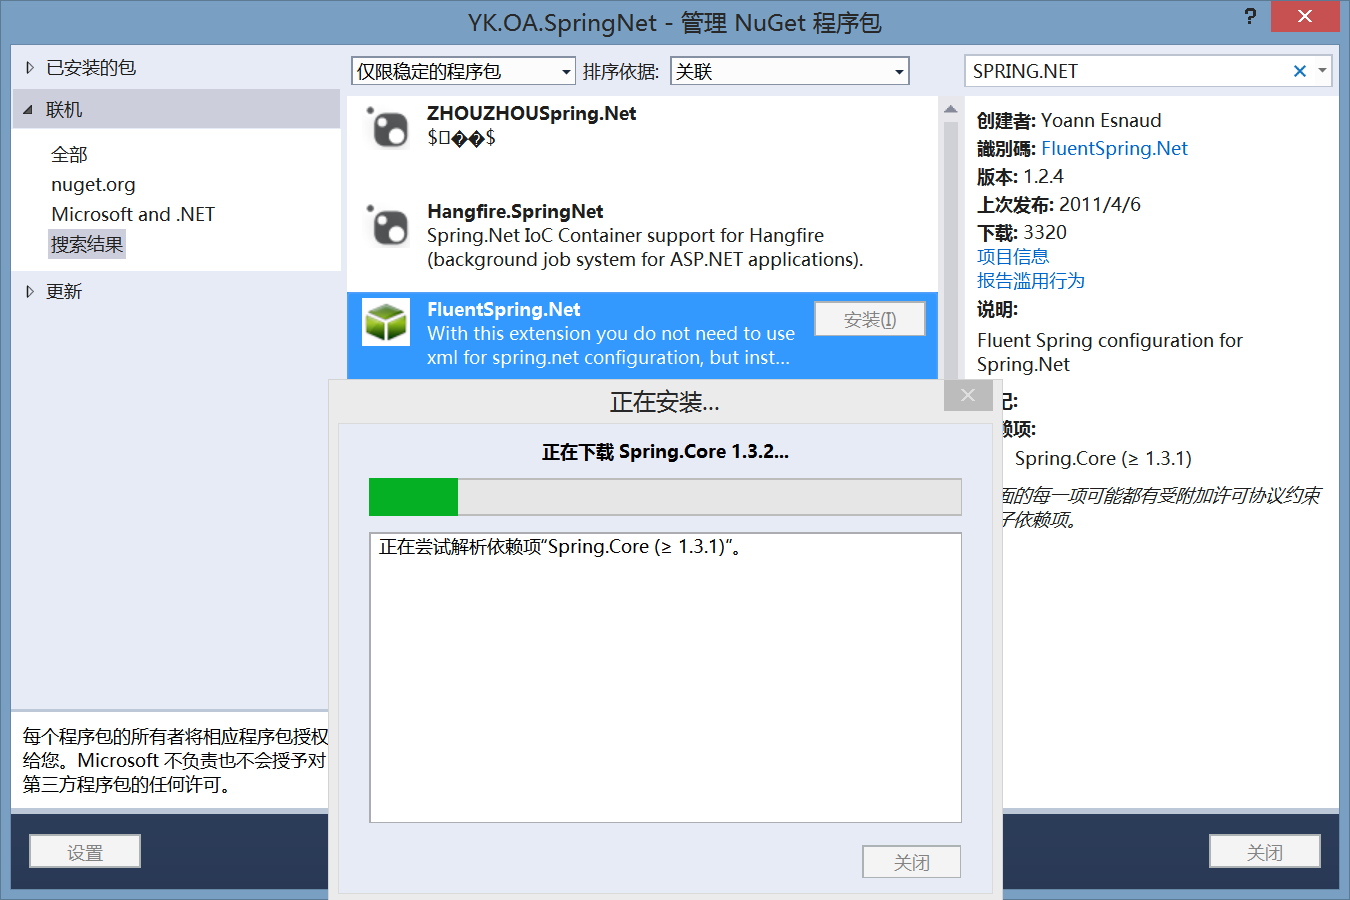
2:通过配置文件创建IOC容器
首先引入安装包
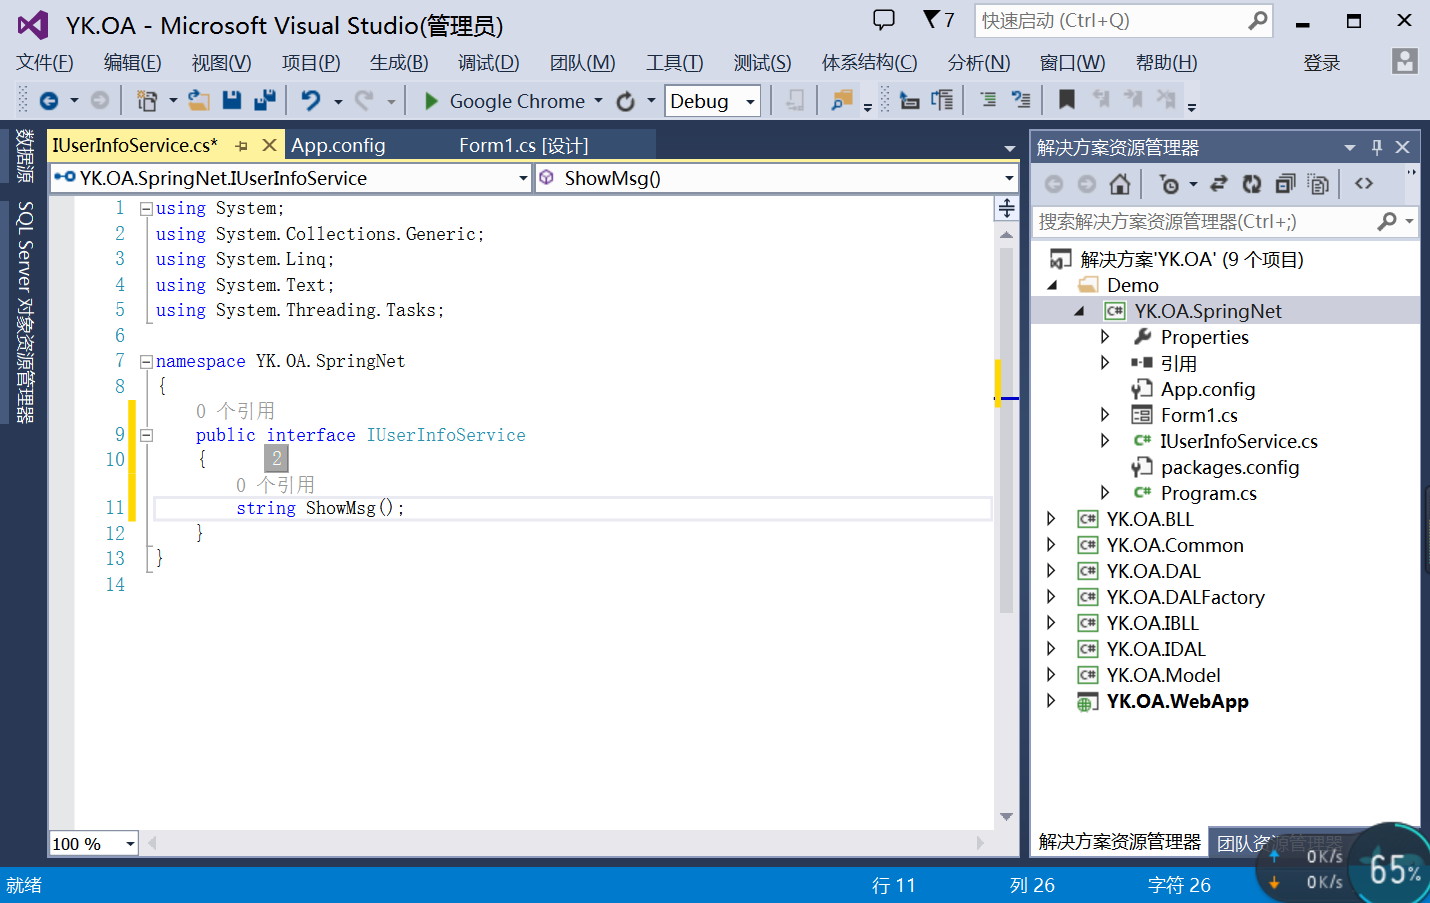
3:定义一个接口(更好的体现封装性,当然也可以直接使用类)
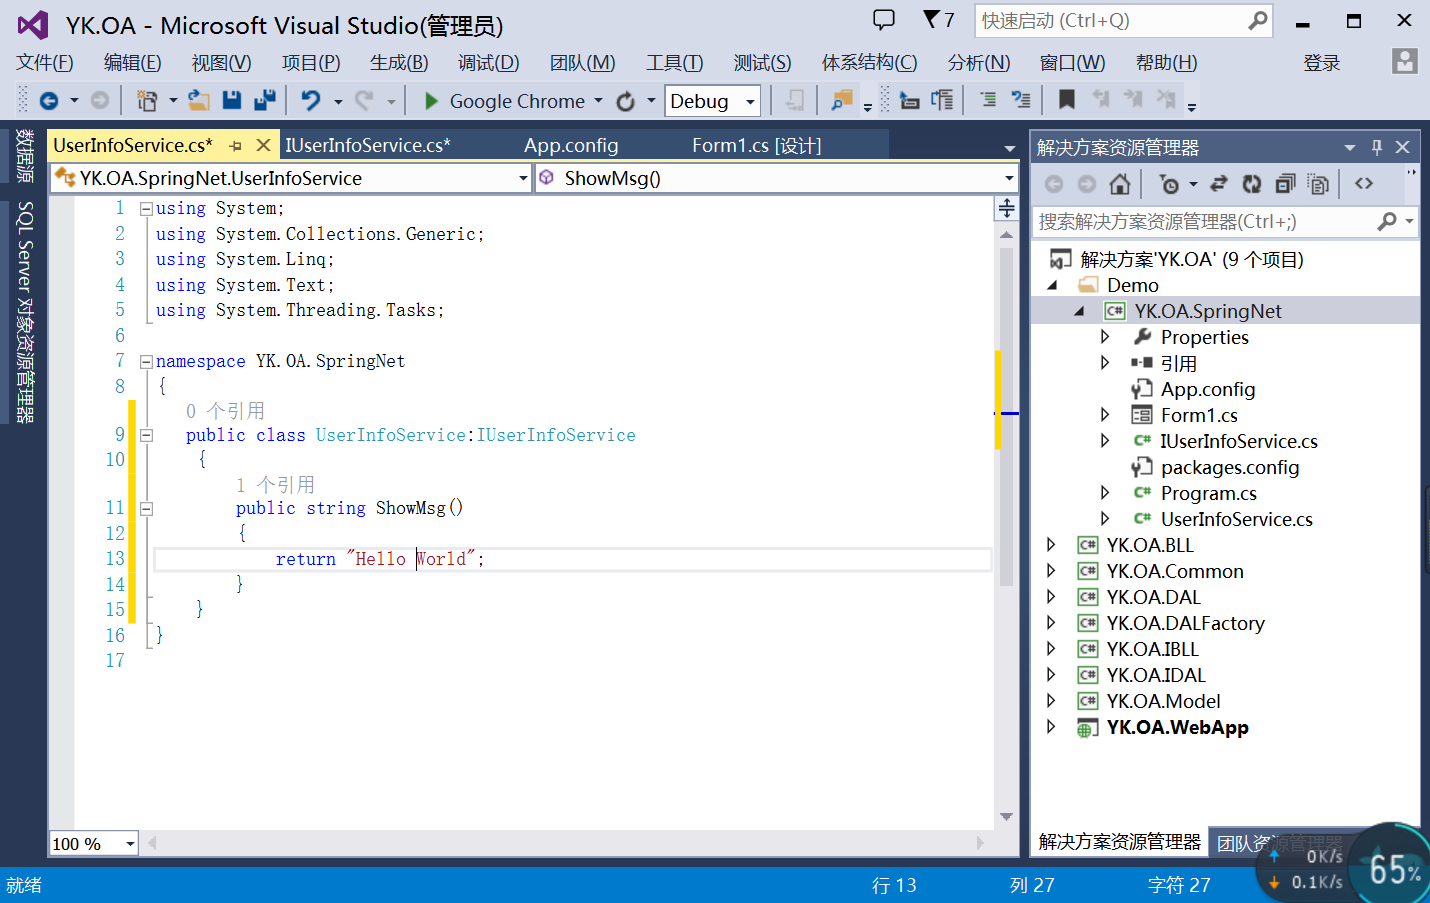
定义一个类,实现接口
4:配置App.config文件
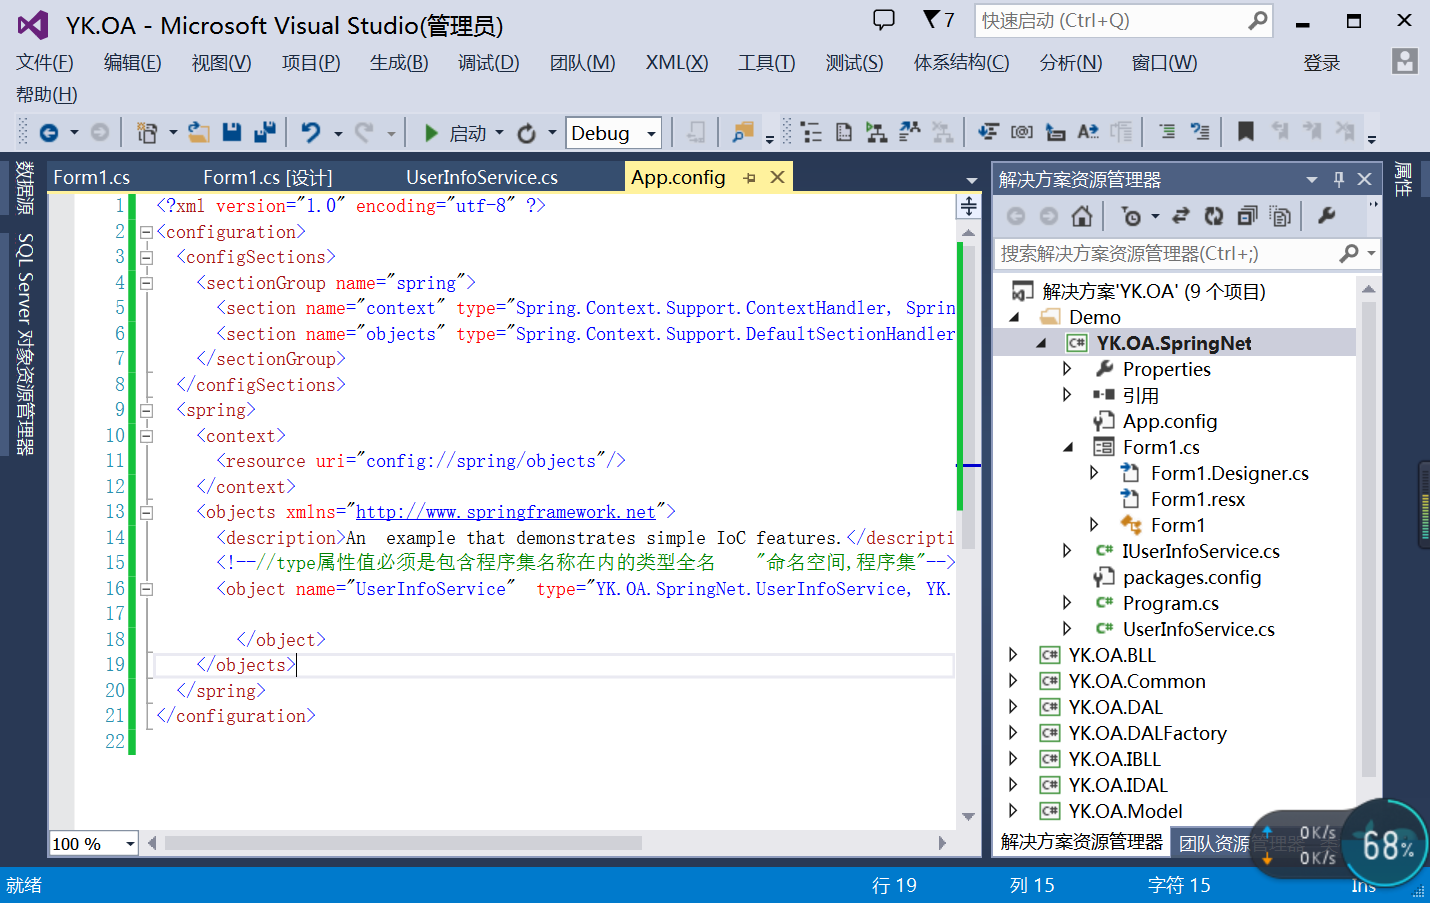


<?xml version="1.0" encoding="utf-8" ?>
<configuration>
  <configSections>
    <sectionGroup name="spring">
      <section name="context" type="Spring.Context.Support.ContextHandler, Spring.Core"/>
      <section name="objects" type="Spring.Context.Support.DefaultSectionHandler, Spring.Core" />
    </sectionGroup>
  </configSections>
  <spring>
    <context>
      <resource uri="config://spring/objects"/>
    </context>
    <objects xmlns="http://www.springframework.net">
      <description>An  example that demonstrates simple IoC features.</description>
      <!--//type属性值必须是包含程序集名称在内的类型全名    "命名空间,程序集"-->
      <object name="UserInfoService"  type="YK.OA.SpringNet.UserInfoService, YK.OA.SpringNet">

        </object>
    </objects>
  </spring>
</configuration>
5:添加测试按钮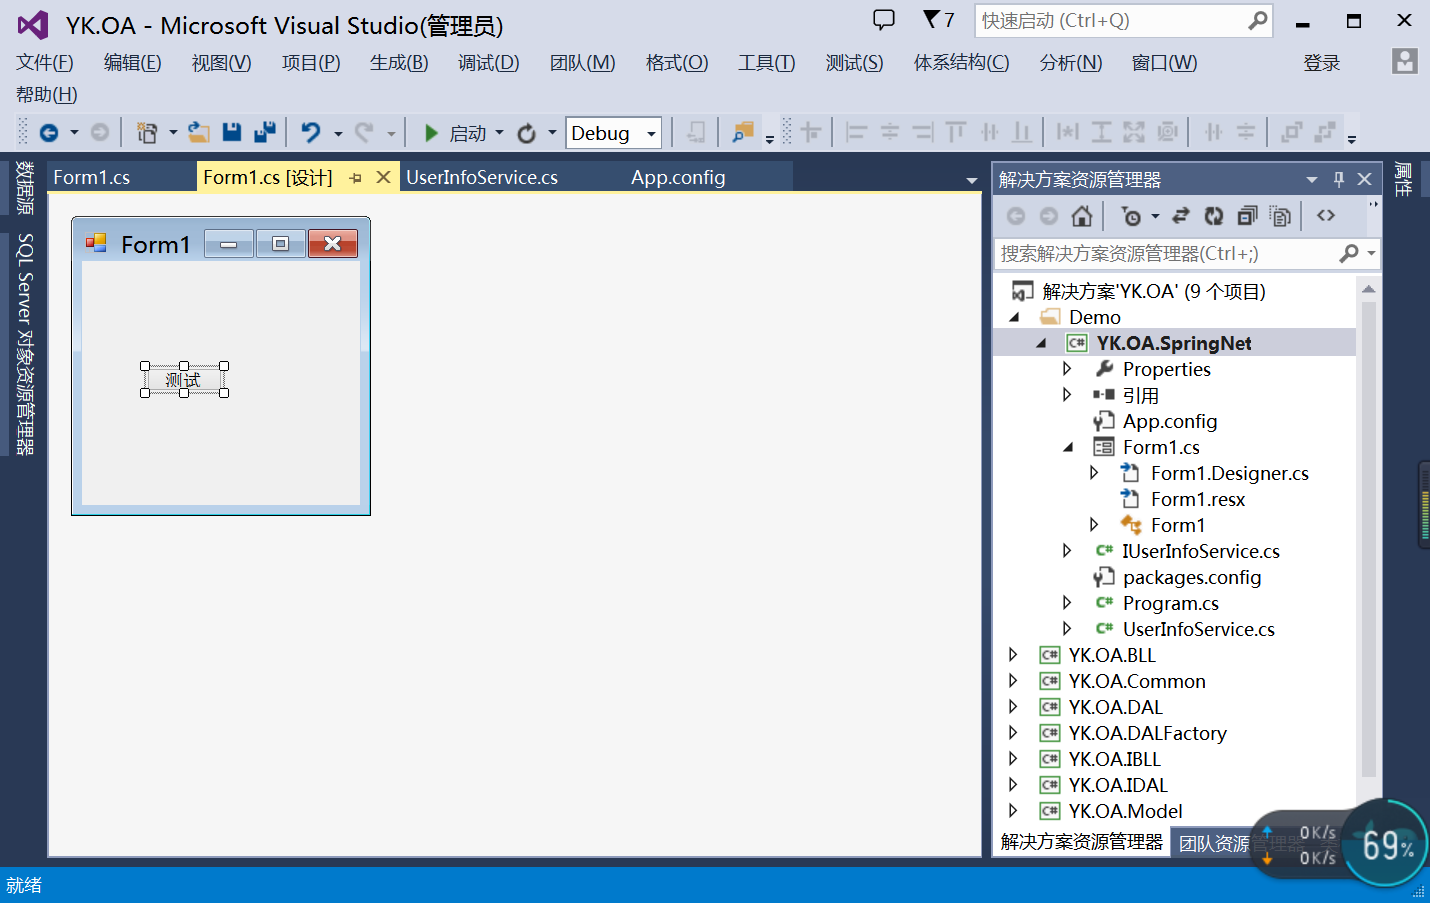
using Spring.Context;
using Spring.Context.Support;
using System;
using System.Collections.Generic;
using System.ComponentModel;
using System.Data;
using System.Drawing;
using System.Linq;
using System.Text;
using System.Threading.Tasks;
using System.Windows.Forms;

namespace YK.OA.SpringNet
{
    public partial class Form1 : Form
    {
        public Form1()
        {
            InitializeComponent();
        }

        private void button1_Click(object sender, EventArgs e)
        {
            IApplicationContext ctx = ContextRegistry.GetContext();
            //GetObject获得app配置文件的objext项=>创建实例
            IUserInfoService lister = (IUserInfoService)ctx.GetObject("UserInfoService");
            MessageBox.Show(lister.ShowMsg());
        }
    }
}
6:运行


 141
141

 被折叠的 条评论
为什么被折叠?
被折叠的 条评论
为什么被折叠?
 到【灌水乐园】发言


