


Day 3: Sense the world
We will show how to add sensors to our basic differential drive model. Once equipped with sensors, our robot will be sufficiently equipped to use the ROS navigation stack, which will enable it to move on its own!
Adding a camera
Let’s add some sensors to our robot. If you already created some environment, you can now see what it is, with the eyes of your robot. For this we have to add a camera plugin to our robot model. For that, two things are necessary, a link and the actual plugin.
Add a joint to connect the camera link in the main model file:
<joint name="camera_joint" type="fixed">
    <origin xyz="${-cameraSize+chassisLength/2} 0 ${cameraSize+wheelRadius+cameraSize/2}" rpy="0 0 0"/>
    <parent link="chassis"/>
    <child link="camera"/>
</joint>
After that, add the camera link in the main model file :
<link name="camera">
  <collision>
    <origin xyz="0 0 0" rpy="0 0 0"/>
    <geometry>
      <box size="${cameraSize} ${cameraSize} ${cameraSize}"/>
    </geometry>
  </collision>

  <visual>
    <origin xyz="0 0 0" rpy="0 0 0"/>
    <geometry>
      <box size="${cameraSize} ${cameraSize} ${cameraSize}"/>
    </geometry>
    <material name="blue"/>
  </visual>

  <inertial>
    <mass value="${cameraMass}" />
    <origin xyz="0 0 0" rpy="0 0 0"/>
    <box_inertia m="${cameraMass}" x="${cameraSize}" y="${cameraSize}" z="${cameraSize}" />
  </inertial>
</link>
And now add the plugin to the gazebo file:
<gazebo reference="camera">
  <material>Gazebo/Blue</material>
  <sensor type="camera" name="camera1">
    <update_rate>30.0</update_rate>
    <camera name="head">
      <horizontal_fov>1.3962634</horizontal_fov>
      <image>
        <width>800</width>
        <height>800</height>
        <format>R8G8B8</format>
      </image>
      <clip>
        <near>0.02</near>
        <far>300</far>
      </clip>
    </camera>
    <plugin name="camera_controller" filename="libgazebo_ros_camera.so">
      <alwaysOn>true</alwaysOn>
      <updateRate>0.0</updateRate>
      <cameraName>mybot/camera1</cameraName>
      <imageTopicName>image_raw</imageTopicName>
      <cameraInfoTopicName>camera_info</cameraInfoTopicName>
      <frameName>camera_link</frameName>
      <hackBaseline>0.07</hackBaseline>
      <distortionK1>0.0</distortionK1>
      <distortionK2>0.0</distortionK2>
      <distortionK3>0.0</distortionK3>
      <distortionT1>0.0</distortionT1>
      <distortionT2>0.0</distortionT2>
    </plugin>
  </sensor>
 </gazebo>
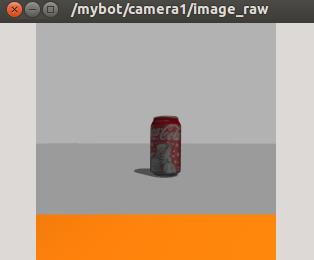
Launch your simulation, and add some object in front of the robot. You can obtain the camera image as with any ROS compatible camera, by subscribing to the image topic. You can use the image_view tool to visualize it directly:
rosrun image_view image_view image:=/mybot/camera1/image_raw
Visualisation with RViz
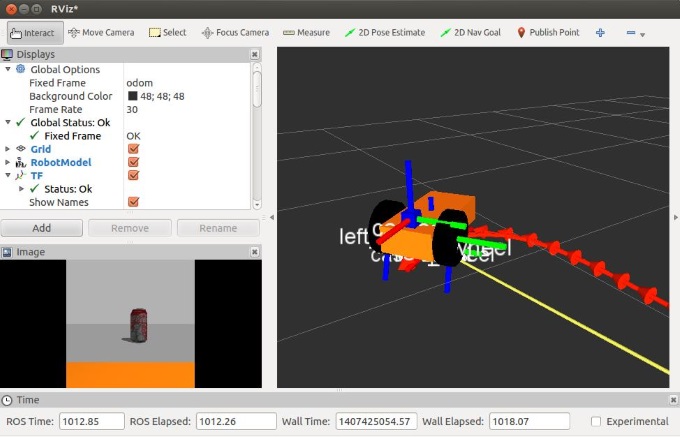
Rviz is one of these fantastic tools that will make you love ROS. It’s capable of visualizing many different kind of information in the same interface. To start rviz:
rosrun rviz rviz
At the bottom left of the window there is an “add” button which allows you to load visualization plugins. In the parameters of these plugins you generally have to define the topic name to which the plugin subscribes, this should be fairly straightforward. A Rviz configuration file is provided with the sources and started by default in the launch file.
Here is an example visualization with plugins for: the robot model, the 3D transforms TF, the camera Image, the odometry:


 被折叠的 条评论
为什么被折叠?
被折叠的 条评论
为什么被折叠?
 到【灌水乐园】发言


