


 本文介绍了一种基于Android的应用界面设计方法,通过使用TextView实现滚动标题效果,并结合RadioGroup和RadioButton实现用户交互来切换ImageView中显示的不同图片。
第一步:界面实现
这个主要实现滚动标题
 <TextView
        android:id="@+id/tv_table_name"
        android:layout_width="wrap_content"
        android:layout_height="wrap_content"
        android:singleLine="true"
        android:focusable="true"
        android:focusableInTouchMode="true"
        android:text=" 请选择你喜欢的花 "
        android:gravity="center"
        android:textColor="#FF00"
        android:marqueeRepeatLimit="marquee_forever"
        android:ellipsize="marquee"
        android:textSize="50sp"
        android:textStyle="bold" />
这个用于显示图片
<ImageView
        android:id="@+id/photo"
        android:layout_width="200sp"
        android:layout_height="200sp"
        android:layout_gravity="center"/>
接下来是几个按钮的实现
<RadioGroup
    android:id="@+id/radio"
    android:layout_width="wrap_content"
    android:layout_height="wrap_content"
    android:layout_gravity="center"
    android:orientation="horizontal">
    <RadioButton
        android:id="@+id/mg"
        android:layout_width="wrap_content"
        android:layout_height="wrap_content"
        android:textSize="20sp"
        android:text="玫瑰" />
    <RadioButton
        android:id="@+id/lh"
        android:layout_width="wrap_content"
        android:layout_height="wrap_content"
        android:textSize="20sp"
        android:text="兰花" />
    <RadioButton
        android:id="@+id/mh"
        android:layout_width="wrap_content"
        android:layout_height="wrap_content"
        android:textSize="20sp"
        android:text="梅花" />

     </RadioGroup>
 <RadioGroup
        android:id="@+id/radio2"
        android:layout_width="wrap_content"
        android:layout_height="wrap_content"
        android:layout_gravity="center"
        android:orientation="horizontal">
    <RadioButton
        android:id="@+id/md"
        android:layout_width="wrap_content"
        android:layout_height="wrap_content"
        android:textSize="20sp"
        android:text="牡丹" />
    <RadioButton
        android:id="@+id/jh"
        android:layout_width="wrap_content"
        android:layout_height="wrap_content"
        android:textSize="20sp"
        android:text="菊花" />
    <RadioButton
        android:id="@+id/bh"
        android:layout_width="wrap_content"
        android:layout_height="wrap_content"
        android:textSize="20sp"
        android:text="百合" />

 </RadioGroup>
第二步:功能的实现
先把基本的准备做好
public class MainActivity extends AppCompatActivity {
    private ImageView photo;
    private RadioGroup radio;
    private RadioButton mg;
    private RadioButton lh;
    private RadioButton mh;
    private RadioGroup radio2;
    private RadioButton md;
    private RadioButton jh;
    private RadioButton bh;


    @Override
    protected void onCreate(Bundle savedInstanceState) {
        super.onCreate(savedInstanceState);
        setContentView(R.layout.activity_main);
        photo = (ImageView) findViewById(R.id.photo);
        radio = (RadioGroup) findViewById(R.id.radio);
        mg = (RadioButton) findViewById(R.id.mg);
        lh = (RadioButton) findViewById(R.id.lh);
        mh = (RadioButton) findViewById(R.id.mh);
        radio2 = (RadioGroup) findViewById(R.id.radio2);
        md = (RadioButton) findViewById(R.id.md);
        jh = (RadioButton) findViewById(R.id.jh);
        bh = (RadioButton) findViewById(R.id.bh);
核心方法
radio.setOnCheckedChangeListener(new RadioGroup.OnCheckedChangeListener() {
        public void onCheckedChanged(RadioGroup radioGroup, int wqm) {
         if(mg.isChecked()){
                photo.setImageResource(R.drawable.w);
                radio2.clearCheck();
         }
         if(lh.isChecked()){
                photo.setImageResource(R.drawable.ww);
                radio2.clearCheck();
         }
         if(mh.isChecked()){
                photo.setImageResource(R.drawable.www);
                radio2.clearCheck();
    }
    }
    });
剩下一组的RadioGroup radio2同上面的方法一样
第三步:加入要显示的图片
新建xml "photo"
写入以下代码
图片均保存在drawable里
<?xml version="1.0" encoding="utf-8"?>
<selector xmlns:android="http://schemas.android.com/apk/res/android">
<item
android:drawable="@drawable/w"
/>
<item
android:drawable="@drawable/ww"
/>
<item
android:drawable="@drawable/www"
/>
<item
android:drawable="@drawable/wwww"
/>
<item
android:drawable="@drawable/wvl"
/>
<item
android:drawable="@drawable/wv"
/>
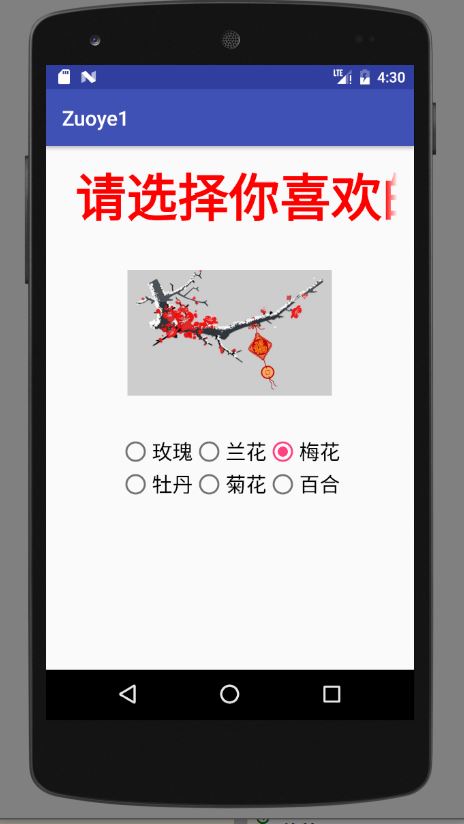
</selector>最终效果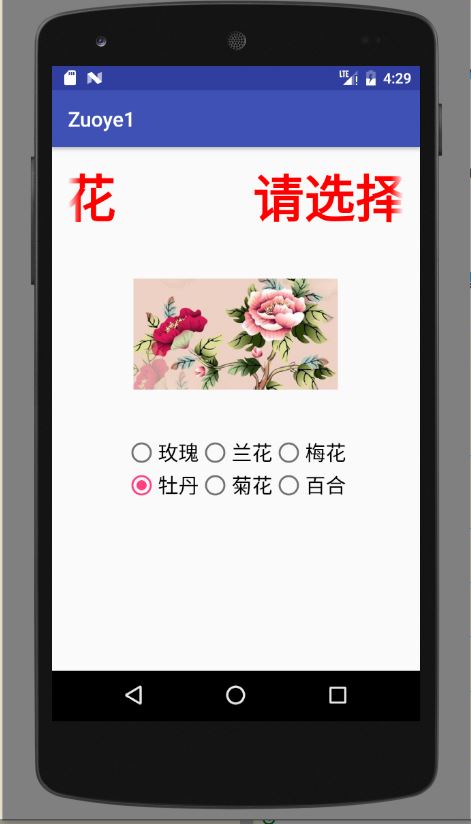


 被折叠的 条评论
为什么被折叠?
被折叠的 条评论
为什么被折叠?
 到【灌水乐园】发言


