


 本文介绍如何将 Nginx 的日志格式设置为 JSON,并使用 Logstash 将这些日志数据推送到 Elasticsearch 中进行进一步分析。具体步骤包括:配置 Nginx 日志格式、启动 Nginx、对网站进行压力测试、配置 Logstash 读取 Nginx 日志并发送到 Elasticsearch。
(1)安装nginx
1.安装nginx
yum install epel-release -y
yum install nginx -y
2.修改日志文件格式为json
#vim /etc/nginx/nginx.conf
http {
    log_format access_json '{"@timestamp":"$time_iso8601",'
                           '"host":"$server_addr",'
                           '"clientip":"$remote_addr",'
                           '"size":$body_bytes_sent,'
                           '"responsetime":$request_time,'
                           '"upstreamtime":"$upstream_response_time",'
                           '"upstreamhost":"$upstream_addr",'
                           '"http_host":"$host",'
                           '"url":"$uri",'
                           '"domain":"$host",'
                           '"xff":"$http_x_forwarded_for",'
                           '"referer":"$http_referer",'
                           '"status":"$status"}';
    access_log  /var/log/nginx/access.log  access_json;
    }
3.启动nginx
systemctl start nginx
systemctl enable nginx
4.压测
ab -n 1000 -c 1 http://192.168.1.31/index.html5.查看日志
# tail -1 /var/log/nginx/access.log
{"@timestamp":"2018-05-29T14:56:35+08:00","host":"192.168.1.31","clientip":"192.168.1.31","size":3700,"responsetime":0.000,"upstreamtime":"-","upstreamhost":"-","http_host":"192.168.1.31","url":"/index.html","domain":"192.168.1.31","xff":"-","referer":"-","status":"200"}
(2)logstash配置
1.logstash配置
#vim /etc/logstash/conf.d/nginx-access-log.conf
input {
        file {
                path => "/var/log/nginx/access.log"
                type => "nginx-access-log"
                start_position => "beginning"
                stat_interval => "2"
                }
        }

output {
        if [type] == "nginx-access-log" {
                elasticsearch {
                        hosts => ["192.168.1.31:9200"]
                        index => "nginx-access-log-%{+YYYY.MM.dd}"
                }
        }
        file {
        path => "/tmp/logstash-nginx-access-log-%{+YYYY.MM.dd}"
         }
}
2.检测配置文件语法和启动
logstash -f /etc/logstash/conf.d/nginx-access-log -t
systemctl restart logstash
3.head插件查看索引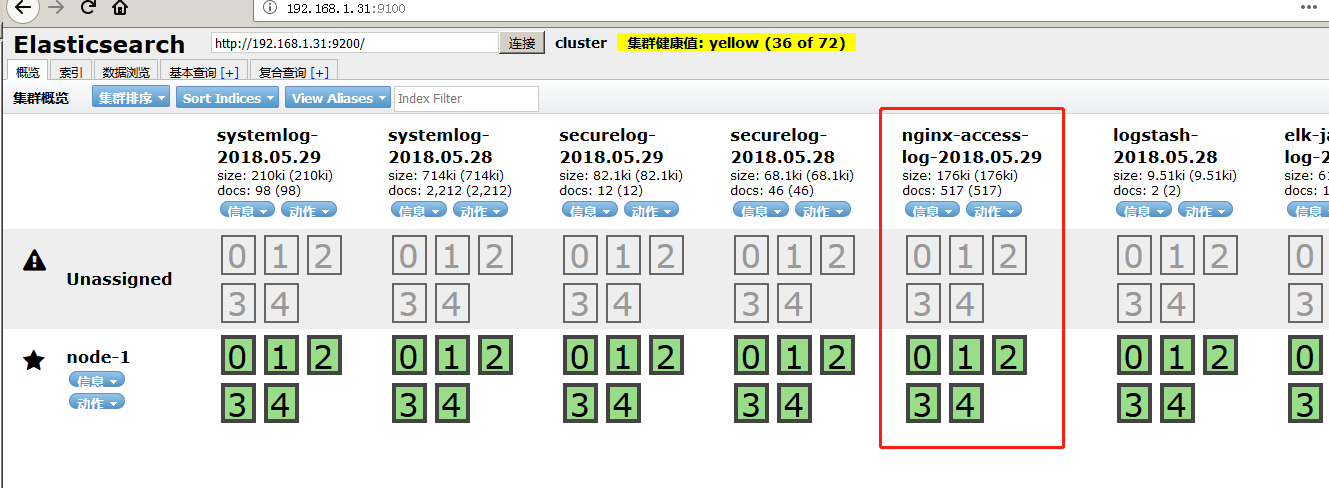
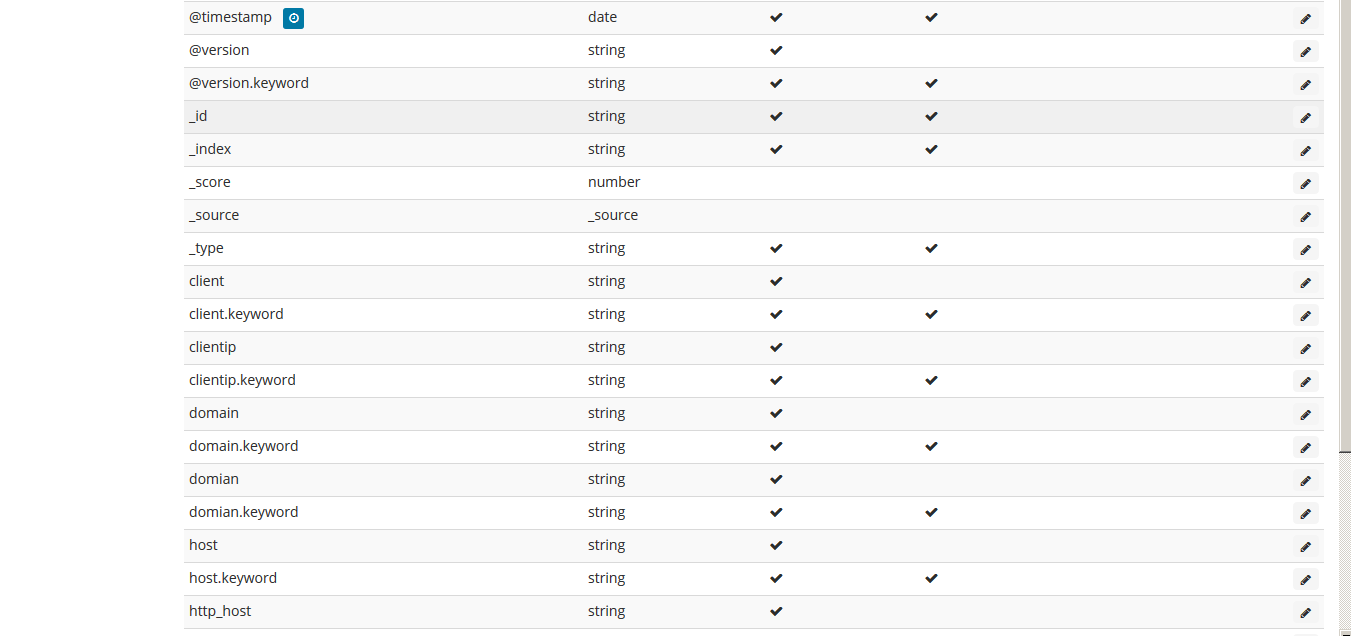
4.kibana查看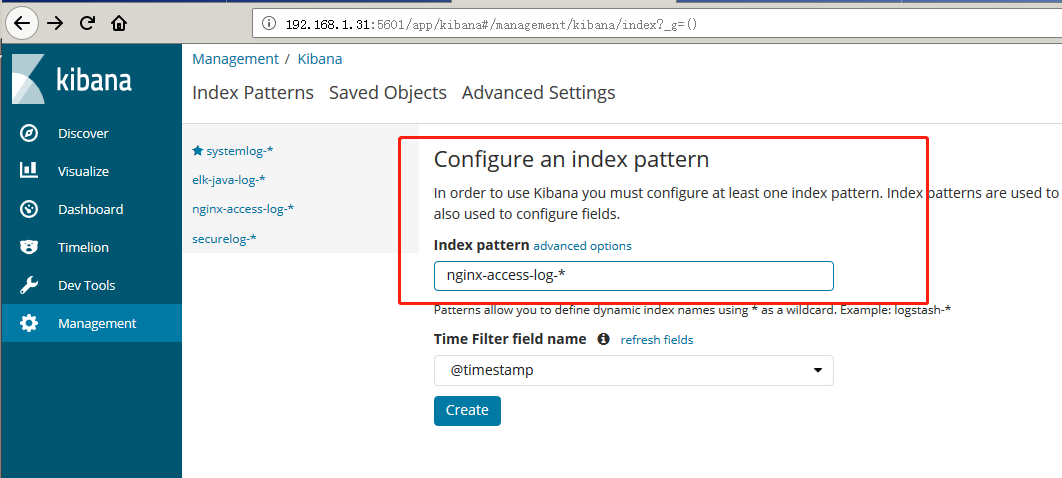


 1321
1321

 被折叠的 条评论
为什么被折叠?
被折叠的 条评论
为什么被折叠?
 到【灌水乐园】发言


