


 本文详细介绍了如何使用Retrofit框架创建APIService接口类,并通过实例演示了如何调用自定义的POST方法。文章深入解析了@Headers、@POST注解的使用,以及如何处理响应数据。
1、APIService为自定义接口类,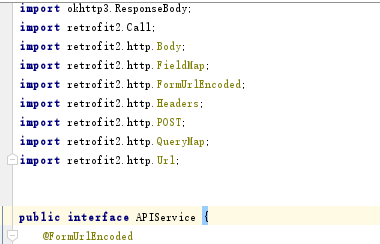
定义@Headers
@Headers({"Content-Type: application/json","Accept: application/json"})
@POST
Call<ResponseBody>  Test(@Url String url,@Body RequestBody route);//测试使用@Url
2、调用代码如下,使用了Call<ResponseBody>,
 APIService req;
 req = RetrofitManager.getInstance().createReq(APIService.class);
 HashMap hashMap = new HashMap();
 Retrofit retrofit=new Retrofit.Builder()
     .baseUrl(AppConfig.BASE_URL)
     .build();
 APIService postRoute=retrofit.create(APIService.class);
 RequestBody body=RequestBody.create(okhttp3.MediaType.parse("application/json; charset=utf-8"),datas);//datas是json字符串
 Call<ResponseBody> call=postRoute.Test("/test.shtml?type=test",body);
 call.enqueue(new Callback<ResponseBody>() {
 @Override
 public void onResponse(Call<ResponseBody> call, Response<ResponseBody> response) {
 try {
      String json = response.body().string();
      JSONObject jObject1 = new JSONObject(json);
      String result = jObject1.getString("result");
      String message = jObject1.getString("message");
      if (!result.equals("0"))//不为0异常
      {
           showToast("异常:"+message);
      }
      else
      {
           showToast("成功:"+message);
      }
     }
     catch (Exception ex)
     {

     }


 5257
5257

 被折叠的 条评论
为什么被折叠?
被折叠的 条评论
为什么被折叠?
 到【灌水乐园】发言


