


 该博客介绍了一个简单的底部导航切换页面项目,项目地址为https://github.com/Bstmy/bstmy - blend - app,点击首页和个人中心可切换对应页面,作者对部分代码控制页面切换的原理存疑,项目转载自https://www.cnblogs.com/smart - girl/p/10882254.html。
这个项目是一个简单的底部导航切换页面
项目的地址为:https://github.com/Bstmy/bstmy-blend-app
先看效果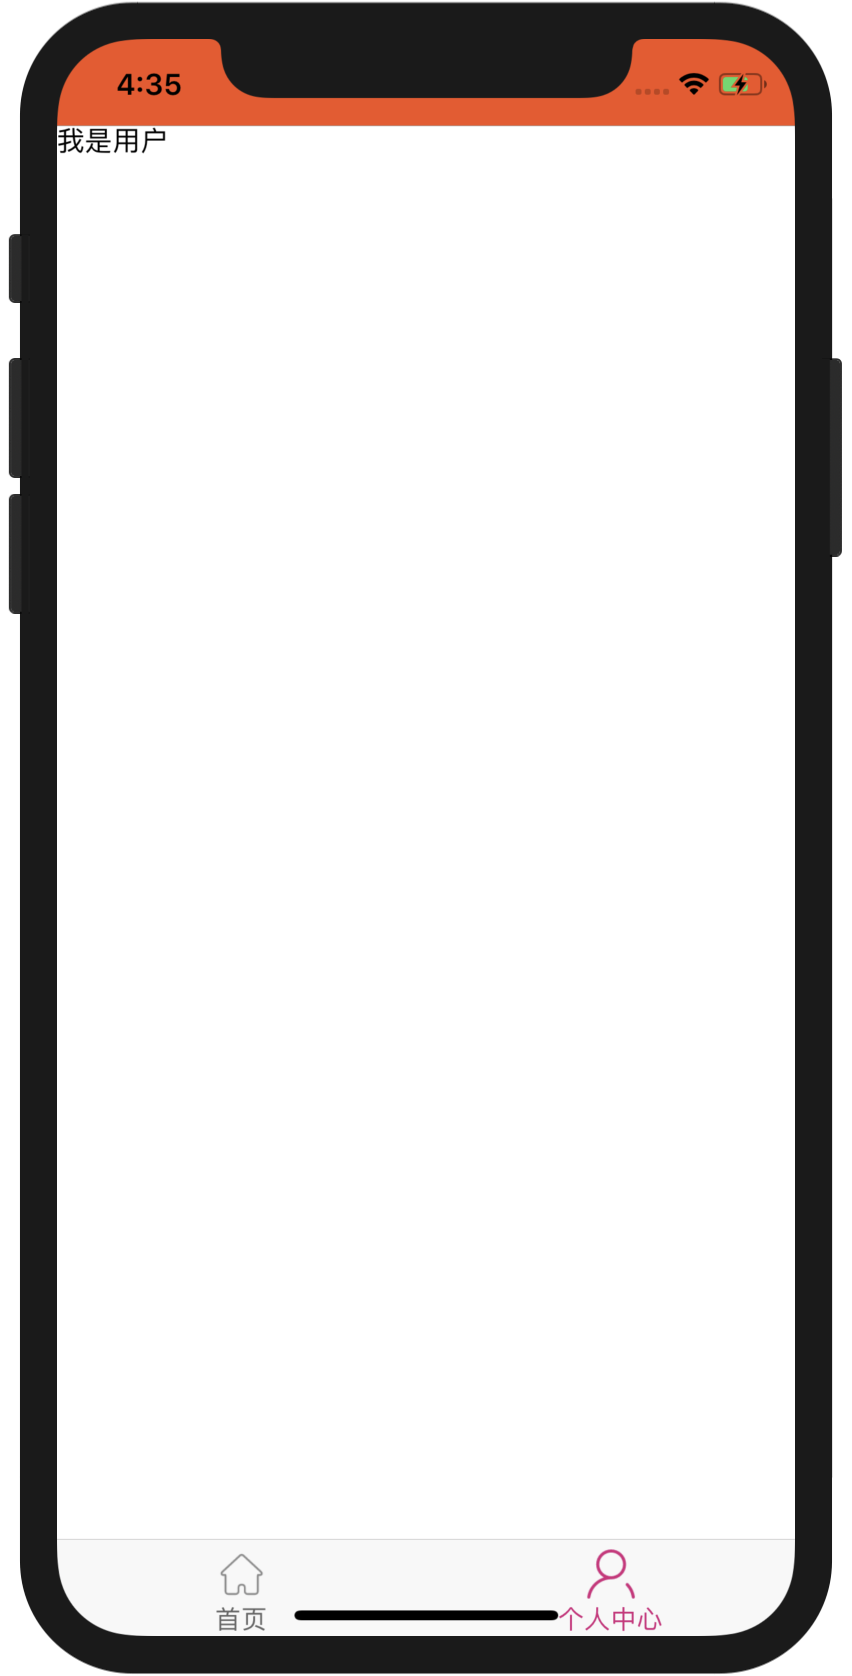
点击首页是首页面,点击个人中心是个人中心页面
先看代码
//index.js
//引用的是根app.js
import {AppRegistry} from 'react-native';
import App from './app/App';
import {name as appName} from './app.json';
AppRegistry.registerComponent(appName, () => App);
//app/App.js
//这个里面不仅有防止闪屏的,还有倒计时为3的启动页,还有定义了首页
import React, { Component } from 'react';
//闪屏
import SplashScreen from 'react-native-splash-screen';
//导航
import {createAppContainer, createStackNavigator} from 'react-navigation';
//显示首页
import Home from "./Home";
//这个是很好看的启动页很美腻
import GuideView from "./guide/GuideView";
const RootStack = createStackNavigator(
{
homes: Home,
guideView: GuideView
},
{
initialRouteName: 'guideView' ,
defaultNavigationOptions: {
headerStyle: {
backgroundColor: '#f4511e',
height:0,
},
headerTintColor: '#fff',
headerTitleStyle: {
fontWeight: 'bold',
},
},
}
);
const AppContainer = createAppContainer(RootStack);
//定义首页
//渲染AppConta
export default class App extends Component {
constructor(props) {
super(props);
SplashScreen.hide(); // 关闭启动屏幕
}
render() {
return (
<AppContainer />
);
}
}//app/guide/GuideView.js
//配置的启动页
import React, {Component} from 'react';
import {
Image,
StyleSheet,
View,
Text
} from 'react-native';
import Swiper from 'react-native-swiper';
import AutoSize from '../utils/AutoSize';
class GuideView extends Component {
constructor() {
super();
this.state = { invertedTime: 5 };
}
componentDidMount() {
this.timer1=setInterval(() => {
this.setState(previousState => {
return {invertedTime: (previousState.invertedTime-1)};
})
console.log("启动倒计时"+this.state.invertedTime );
if(this.state.invertedTime == 0){
this.openHomePage();
clearInterval(this.timer1)
}
} ,1000);
}
openHomePage(){
this.props.navigation.navigate('homes');
}
//卸载计时器
componentWillUnmount() {
this.timer1 && clearInterval(this.timer1);
}
render() {
return (
<View style={styles.container}>
<Text style={styles.next} onPress={this.openHomePage.bind(this)}>{this.state.invertedTime}</Text>
<Swiper style={styles.wrapper}
showsButtons={false} //为false时不显示控制按钮
paginationStyle={{ //小圆点位置
bottom: 30
}}
loop={true} //如果设置为false,那么滑动到最后一张时,再次滑动将不会滑到第一张图片。
autoplay={true} //自动轮播
autoplayTimeout={3} //每隔3秒切换
>
<Image style={styles.image} source={require('../img/guide/geoude2.jpg')}/>
<Image style={styles.image} source={require('../img/guide/geoude3.jpg')}/>
<Image style={styles.image} source={require('../img/guide/geoude1.jpg')}/>
</Swiper>
</View>
);
}
};
let styles = StyleSheet.create({
container: {
flex: 1,//必写
flexDirection: 'column',
},
image: {
width:AutoSize.size.width,//等于width:width
height:AutoSize.size.height,
},
next:{
width: 30,
height: 30,
borderRadius:15,
fontSize:15,
textAlign:"center",
textAlignVertical: 'center',
backgroundColor: "#D4237A",
zIndex:1,
position: 'absolute',
color:"#fff",
right: 20,
top: 20,
}
});
export default GuideView;//app/utils/AutoSize.js
//这个里面进行的就是屏幕适配
import React from 'react';
import Dimensions from 'Dimensions';
const AutoSize = {
size: {
width: Dimensions.get('window').width,
height: Dimensions.get('window').height
},
};
export default AutoSize;//app/route/RootStack.js
//定义的是首页
import { createStackNavigator } from 'react-navigation';
import Home from '../Home'
import GuideView from '../guide/GuideView'
export const RootStack = createStackNavigator(
{
home: Home,
guideView: GuideView,
},
{
initialRouteName: 'guideView',
defaultNavigationOptions: {
headerStyle: {
backgroundColor: '#f4511e',
},
headerTintColor: '#fff',
headerTitleStyle: {
fontWeight: 'bold',
},
},
}
);//和index页面类似,不过具体怎么控制的?
//app/pages/User.js
import React, { Component } from 'react';
import {
View,
Text
} from 'react-native';
class User extends Component {
render() {
return (
<View>
<Text>
我是用户
</Text>
</View>
);
}
}
export default User;上面有一点点的不理解
不知道是什么控制的切换的页面的,因为那个是同时引用的
不过这个项目我喜欢~~哭唧唧,在这个水平这里~~


 1013
1013

 被折叠的 条评论
为什么被折叠?
被折叠的 条评论
为什么被折叠?
 到【灌水乐园】发言


