


 本文介绍如何在MODX系统中使用getResources插件来创建动态显示资源的区块,实现点击图片或按钮导航到对应的博客页面。具体步骤包括创建白色内容区块、灰色高亮区块,并设置每个博客页面的相关属性。
1. Create a chunk call 'white_content' for white content:
        <!-- Highlights -->
            <div class="wrapper style3">
                <div class="title">The Endorsements</div>
                <div id="highlights" class="container">
                    <div class="row">
                         [[!getResources?
                          &parents=`0` // no parent
                          &resources=`10,11,9`
                          &debug=`1`
                          &tpl=`greyhighlight`
                          &limit=`3` // 0 -- no limit
                          &depth=`1`
                          &includeContent=`1`
                          &includeTVs=`1`
                          &processTVs=`1`
                          &showHidden=`1`
                         ]]

                    </div>
                </div>
            </div>
When we click the button, we want to open a blog page for each button.
Inside chunk we use get resourece:
parent: -1 means refering to 'resources' tag or you give an id
resources: tell which resources you want to use
depth: means we only look for one level folder.
limit: show 3 result
tpl: chunk
More see: http://rtfm.modx.com/extras/revo/getresources
2. Create greyhighlight chunk:
<div class="4u">
                            <section class="highlight">
                                <a href="[[~[[+id]]]]" class="image featured"><img src="[[+tv.highlightImage]]" alt="" /></a>
                                <h3><a href="#">[[+pagetitle]]</a></h3>
                                <p>Eget mattis at, laoreet vel amet sed velit aliquam diam ante, dolor aliquet sit amet vulputate mattis amet laoreet lorem.</p>
                                <ul class="actions">
                                    <li><a href="[[~[[+id]]]]" class="button style1">Learn More</a></li>
                                </ul>
                            </section>
                        </div>
'+' means: under current page, looking for the TV.
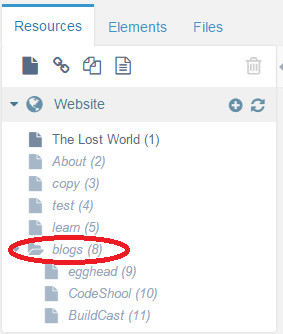
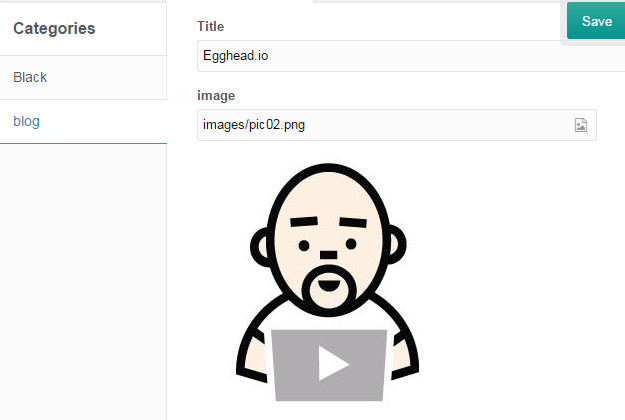
3. For each blog page:
For example: set TV
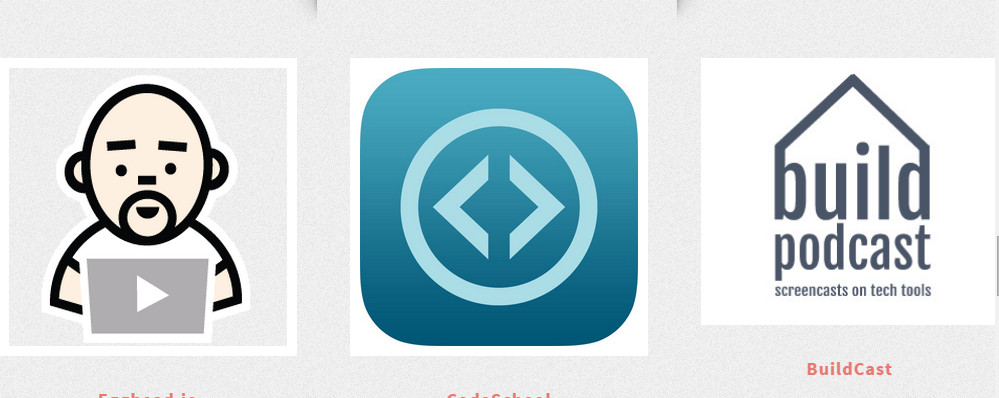
4. View the result.
Once you click the image or button, it will navigate to the blog page.


 766
766

 被折叠的 条评论
为什么被折叠?
被折叠的 条评论
为什么被折叠?
 到【灌水乐园】发言


