


1、引入依赖的jar
2、application配置
3、单向发送消息
接收消息
查看ActiveMQ控制台
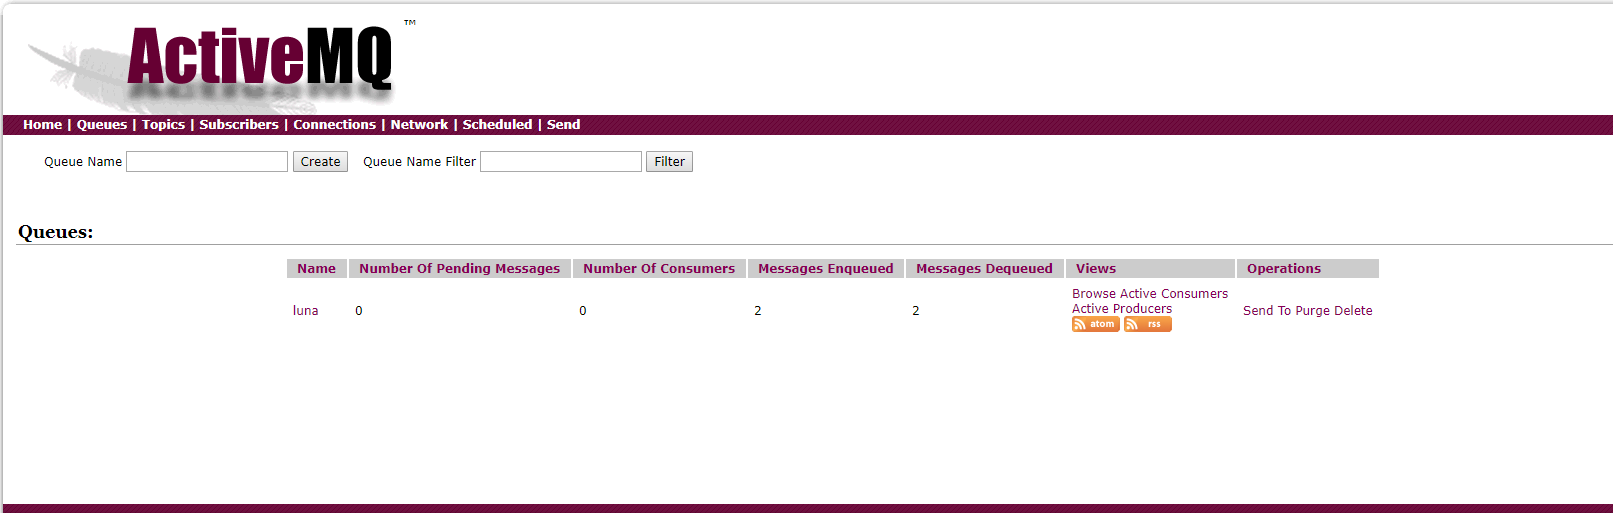
控制台打印

4、双向发送消息
例如 A发送B消费 B消费完毕将结果放在某一个队列中,A再去消费
我们将上面代码继续改造一下
写一个消费luna_ret的queue
ok,我们再执行上面的发送queues代码
ActiveMQ控制台显示
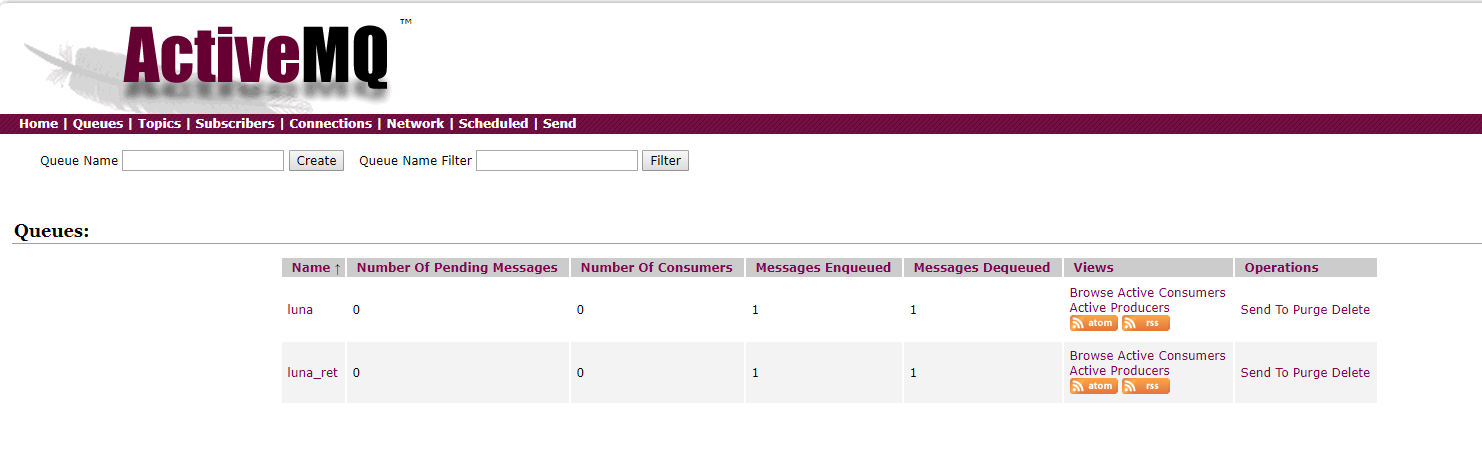
控制台日志显示

由上可知,
@SendTo 注解
可以将返回值发送到指定的queue
-----------------------------------------------
springboot整合ActiveMQ安全配置
【ActiveMQ】之安全机制(二)客户端连接安全


 616
616

 被折叠的 条评论
为什么被折叠?
被折叠的 条评论
为什么被折叠?
 到【灌水乐园】发言


