


 该博客介绍了如何创建一个简单的Android应用,该应用利用传感器显示指南针方向。首先,创建新项目并导入指南针图片,然后设计UI界面,包含一个ImageView显示指南针。接着,在MainActivity中获取SensorManager服务,注册监听器以获取方向传感器数据,并更新ImageView的旋转角度以模拟指南针转动。当应用暂停时,注销监听器以节省资源。
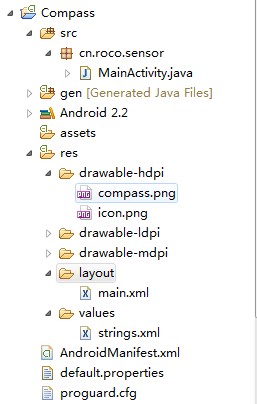
step1:新建一个项目Compass,并将一张指南针图片导入到res/drawable-hdpi目录中
step2:设计应用的UI界面,main.xml
复制代码 代码如下:
android:orientation="vertical"
android:layout_width="fill_parent"
android:layout_height="fill_parent"
android:gravity="center"
>
android:layout_width="wrap_content"
android:layout_height="wrap_content"
android:src="@drawable/compass"
android:id="@+id/imageView"
/>
step3:MainActivity.java
复制代码 代码如下:
import android.app.Activity;
import android.content.Context;
import android.hardware.Sensor;
import android.hardware.SensorEvent;
import android.hardware.SensorEventListener;
import android.hardware.SensorManager;
import android.os.Bundle;
import android.view.animation.Animation;
import android.view.animation.RotateAnimation;
import android.widget.ImageView;
public class MainActivity extends Activity {
private ImageView imageView;
/** 传感器管理器 */
private SensorManager manager;
private SensorListener listener = new SensorListener();
@Override
public void onCreate(Bundle savedInstanceState) {
super.onCreate(savedInstanceState);
setContentView(R.layout.main);
imageView = (ImageView) this.findViewById(R.id.imageView);
imageView.setKeepScreenOn(true);//屏幕高亮
//获取系统服务(SENSOR_SERVICE)返回一个SensorManager 对象
manager = (SensorManager) getSystemService(Context.SENSOR_SERVICE);
}
@Override
protected void onResume() {
/**
* 获取方向传感器
* 通过SensorManager对象获取相应的Sensor类型的对象
*/
Sensor sensor = manager.getDefaultSensor(Sensor.TYPE_ORIENTATION);
//应用在前台时候注册监听器
manager.registerListener(listener, sensor,
SensorManager.SENSOR_DELAY_GAME);
super.onResume();
}
@Override
protected void onPause() {
//应用不在前台时候销毁掉监听器
manager.unregisterListener(listener);
super.onPause();
}
private final class SensorListener implements SensorEventListener {
private float predegree = 0;
@Override
public void onSensorChanged(SensorEvent event) {
/**
* values[0]: x-axis 方向加速度
values[1]: y-axis 方向加速度
values[2]: z-axis 方向加速度
*/
float degree = event.values[0];// 存放了方向值
/**动画效果*/
RotateAnimation animation = new RotateAnimation(predegree, degree,
Animation.RELATIVE_TO_SELF,0.5f,Animation.RELATIVE_TO_SELF,0.5f);
animation.setDuration(200);
imageView.startAnimation(animation);
predegree=-degree;
/**
float x=event.values[SensorManager.DATA_X];
float y=event.values[SensorManager.DATA_Y];
float z=event.values[SensorManager.DATA_Z];
Log.i("XYZ", "x="+(int)x+",y="+(int)y+",z="+(int)z);
*/
}
@Override
public void onAccuracyChanged(Sensor sensor, int accuracy) {
}
}
}
step4:AndroidManifest.xml
复制代码 代码如下:
package="cn.roco.sensor"
android:versionCode="1"
android:versionName="1.0">
android:label="@string/app_name">


 226
226

 被折叠的 条评论
为什么被折叠?
被折叠的 条评论
为什么被折叠?
 到【灌水乐园】发言


