


 本文介绍了如何利用预训练的双模态Transformer(BMT)模型执行密集视频字幕任务,该模型结合视觉和音频信息,对视频进行事件定位和文本描述。通过下载模型和设置环境,提取I3D和VGGish特征,然后在视频上运行模型,最终生成对视频内容的多条描述。
介绍 (Intro)
The deep learning task, Video Captioning, has been quite popular in the intersection of Computer Vision and Natural Language Processing for the last few years. In particular, Dense Video Captioning, which is a subfield, has been gaining some traction among researchers. Dense Video Captioning is the task of localizing interesting events from an untrimmed video and producing individual textual description for each event.
过去几年,深度学习任务“ 视频字幕”在计算机视觉和自然语言处理的交集中非常流行。 特别是作为子领域的密集视频字幕 ( Dense Video Captioning)已在研究人员中引起了一定的关注。 密集视频字幕的任务是从未修剪的视频中定位有趣的事件,并为每个事件生成单独的文本描述。
该模型 (The Model)
Dense Video Captioning is challenging as it requires a strong contextual representation of the video, as well as being able to detect localized events. Most models tackle this problem by decomposing it into two steps: detecting event proposals from the video and then, generate sentences for each event. The current state-of-the-art algorithm Bi-modal Transformer with Proposal Generator (BMT) proposes to combine two channels of inputs in order to conduct dense video captioning: visual and audio information. It achieves state-of-the-art performance on ActivityNet Captions Dataset, which consists of thousands of videos paired with captions associated with certain timeframes.
密集视频字幕具有挑战性,因为它需要视频的强大上下文表示以及能够检测到本地事件的能力。 大多数模型通过将其分解为两个步骤来解决此问题:从视频中检测事件建议,然后为每个事件生成句子。 当前带有提案生成器(BMT)的最新算法双模态变压器建议合并两个输入通道以进行密集的视频字幕:视觉和音频信息。 它在ActivityNet字幕数据集上实现了最先进的性能,该数据集由成千上万的视频以及与特定时间范围关联的字幕组成。
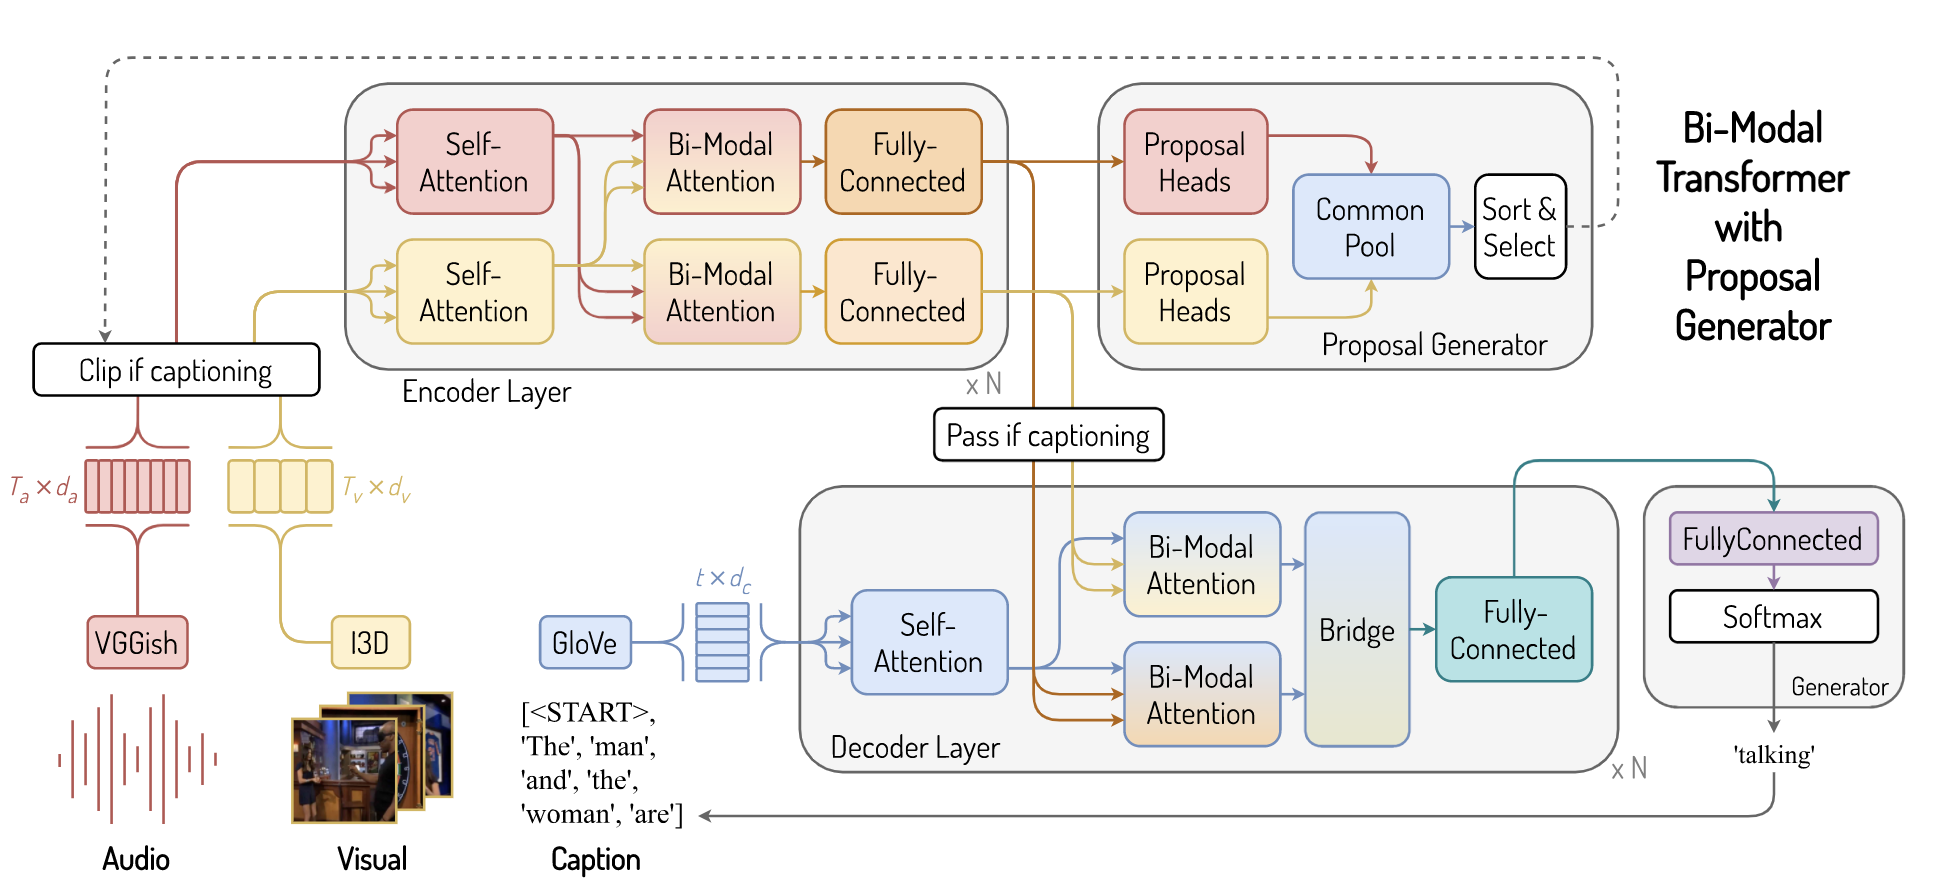
The BMT architecture consists of three main components: Bi-modal Encoder, Bi-modal Decoder, and finally the Proposal Generator.
BMT体系结构由三个主要组件组成: 双模式编码器 , 双模式解码器 ,最后是提案生成器 。
First, the audio and visual of a video is encoded using VGG and I3D, respectively. After feature extraction, the VGG and I3D features are passed to the bi-modal encoder layers where audio and visual features are encoded to what the paper calls as, audio-attended visual and video-attended audio. These features are then passed to the proposal generator, which takes in information from both modalities and generates event proposals.
首先,使用以下代码对视频的音频和视频进行编码 VGG和I3D分别。 特征提取后,VGG和I3D特征将传递到双峰编码器层,在此将音频和视觉特征编码为纸张所称的音频/视频和音频。 然后将这些功能传递给投标生成器,投标生成器从两种方式中获取信息并生成事件投标。
After the event proposal generation, the video is trimmed according to the event proposals. Each short clip is passed into the entire again, starting from feature extraction. Audio and visual features are extracted, passed into the bi-modal encoder, then to the bi-modal decoder layers. Here, the decoder layers take in two inputs: the outputs of the last layer from the bi-modal encoder and also, the GloVe embeddings of the last generated caption sequence. Finally, the decoder decodes the internal representation and generates the next word based on the probability distribution, which is added to the previous caption sequence.
生成事件建议后,将根据事件建议修剪视频。 从特征提取开始,每个短片段都会再次传递到整个片段中。 提取音频和视觉特征,将其传递到双模式编码器,然后传递到双模式解码器层。 在这里,解码器层接受两个输入:双模式编码器的最后一层的输出,以及最后生成的字幕序列的GloVe嵌入 。 最后,解码器对内部表示进行解码,并根据概率分布生成下一个单词,并将其添加到前一个字幕序列中。
实作 (Implementation)
In this article, we will show you how to use pre-trained BMT to perform dense video captioning given a video. No model training is needed.
在本文中,我们将向您展示如何使用预训练的BMT对给定的视频执行密集的视频字幕。 无需模型训练。
步骤1:下载存储库和设置环境 (Step 1: Download Repo and Setup Environment)
Download the paper’s official repository via:
git clone --recursive https://github.com/v-iashin/BMT.git
cd BMT/
Download VGG and I3D model and also GloVe embeddings. The script will save them in the ./data and ./.vector_cache folder.
下载VGG和I3D模型以及GloVe嵌入。 该脚本会将它们保存在./data和./.vector_cache文件夹中。
bash ./download_data.shSetup a conda environment with all the required libraries and dependencies:
使用所有必需的库和依赖项设置一个conda环境:
conda env create -f ./conda_env.yml
conda activate bmt
python -m spacy download en
步骤2:下载影片 (Step 2: Download Video)
Now, you can get the video that you want. As an example, I will get a short documentary about the recent global coronavirus pandemic from Youtube. I got this one:
现在,您可以获得所需的视频。 例如,我将从Youtube获得有关近期全球冠状病毒大流行的简短记录片。 我这一个 :
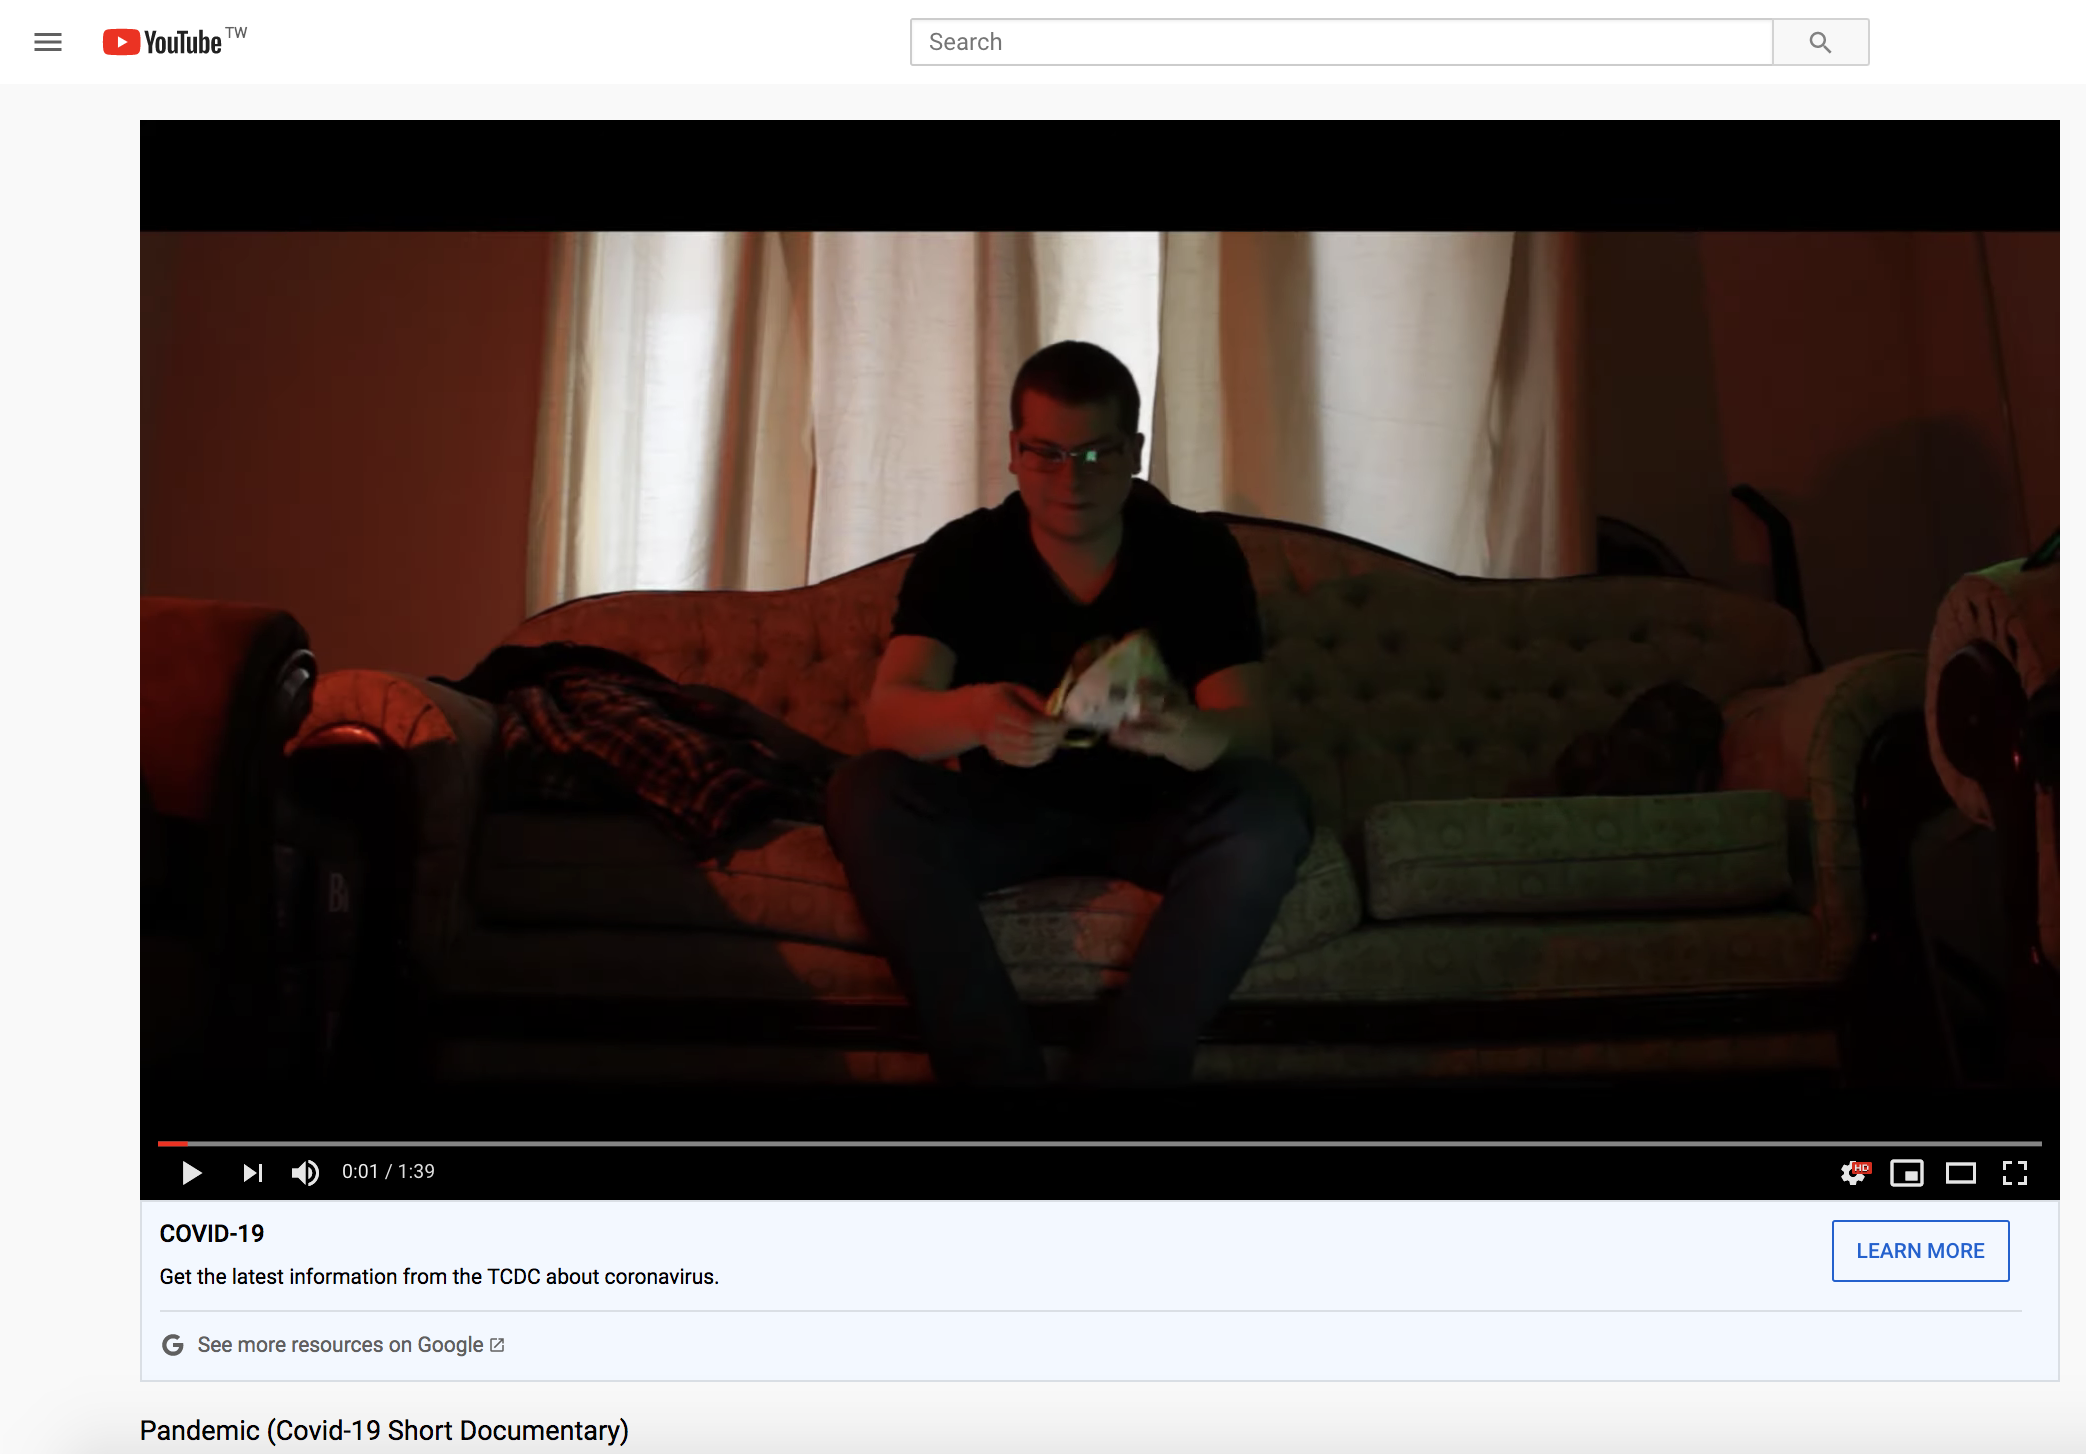
You can download Youtube videos using online downloaders, but please use it carefully and at your own risk! After downloading it, you can save it somewhere that you like. I created a test folder under the BMT project folder and copied the downloaded video to the test folder.
您可以使用在线下载器下载Youtube视频,但请谨慎使用,后果自负! 下载后,可以将其保存在所需的位置。 我在BMT项目文件夹下创建了一个test文件夹,并将下载的视频复制到该test文件夹。
mkdir test
# copied video to the test directory
步骤3:特征提取(I3D和VGGish) (Step 3: Feature Extraction (I3D and VGGish))
After getting the video, now it’s time to extract I3D features by first creating the conda environment and then running the python script:
获取视频,现在是时候来提取I3D首先创建功能后conda环境,然后运行python脚本:
cd ./submodules/video_features
conda env create -f conda_env_i3d.yml
conda activate i3d
python main.py \
    --feature_type i3d \
    --on_extraction save_numpy \
    --device_ids 0 \
    --extraction_fps 25 \
    --video_paths ../../test/pandemic.mp4 \
    --output_path ../../test/
Extract VGGish features using a similar procedure:
使用类似的过程提取VGGish功能:
conda env create -f conda_env_vggish.yml
conda activate vggish
wget https://storage.googleapis.com/audioset/vggish_model.ckpt -P ./models/vggish/checkpoints
python main.py \
--feature_type vggish \
--on_extraction save_numpy \
--device_ids 0 \
--video_paths ../../test/pandemic.mp4 \
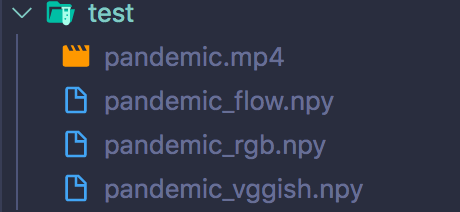
--output_path ../../test/After running the above scripts, the I3D and VGGish features will be saved in the test directory. The saved features include RGB visual features (pandemic_rgb.npy), optical flow features (pandemic_flow.npy), and audio features (pandemic_vggish.npy).
运行上述脚本后,I3D和VGGish功能将保存在test目录中。 保存的功能包括RGB视觉功能( pandemic_rgb.npy ),光流功能( pandemic_flow.npy )和音频功能( pandemic_vggish.npy )。
步骤4:在视频上运行密集视频字幕 (Step 4: Run Dense Video Captioning on the Video)
Navigate back to the main project folder and then activate the bmt environment which was set up previously. Finally, we can run video captioning using the below command:
浏览回到主项目文件夹,然后激活之前设置的bmt环境。 最后,我们可以使用以下命令运行视频字幕:
cd ../../
conda activate bmt
python ./sample/single_video_prediction.py \
    --prop_generator_model_path ./sample/best_prop_model.pt \
    --pretrained_cap_model_path ./sample/best_cap_model.pt \
    --vggish_features_path ./test/pandemic_vggish.npy \
    --rgb_features_path ./test/pandemic_rgb.npy \
    --flow_features_path ./test/pandemic_flow.npy \
    --duration_in_secs 99 \
    --device_id 0 \
    --max_prop_per_vid 100 \
    --nms_tiou_thresh 0.4
The prop_generator_model_path and pretrained_cap_model_path specify the proposal generator model path and the caption model path. Because we are using both pre-trained models, we can directly link it to the path where the pre-trained models were saved before. vggish_features_path, rgb_features_path, and flow_features_path are the paths for which the corresponding features are saved, duration_in_secs is the duration of the video in seconds, device_id is the GPU number to use, max_prop_per_vid is the maximum number of proposals to search for (a hyperparameter), and finally nms_tiou_thresh is the non-maximum suppression threshold parameter.
prop_generator_model_path和pretrained_cap_model_path指定投标生成器模型路径和字幕模型路径。 因为我们都使用了两个预训练模型,所以我们可以将其直接链接到之前保存了预训练模型的路径。 vggish_features_path , rgb_features_path和flow_features_path是保存相应功能的路径, duration_in_secs是视频的持续时间(以秒为单位), device_id是要使用的GPU编号, max_prop_per_vid是要搜索的建议的最大数量(超参数),最后, nms_tiou_thresh是非最大抑制阈值参数。
结果 (Results)
After executing dense video captioning, here is the result that is printed:
执行密集视频字幕后,将显示以下结果:
[


]
The result gives a list of start and end times, as well as sentences describing the content of the video within that period of time. After watching and comparing it with the video itself, I must say that the model performs pretty well in terms of understanding the video and taking the audio into account!
结果提供了开始时间和结束时间的列表,以及描述该时间段内视频内容的语句。 在观看并将其与视频本身进行比较之后,我必须说,该模型在理解视频和考虑音频方面表现良好!
This can be applied to any video so feel free to try it out~! This article is based on the official repository, so make sure to also check it out.
它可以应用于任何视频,请随时尝试〜! 本文基于官方存储库 ,因此请确保也将其签出。
结论 (Conclusion)
This article shows you how you can generate multiple captions for different timeframes within a single video using a pre-trained model. The model’s performance is shown to be pretty well and there are more improvements that can possibly be applied to the model and the dense video captioning task in the future.
本文向您展示了如何使用预先训练的模型为单个视频中的不同时间范围生成多个字幕。 该模型的性能显示非常好,将来还有更多改进可以应用到该模型和密集视频字幕任务中。
For more tutorials regarding deep learning, please feel free to check out:
有关深度学习的更多教程,请随时查看:
翻译自: https://towardsdatascience.com/dense-video-captioning-using-pytorch-392ca0d6971a


 1288
1288

 被折叠的 条评论
为什么被折叠?
被折叠的 条评论
为什么被折叠?
 到【灌水乐园】发言


