


前端 扩展运算符
In 2019, I was very frustrated with Microservices architecture, and my colleague who was a frontend developer laugh at me because I was the only a developer in that team who worked on all 10 services one by one or simultaneously.
在2019年,我对微服务架构感到非常沮丧,而我的一位前端开发人员的同事嘲笑我,因为我是该团队中唯一一位一个或一个地同时处理所有10种服务的开发人员。
The year 2019 was starting off my professional career but I tried my best to understand microservices architecture and successfully built 10 microservices using Node.js.
2019年是我职业生涯的起点,但我尽力了解微服务架构,并使用Node.js成功构建了10个微服务。
I was the only backend engineer in our team and I also decided to search the same architecture for frontend then I discovered “Microfrontends” and show this architecture to the frontend developer, I said “You should implement this” but he never did.
我是我们团队中唯一的后端工程师,我还决定在前端搜索相同的体系结构,然后发现“ Microfrontends ”,并向前端开发人员展示此体系结构,我说“您应该实现这一点”,但他从未这样做。
But today in this article we will learn to implement “Microfrontends” by using 4 React.js applications. You just need to install Node.js to install packages for React.js using npm.
但是今天在本文中,我们将学习通过使用4个React.js应用程序来实现“ Microfrontends ”。 您只需要安装Node.js即可使用npm安装React.js的软件包。
建立 (Setup)
1) npm i -g create-react-app // Installating globally
2) npm create-react-app app-container // Installing main container
3) npm create-react-app micro-frontend // Installing 1st frontend
4) npm create-react-app micro-frontend1 // Installing 2nd frontend
5) npm create-react-app micro-frontend2 // Installing 3rd frontend
In the first command, we are installing create-react-app boilerplate globally within our system then we are installing app-container which will render itself frontend 1,2,3.
在第一个命令中,我们先在系统中全局安装create-react-app样板,然后安装将呈现前端1,2,3的app-container。
Note: The setup below will be the same for all boilerplates except for the app-container.
注意:除app容器外,以下所有模板的设置均相同。
Within all of these boilerplates install react-app-rewired using npm. We are using it because we need to change configuration without eject.
在所有这些样板中,使用npm安装react-app- rewired。 之所以使用它,是因为我们需要更改配置而不弹出。
1) npm i react-app-rewired --save // This will also save module in package.json dependenciesNow we need to replace react-scripts to react-app-rewired in package.json scripts.
现在我们需要将package.json脚本中的react-scripts替换为react-app-wired。
"scripts":  {
         "start": "react-app-rewired start",         "build": "react-app-rewired build",         "test": "react-app-rewired test",         "eject": "react-scripts eject" }
Last but not least we need to a new file within the src directory in all boilerplates config-overrides.js
最后但并非最不重要的一点是,我们需要在所有样板config-overrides.js中的src目录中创建一个新文件。
module.exports = {webpack: (config, env) => {config.optimization.runtimeChunk = false;config.optimization.splitChunks = {cacheGroups: {default: false,},};return config;},};This code means that we are saying webpack that don’t cache stuff, but if you are more interested in caching you can start all frontend using react-scripts without adding the config-overides.js file.
这段代码意味着我们说的Webpack不会缓存内容,但是如果您对缓存更感兴趣,则可以使用react-scripts启动所有前端,而无需添加config-overides.js文件。
Add setupProxy.js file in src to set up a proxy for all micro-frontends.
在src中添加setupProxy.js文件以为所有微前端设置代理。
module.exports = app => {app.use((req, res, next) => {res.header('Access-Control-Allow-Origin', '*');next();});};Update index.js file in src in all micro-frontends.
在所有微前端中更新src中的index.js文件。
import React from 'react';import ReactDOM from 'react-dom';import './index.css';import App from './App';import * as serviceWorker from './serviceWorker';// render micro frontend functionwindow.rendercreatereactapp = (containerId, history) => {ReactDOM.render(<App history={history}/>,document.getElementById(containerId));serviceWorker.unregister();};// unmount micro frontend functionwindow.unmountcreatereactapp = containerId => {ReactDOM.unmountComponentAtNode(document.getElementById(containerId));};// Mount to root if it is not a micro frontendif (!document.getElementById('createreactapp-container')) {ReactDOM.render(<App />, document.getElementById('root'));}// If you want your app to work offline and load faster, you can change// unregister() to register() below. Note this comes with some pitfalls.// Learn more about service workers: https://bit.ly/CRA-PWAserviceWorker.unregister();实作 (Implementation)
Now we will implement and run each and every “micro frontend” one by one and within the app container.
现在,我们将在app容器中一个接一个地实现并运行每个“微型前端”。
1:-微型前端 (1:- micro-frontend)
This is our first micro frontend boilerplate we need to update a few things within it.
这是我们的第一个微型前端样板,我们需要更新其中的一些内容。
Update App.js in the src directory with this code, according to this code we will render a logo with “I am a Micro Frontend” text.
使用此代码更新src目录中的App.js,根据该代码,我们将使用“我是微前端”文本呈现徽标。
import React from 'react';import logo from './logo.svg';import './App.css';function App() {return (<div className="App"><header className="App-header"><img src={`${process.env.REACT_APP_CONTENT_HOST}${logo}`} className="App-logo" alt="logo" /><p>I am Micro Frontend.</p><aclassName="App-link"href="https://reactjs.org"target="_blank"rel="noopener noreferrer">Learn React</a></header></div>);}export default App;Create a .env file in the main directory of this boilerplate.
在此样板的主目录中创建一个.env文件。
REACT_APP_CONTENT_HOST=http://localhost:4000
PORT = 4000
Then run npm start to start React.js frontend using node and npm.
然后运行npm start以使用node和npm启动React.js前端。
Output:
输出:

Note: Don’t turn it off we will later render it in the app-container.
注意:请勿关闭它,我们稍后将在应用程序容器中渲染它。
2:-微型前端2 (2:- micro-frontend2)
This is our second micro frontend boilerplate we need to update a few things within it.
这是我们的第二个微型前端样板,我们需要更新其中的一些内容。
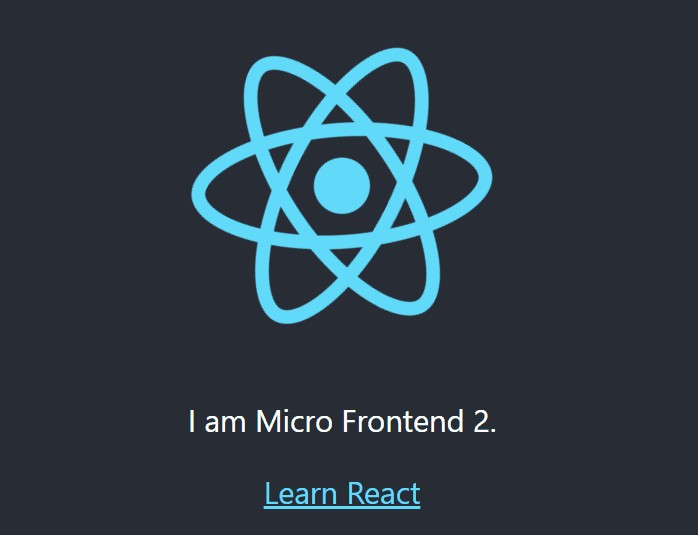
Update App.js in the src directory with this code, according to this code we will render a logo with “I am a Micro Frontend 2” text.
使用此代码更新src目录中的App.js,根据该代码,我们将使用“我是Micro Frontend 2”文本呈现徽标。
import React from 'react';import logo from './logo.svg';import './App.css';function App() {return (<div className="App"><header className="App-header"><img src={`${process.env.REACT_APP_CONTENT_HOST}${logo}`} className="App-logo" alt="logo" /><p>I am Micro Frontend 2.</p><aclassName="App-link"href="https://reactjs.org"target="_blank"rel="noopener noreferrer">Learn React</a></header></div>);}export default App;Create a .env file in the main directory of this boilerplate.
在此样板的主目录中创建一个.env文件。
REACT_APP_CONTENT_HOST=http://localhost:4002
PORT=4002
Then run npm start to start React.js frontend using node and npm.
然后运行npm start以使用node和npm启动React.js前端。
Output:
输出:
Note: Don’t turn it off we will later render it in the app-container.
注意:请勿关闭它,我们稍后将在应用程序容器中渲染它。
3:-微型前端3 (3:- micro-frontend3)
This is our last micro frontend boilerplate we need to update a few things within it.
这是我们最后一个微型前端样板,我们需要更新其中的一些内容。
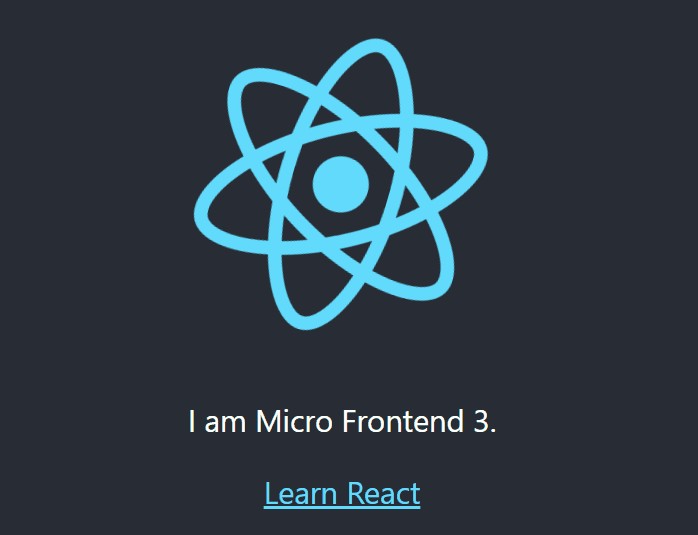
Update App.js in the src directory with this code, according to this code we will render a logo with “I am a Micro Frontend 3” text.
使用此代码更新src目录中的App.js,根据此代码,我们将使用“我是Micro Frontend 3”文本呈现徽标。
import React from 'react';import logo from './logo.svg';import './App.css';function App() {return (<div className="App"><header className="App-header"><img src={`${process.env.REACT_APP_CONTENT_HOST}${logo}`} className="App-logo" alt="logo" /><p>I am Micro Frontend 3.</p><aclassName="App-link"href="https://reactjs.org"target="_blank"rel="noopener noreferrer">Learn React</a></header></div>);}export default App;Create a .env file in the main directory of this boilerplate.
在此样板的主目录中创建一个.env文件。
REACT_APP_CONTENT_HOST=http://localhost:4003
PORT=4003
Then run npm start to start React.js frontend using node and npm.
然后运行npm start以使用node和npm启动React.js前端。
Output:
输出:
Note: Don’t turn it off we will later render it in the app-container.
注意:请勿关闭它,我们稍后将在应用程序容器中渲染它。
4:-应用程序容器 (4:- app-container)
This is our main app-container boilerplate we need to update a few things within it.
这是我们主要的应用程序容器样板,我们需要更新其中的一些内容。
You need to install react-router-dom for routing.
您需要安装react-router-dom进行路由。
Update App.js in the src directory with this code, we are rendering all “micro frontends” by using different link tags and NavLink.
使用此代码更新src目录中的App.js,我们通过使用不同的链接标签和NavLink渲染所有“微型前端”。
import React from 'react';import { NavLink, BrowserRouter, Route, Switch } from 'react-router-dom';import MicroFrontend from './MicroFrontend';const {REACT_APP_CREATEREACTAPP_HOST: createreactappHost,REACT_APP_CREATEREACTAPP2_HOST: createreactapp2Host,REACT_APP_CREATEREACTAPP3_HOST: createreactapp3Host} = process.env;const CreateReactApp = ({ history }) => (<MicroFrontendhistory={history}host={createreactappHost}name="createreactapp"/>);const CreateReactApp2 = ({ history }) => (<MicroFrontendhistory={history}host={createreactapp2Host}name="createreactapp2"/>);const CreateReactApp3 = ({ history }) => (<MicroFrontendhistory={history}host={createreactapp3Host}name="createreactapp3"/>);const Home = () => (<><p>What is a micro front-ends approach? The term micro front-ends first cameup in the ThoughtWorks Technology Radar in November 2016. It extends theconcepts of microservices to front-end development.</p><p>The approach is to split the browser-based code into micro front-ends bybreaking down application features. By making smaller and feature-centeredcodebases, we achieve the software development goal of decoupling.</p><p>Although the codebases are decoupled, the user experiences are coherent.In addition, each codebase can be implemented, upgraded, updated, anddeployed independently.</p><p>Here is the paradise of micro front-ends. JavaScript applications,regardless of frameworks and versions, are launched by a container. Theseapplications, legacy and new, work together seamlessly, and act like oneapplication.</p></>);const App = props => {return (<BrowserRouter><h1>This is an example of micro frontend.</h1><p>I am an App Container. <br/>In the links below, Home is a component bundled with the App Container.We have three Micro Frontends: Create React App, Create React App2, and Create React App3.</p><ul><li><NavLink to="/home">Home</NavLink></li><li><NavLink to="/createreactapp">Micro Frontend: Create React App</NavLink></li><li><NavLink to="/createreactapp2">Micro Frontend: Create React App 2</NavLink></li><li>
<NavLink to="/createreactapp3">Micro Frontend: Create React App 3 </NavLink>
</li>
</ul>
<Switch>
<Route path="/home" component={Home} />
<Route path="/createreactapp" render={() => <CreateReactApp />} /><Route path="/createreactapp2" render={() => <CreateReactApp2 />} /><Route path="/createreactapp3" render={() => <CreateReactApp3 />} />
</Switch>
</BrowserRouter>
);
};
export default App;
Create a Microfrontend.js file in the src directory of this boilerplate.
在此样板的src目录中创建一个Microfrontend.js文件。
In this file, we are getting assets and builds of micro frontend to render them on the main app-container.
在此文件中,我们将获取资产和微型前端的构建,以将其呈现在主应用程序容器中。
import React from 'react';class MicroFrontend extends React.Component {componentDidMount() {const { name, host, document } = this.props;const scriptId = `micro-frontend-script-${name}`;if (document.getElementById(scriptId)) {this.renderMicroFrontend();return;}fetch(`${host}/asset-manifest.json`).then(res => res.json()).then(manifest => {const script = document.createElement('script');script.id = scriptId;script.crossOrigin = '';script.src = `${host}${manifest['files']['main.js']}`;script.onload = this.renderMicroFrontend;document.head.appendChild(script);});}componentWillUnmount() {const { name, window } = this.props;window[`unmount${name}`] && window[`unmount${name}`](`${name}-container`);}renderMicroFrontend = () => {const { name, window, history } = this.props;window[`render${name}`] && window[`render${name}`](`${name}-container`, history);};render() {return <main id={`${this.props.name}-container`} />;}}MicroFrontend.defaultProps = {document,window,};export default MicroFrontend;Create a .env file in the main directory of this boilerplate.
在此样板的主目录中创建一个.env文件。
REACT_APP_CREATEREACTAPP_HOST=http://localhost:4000
REACT_APP_CREATEREACTAPP2_HOST=http://localhost:4002
REACT_APP_CREATEREACTAPP3_HOST=http://localhost:4003
Then run npm start to start React.js frontend using node and npm.
然后运行npm start以使用node和npm启动React.js前端。
Output:
输出:
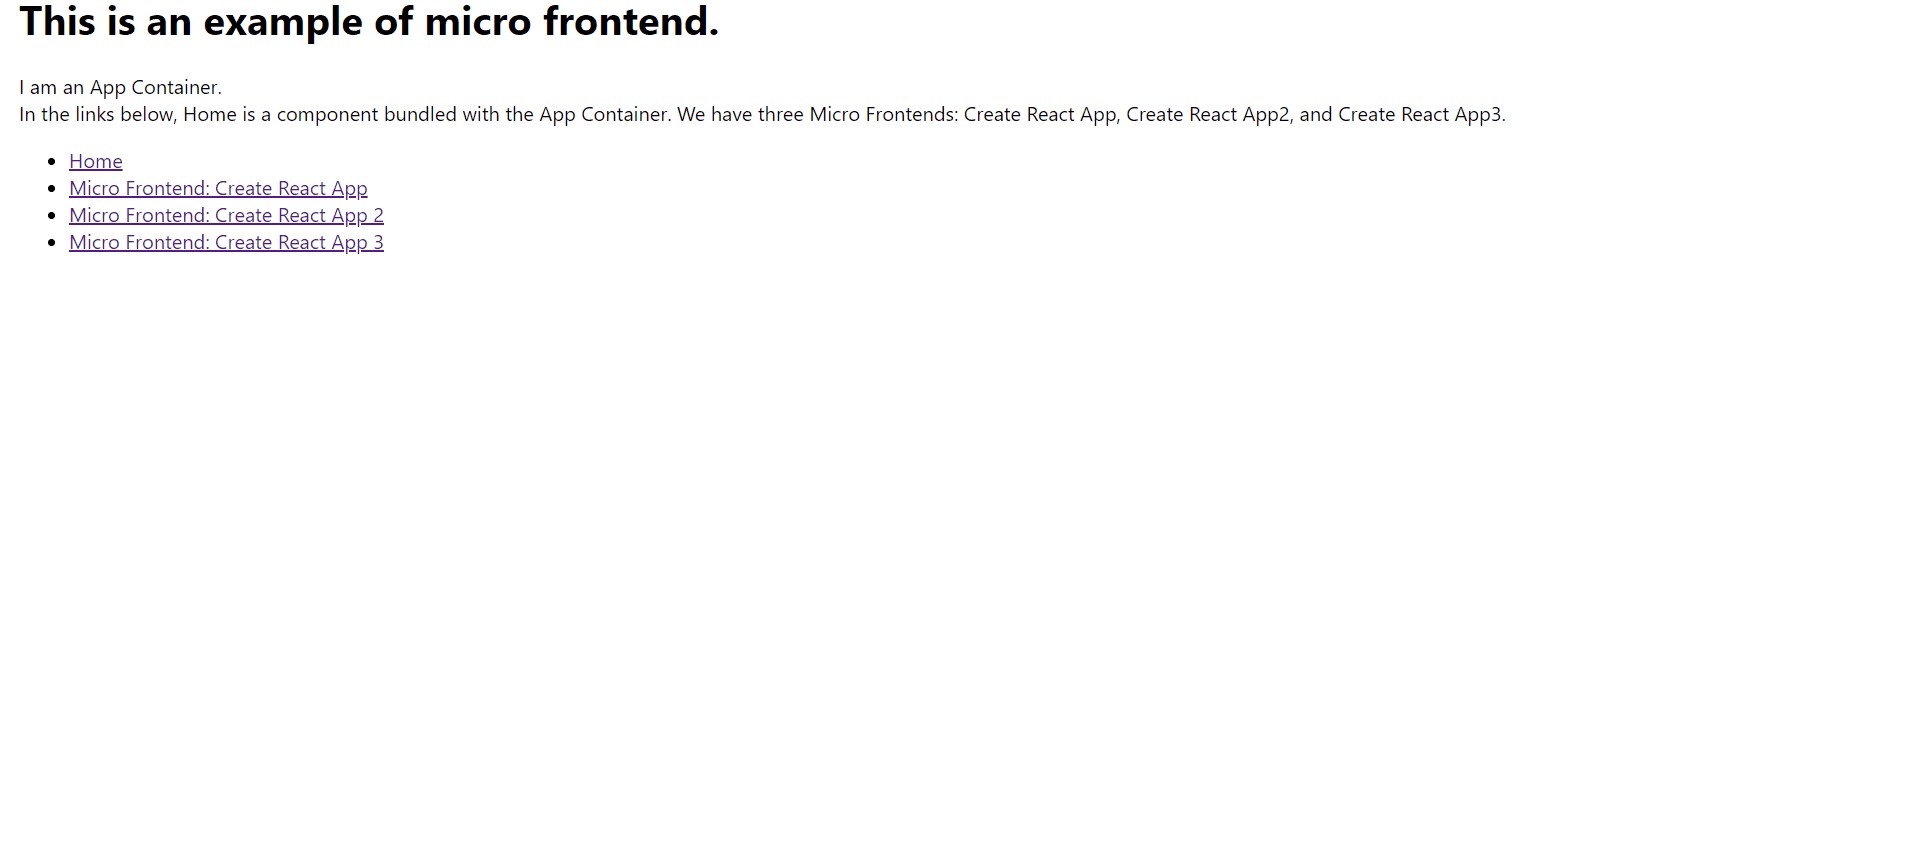
As you can see in the above gif, the hello section is coming from the main app-container while other sections are coming from “Microfrontends”.
如您在上面的gif中看到的,“ hello”部分来自主应用程序容器,而其他部分则来自“ Microfrontends ”。
最后的想法 (Final Thoughts)
In this article, we learned to implement Microfrontend architecture by using React.js only, so if you are interested to experiment more then I will suggest you try multiple languages i.e Angular, Vue, and React.
在本文中,我们学习了仅通过使用React.js来实现Microfrontend架构的方法,因此,如果您有兴趣进行更多实验,那么我建议您尝试多种语言,例如Angular,Vue和React。
We have pushed the whole codebase on GitHub if you want to learn more about it don’t forget to start repository.
如果您想了解有关它的更多信息,请不要忘记启动存储库,我们已将整个代码库推送到了GitHub。
If you are facing any problems don’t forget to contact the author on his Linkedin.
如果您遇到任何问题,请不要忘记在其Linkedin上与作者联系。
翻译自: https://byrslf.co/extending-microservices-idea-to-frontend-development-74f5c2236f81
前端 扩展运算符


 被折叠的 条评论
为什么被折叠?
被折叠的 条评论
为什么被折叠?
 到【灌水乐园】发言


