


 本文介绍了在Adobe XD中创建和刷新遮罩的三种方法,对于iOS应用设计尤其适用。
ios 刷新遮罩遮罩
Are you new to Adobe XD? Or maybe you’re just stuck on how to create a simple mask? Here are 3 quick tips for how to mask your photos and designs in Adobe XD.
您是Adobe XD的新手吗? 或者,也许您只是停留在如何创建简单的蒙版上? 以下是有关如何在Adobe XD中遮罩照片和设计的3个快速提示。
1.使用形状遮罩 (1. Use shapes to mask)
One of the easiest ways to mask in Adobe XD is to use shapes. For example, let’s say I want this profile photo placed inside a circle.
在Adobe XD中进行蒙版的最简单方法之一就是使用形状。 例如,假设我要将这张个人资料照片放在一个圆圈内。

Use the Ellipse tool, click and drag while using the Option key to create a perfect circle.
使用椭圆工具,在使用Option键创建完美圆的同时单击并拖动。

Select both the circle and the photo and use the keyboard shortcut Command + Shift + Mask to mask the photo within the shape.
选择圆圈和照片,然后使用键盘快捷键Command + Shift +遮罩在形状中遮盖照片。

If you want to reposition or scale your photo within the frame, double-click into the group.
如果要在框架中重新定位照片或缩放照片,请双击该组。

拖放 (Drag and drop)
A similar technique is to draw the shape first then drag and drop the photo into the shape.
一种类似的技术是先绘制形状,然后将照片拖放到形状中。
For example, let’s say I want to have a background photo on my artboard. Use the Rectangle tool to draw a rectangle the same size as the artboard. Then simply drag and drop your image into the rectangle. And again, you can double-click if you want to rescale or reposition.
例如,假设我要在画板上有一张背景照片。 使用“矩形”工具绘制与画板相同大小的矩形。 然后,只需将您的图像拖放到矩形中即可。 再次,您可以双击是否要缩放或重新定位。


2.使用钢笔工具 (2. Use the pen tool)
Another option is to use the pen tool in Adobe XD to draw any shape. This is the best option to create more complex masks for your photos.
另一个选择是使用Adobe XD中的钢笔工具绘制任何形状。 这是为照片创建更复杂的蒙版的最佳选择。
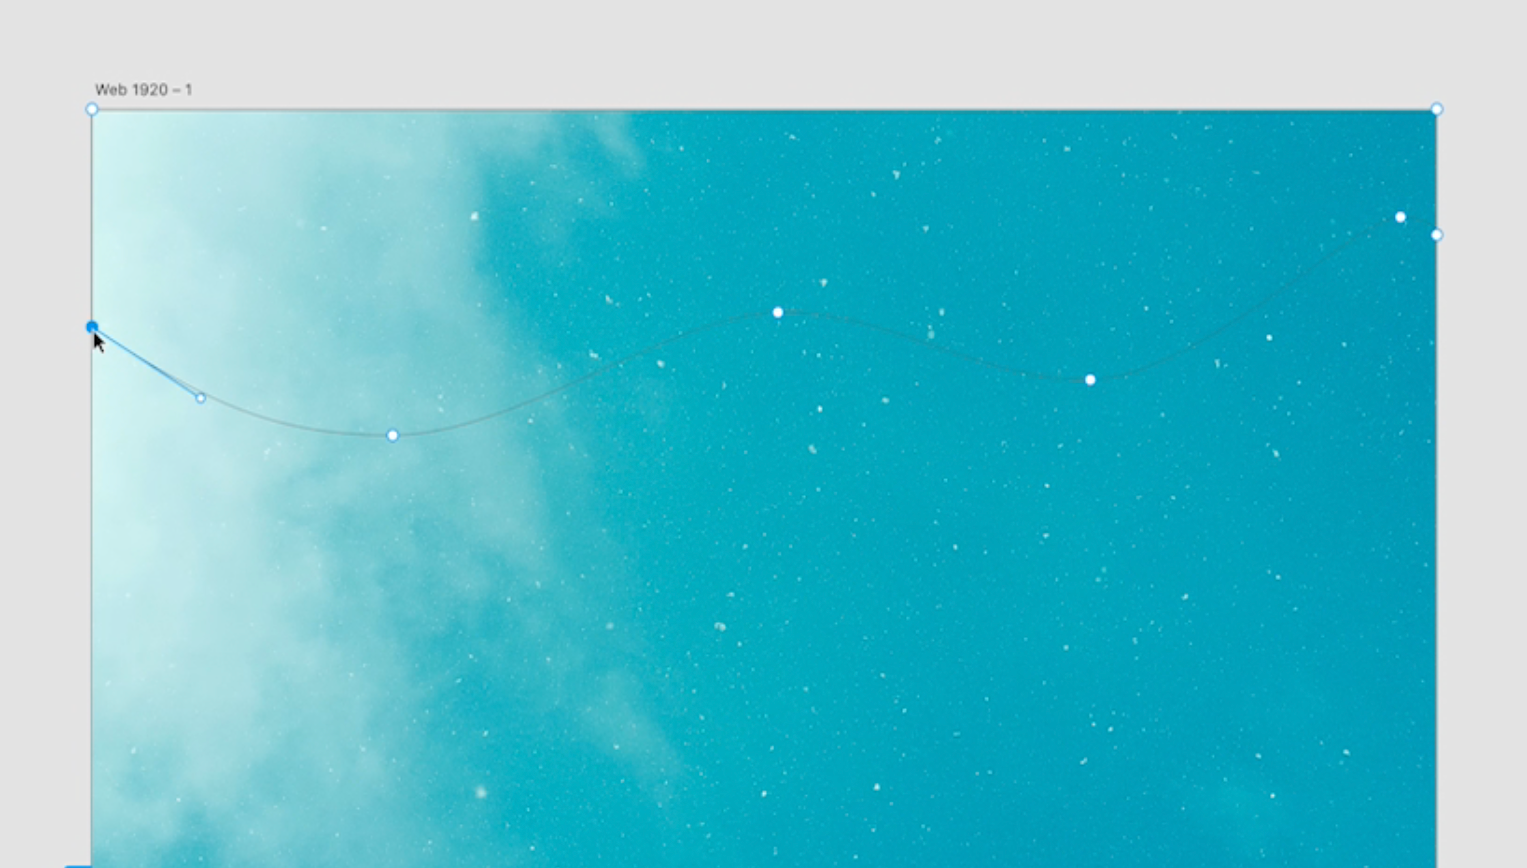
As with the first option, select both the shape and photo, use keyboard shortcut Command + Shift + M to mask.
与第一个选项一样,选择形状和照片,使用键盘快捷键Command + Shift + M进行遮罩。

3.在Photoshop中使用钢笔工具... (3. Use the pen tool… in Photoshop)
This last option is kind of a cheat. Sometimes I prefer to do custom masking in Photoshop as it’s easier and more accurate.
最后一个选择有点作弊。 有时我更喜欢在Photoshop中进行自定义遮罩,因为它更简单,更准确。
For this photo, I want the hand and the cup to cut out from the background. In Photoshop, I’ll use the Quick Selection tool and click on Select Subject. At the bottom of the Layers panel, click Add a Mask.
对于这张照片,我希望手和杯子从背景中切出。 在Photoshop中,我将使用“ 快速选择”工具,然后单击“ 选择主题” 。 在“ 图层”面板的底部,单击“ 添加蒙版”。

Zoom in and make sure everything was selected. In this case, Photoshop missed a little bit of the lip of the cup, so I zoom in and use the Brush tool to paint the area back in.
放大并确保已选择所有内容。 在这种情况下,Photoshop会漏掉杯子的一些边缘,因此我放大并使用“画笔”工具将区域重新绘画。


Then go to Image > Trim > and choose the Transparent Pixels option. This will get rid of all transparent pixels and crop your image.
然后转到“图像”>“修剪”>,然后选择“ 透明像素”选项。 这将消除所有透明像素并裁剪图像。
Go to File > Save As > PNG.
转到文件>另存为> PNG。
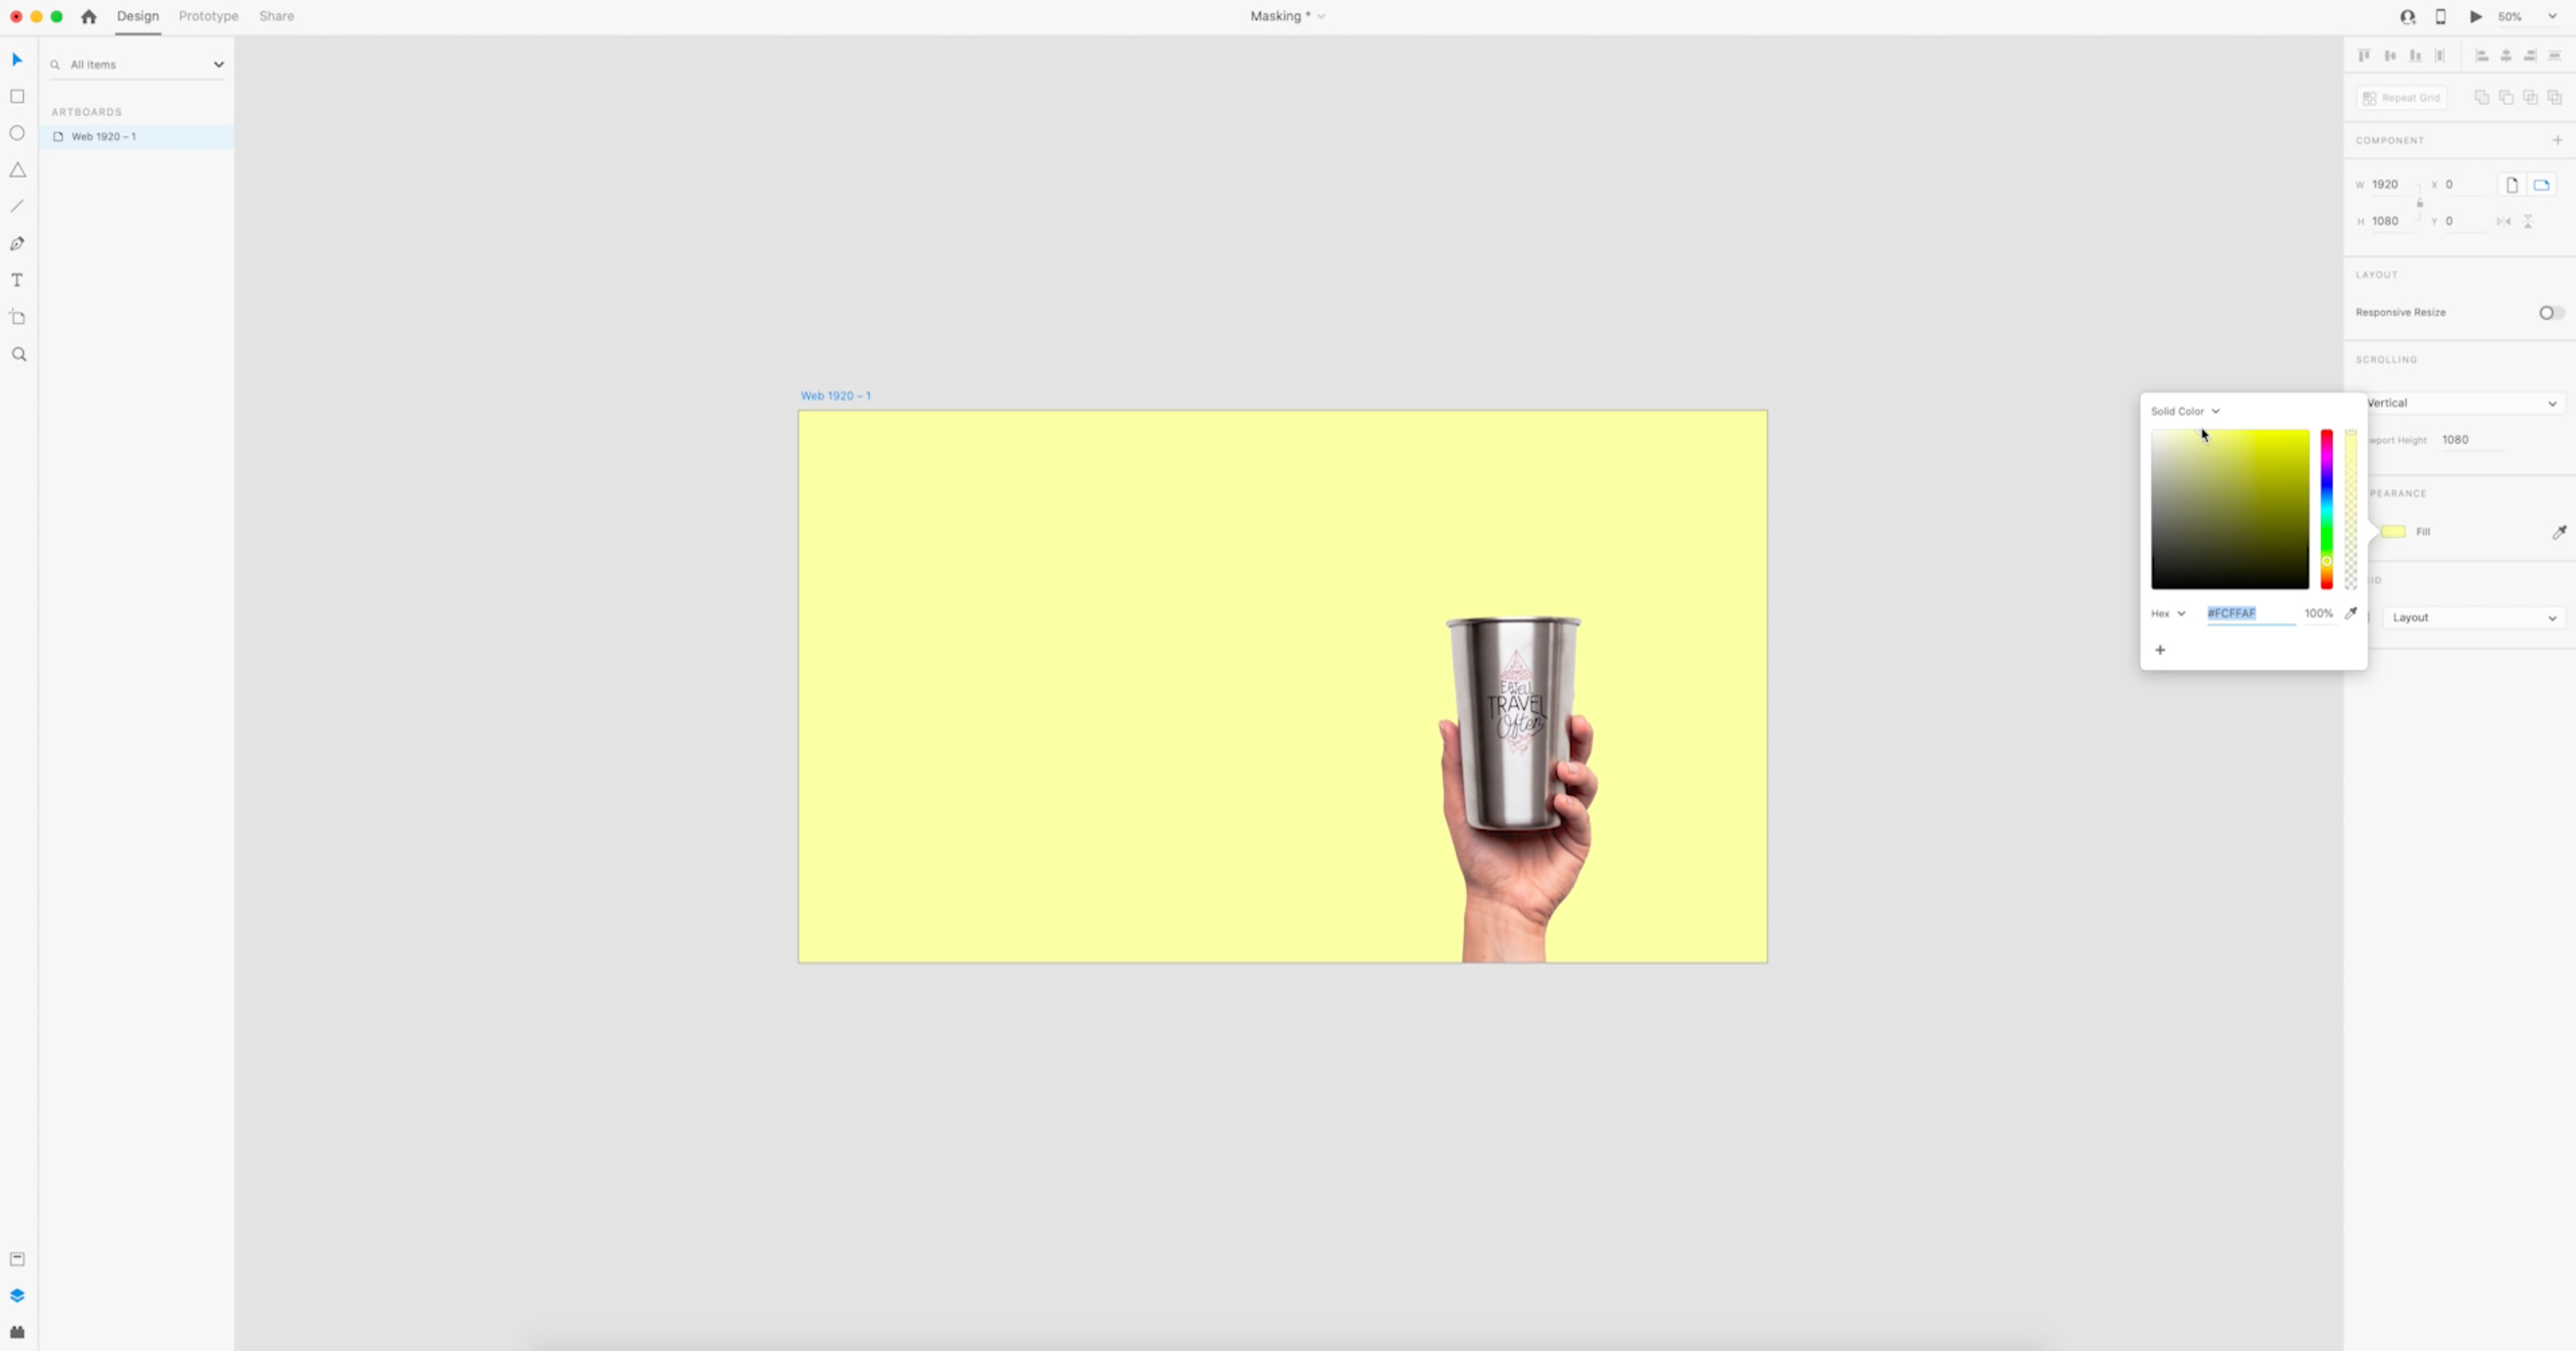
Now I can drag and drop this image into my XD file. And because I used Photoshop to mask out the background, now I can add a color background to the landing page.
现在,我可以将该图像拖放到XD文件中。 并且由于我使用Photoshop掩盖了背景,因此现在可以将彩色背景添加到登录页面。
喜欢看教程吗? (Prefer to watch a tutorial?)
Watch this 2-minute tutorial video to see these 3 mask options in action.
观看此2分钟的教程视频,以了解这3个口罩选项的实际作用。
翻译自: https://uxdesign.cc/3-ways-to-mask-in-adobe-xd-81ff9cdf8b17
ios 刷新遮罩遮罩


 被折叠的 条评论
为什么被折叠?
被折叠的 条评论
为什么被折叠?
 到【灌水乐园】发言


