


文档:官方文档
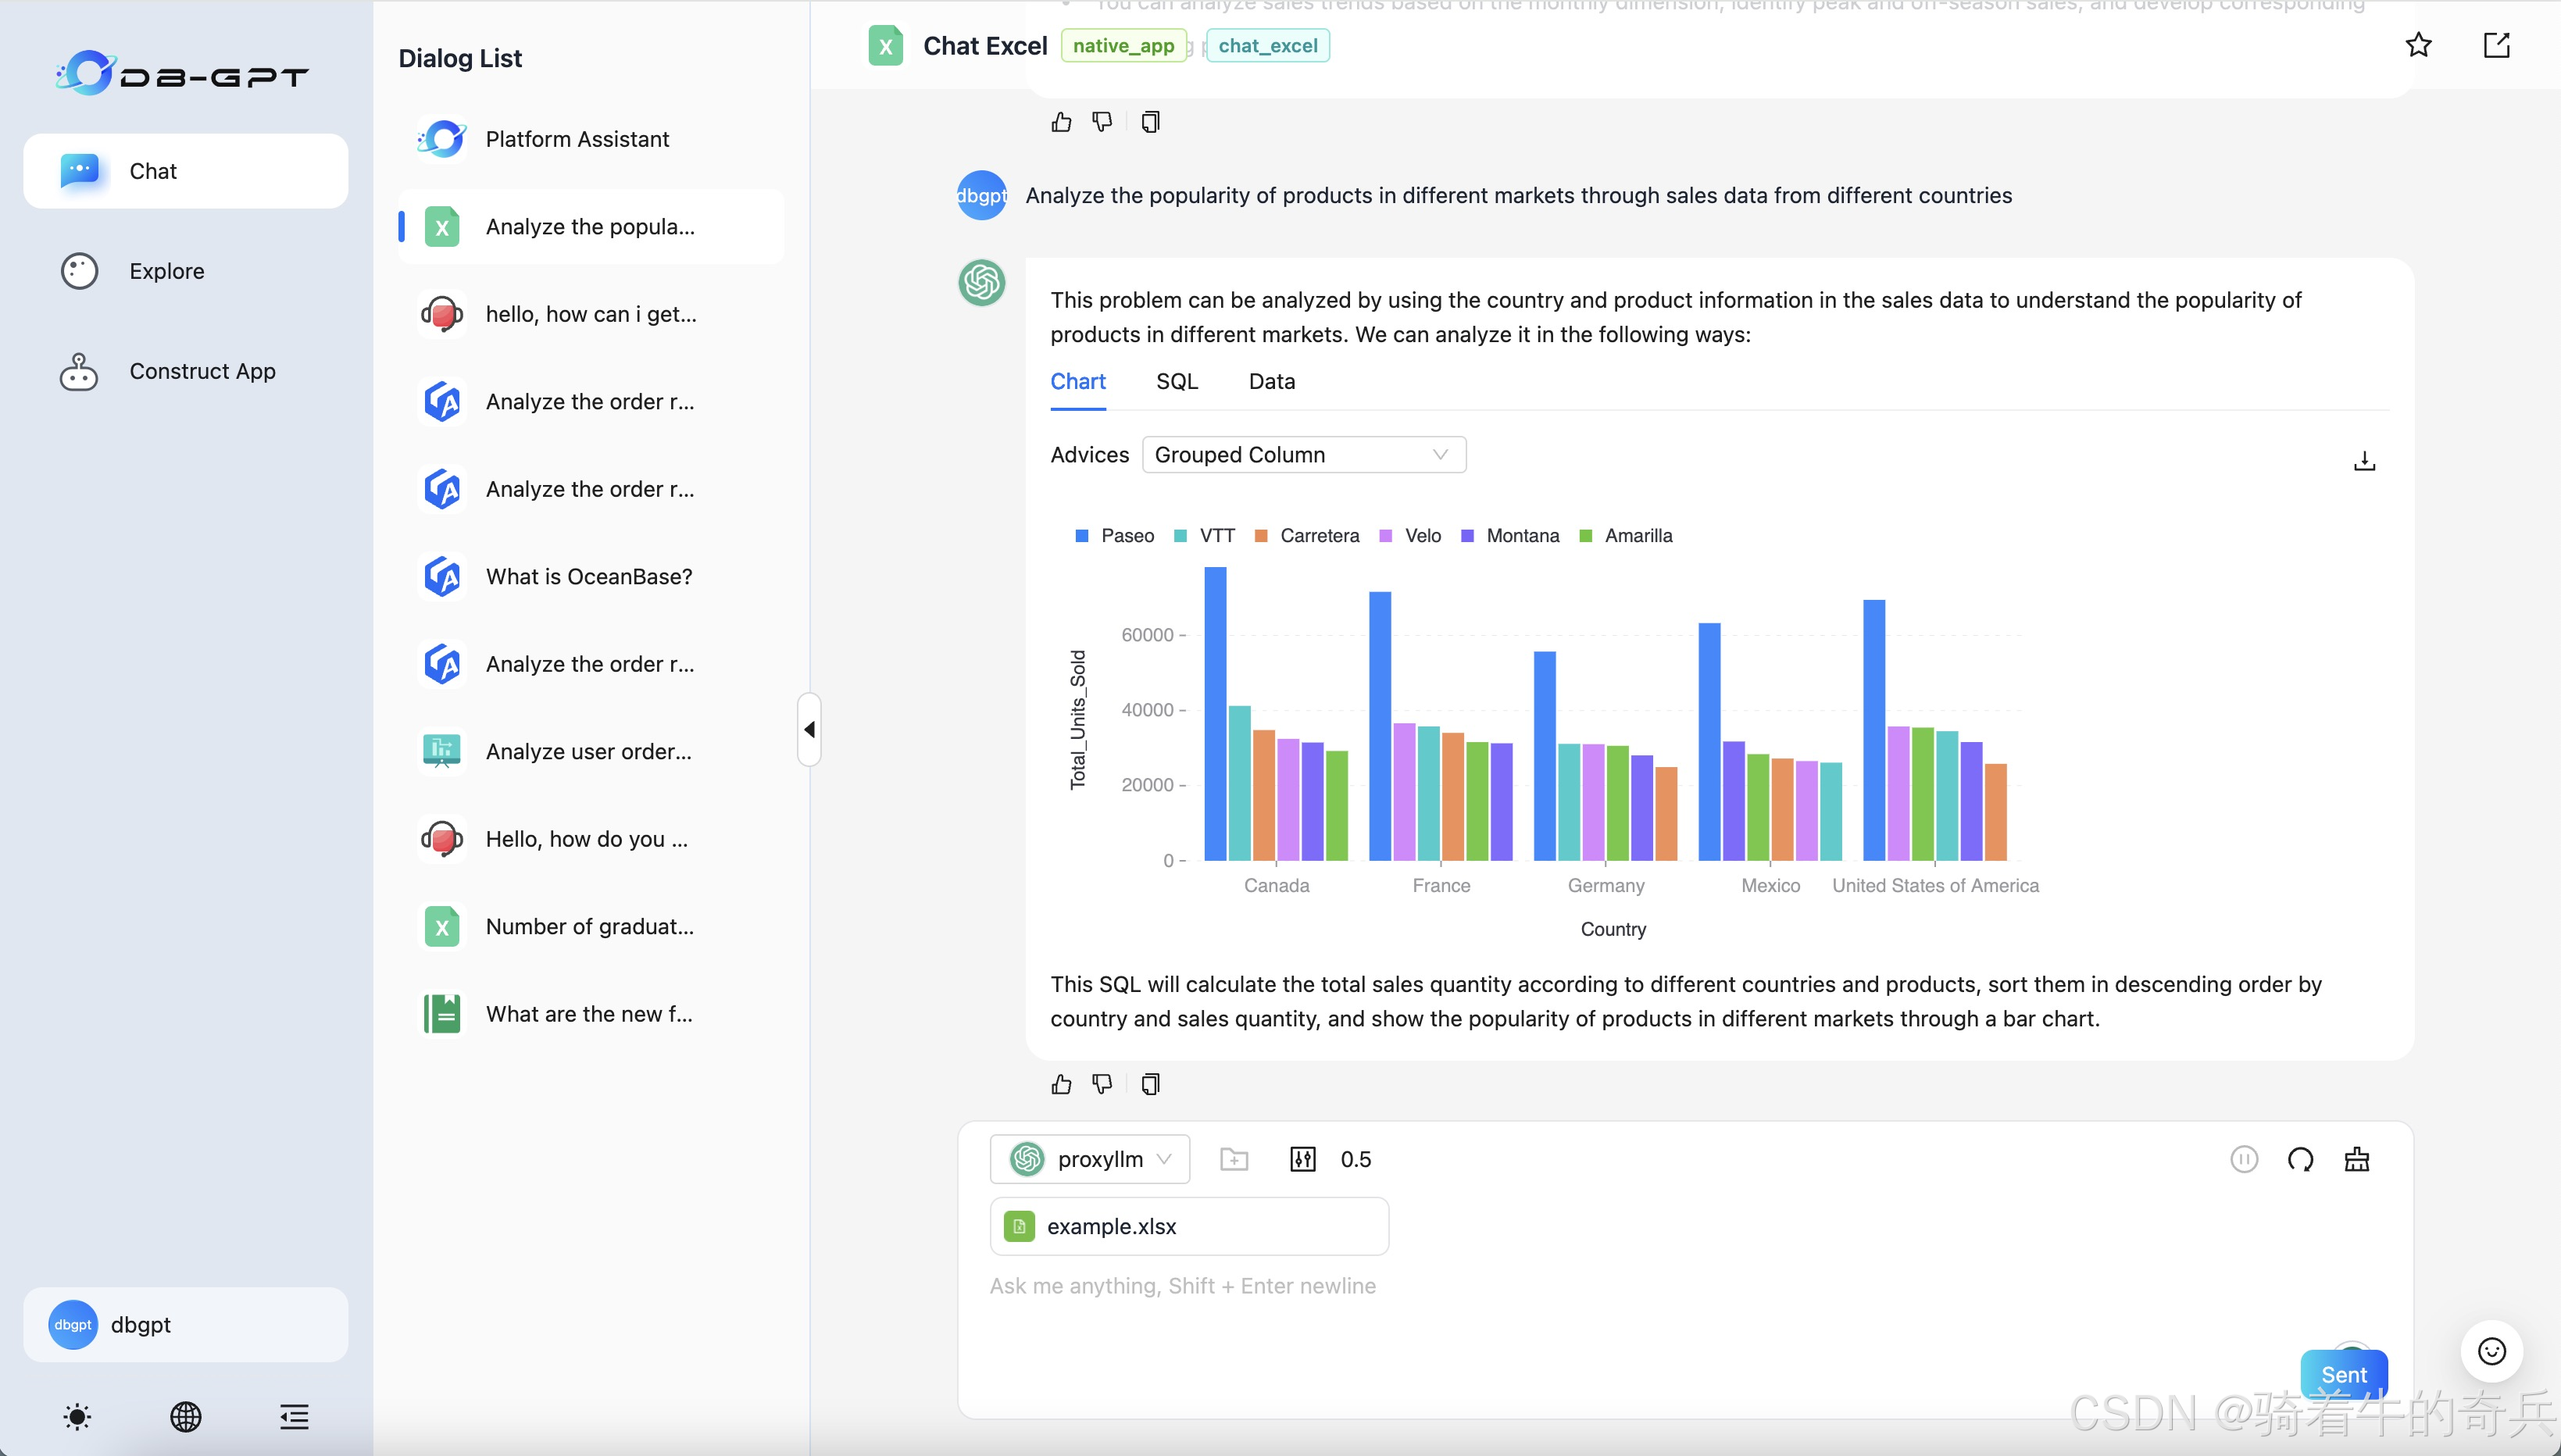
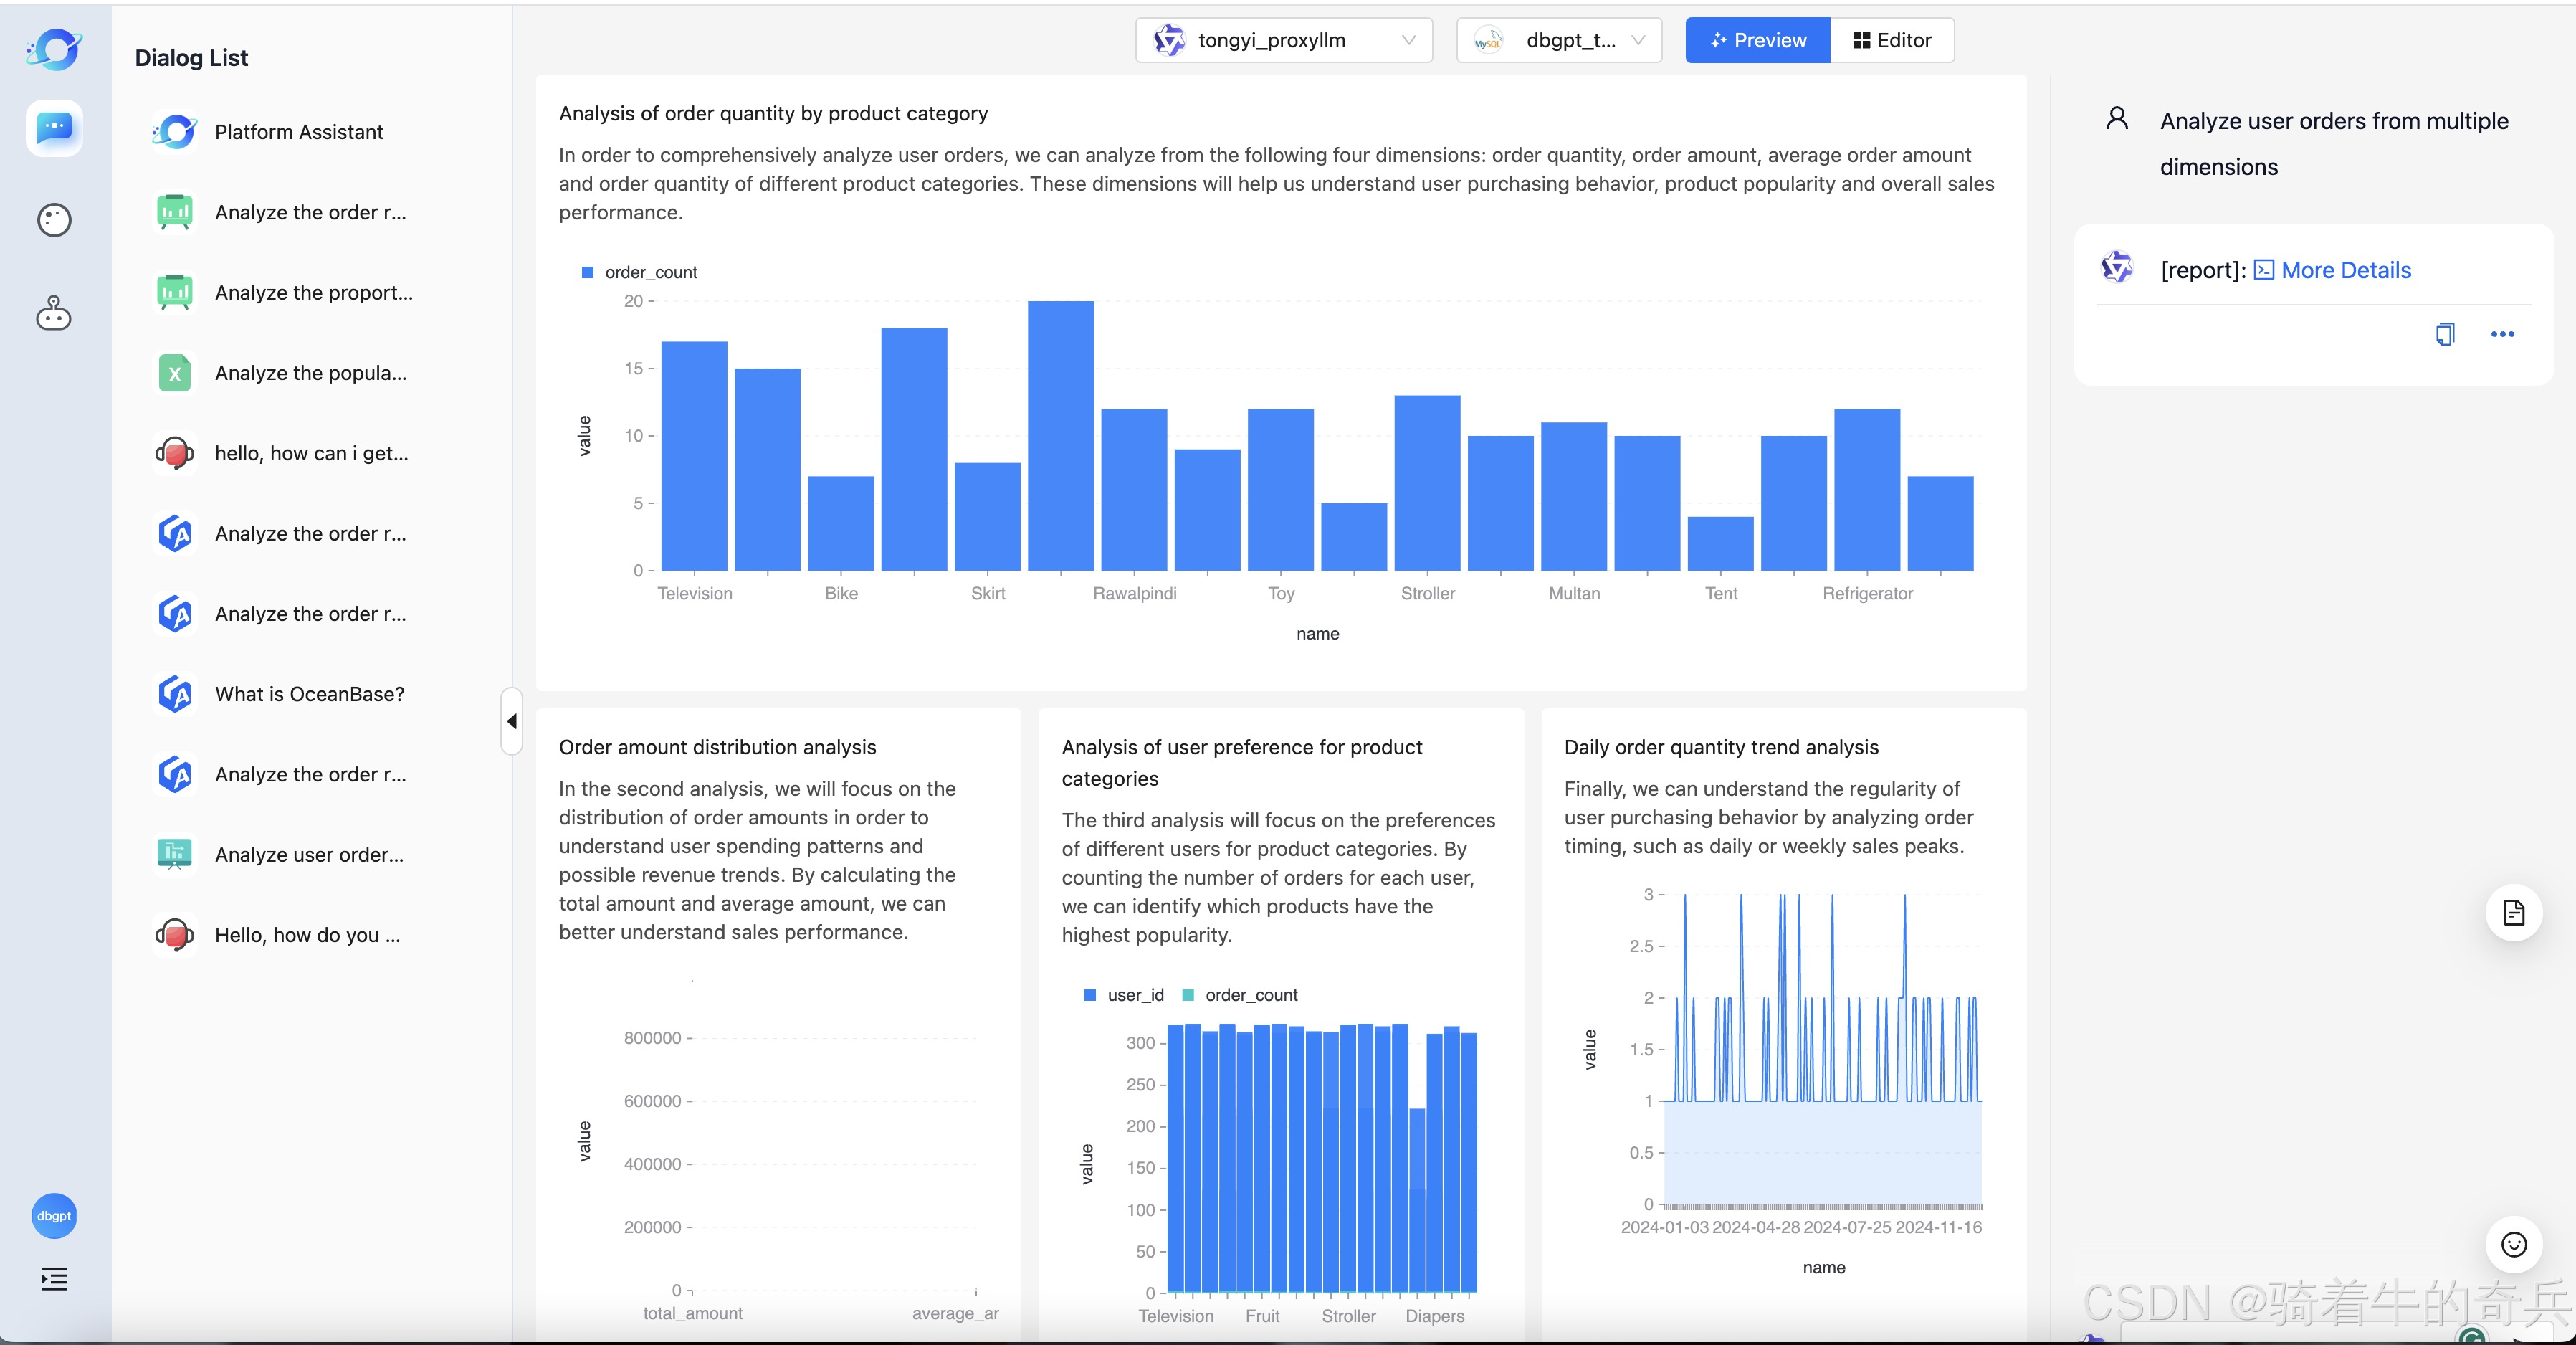
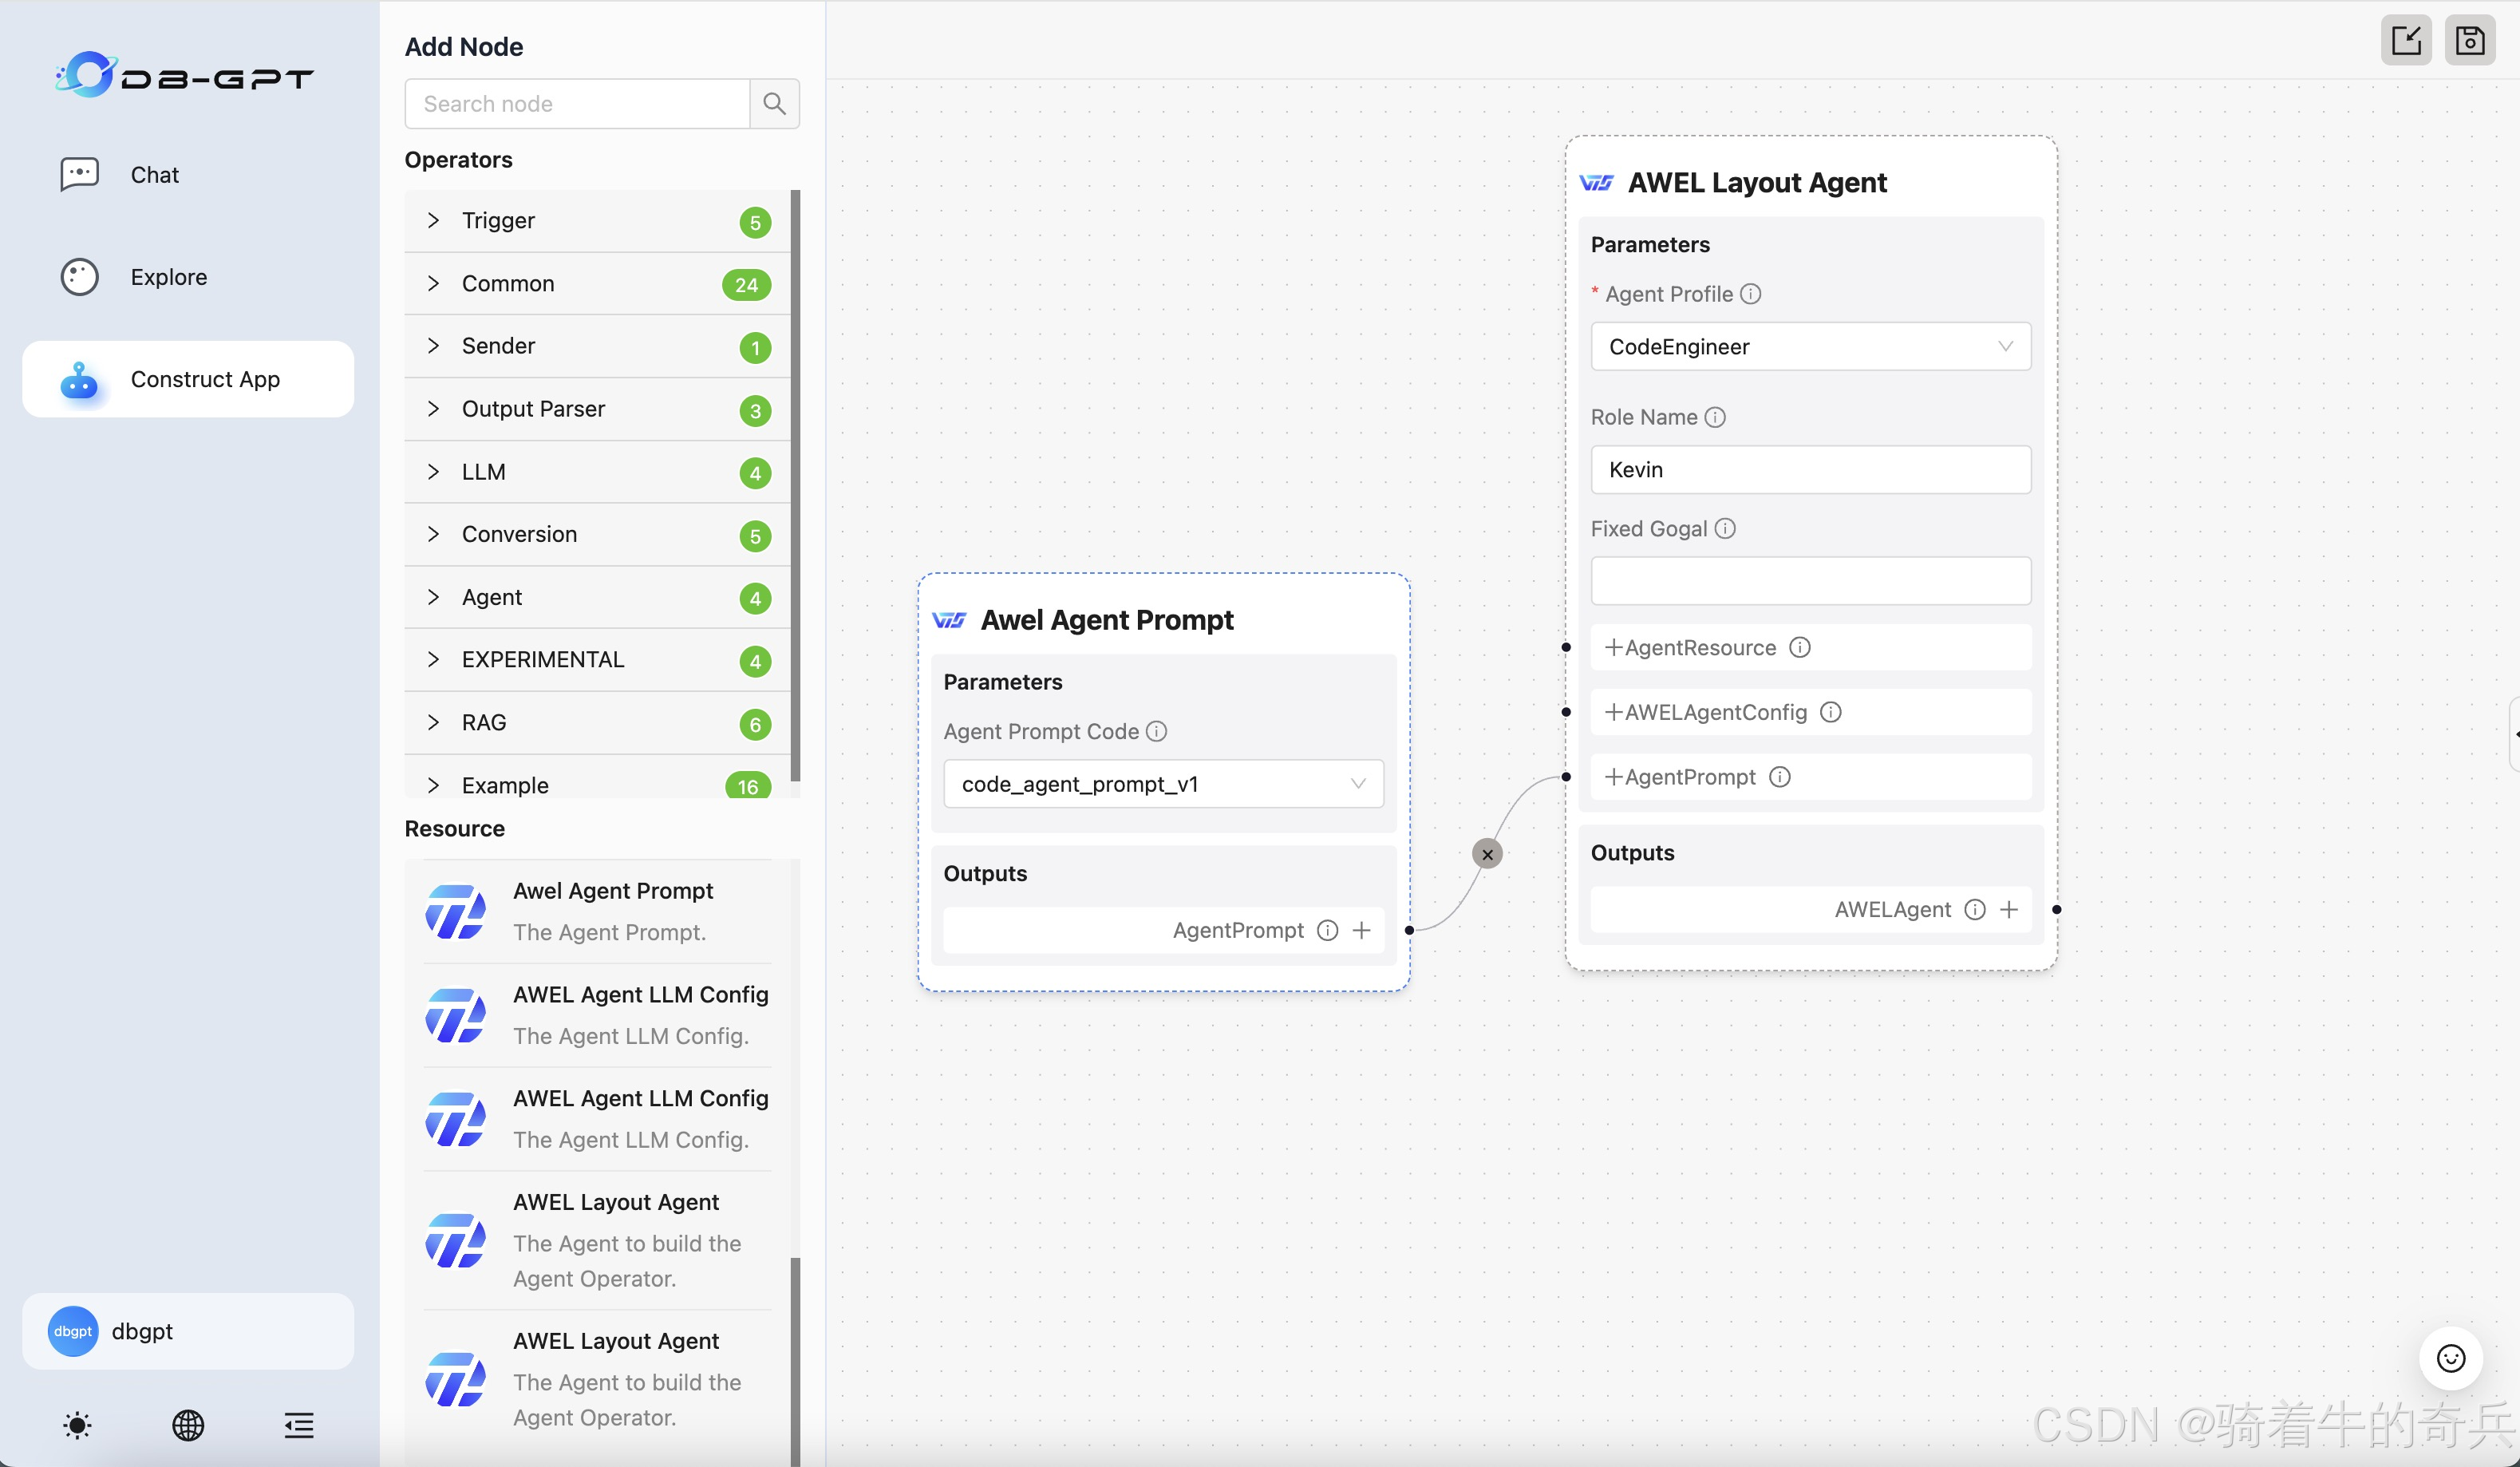
Data Agents
我这里就说下细节,我是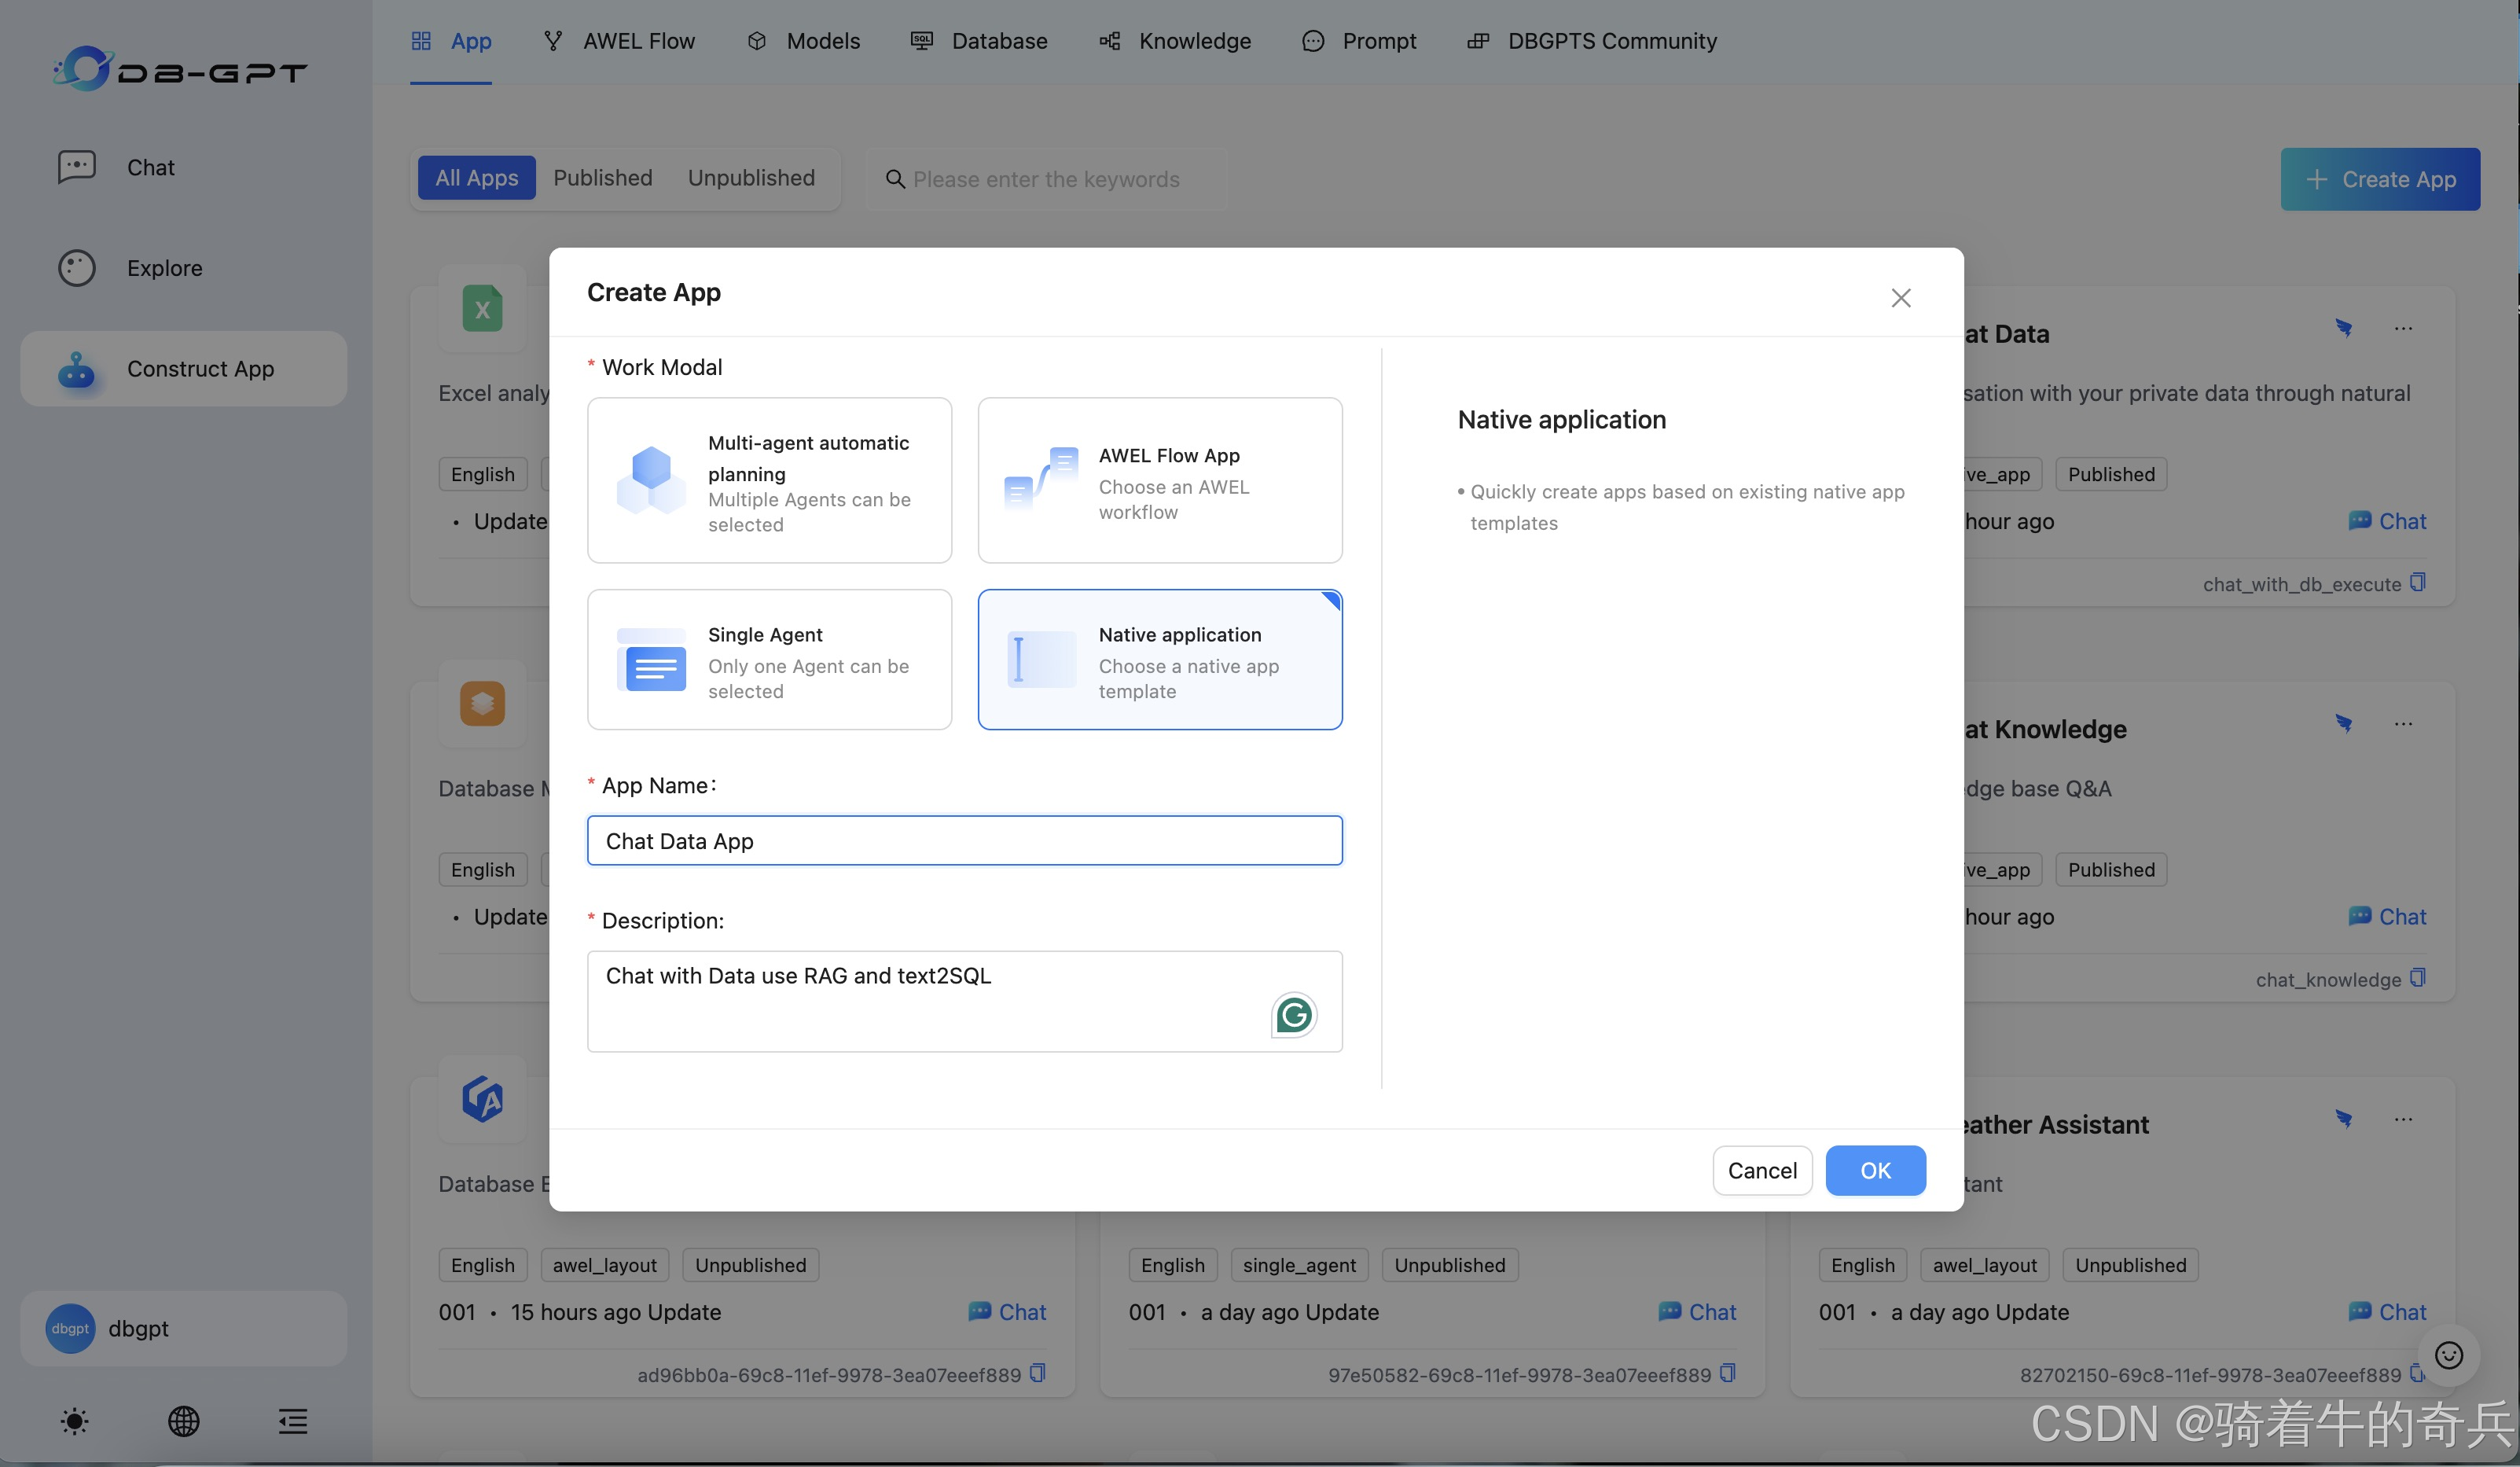
小兵我是在在服务器里部署的,不建议小的服务器部署,会GG了
1. 前置环境
因为DB-GPT 越来越强大了,只用pip来管理依赖包的话不太优雅,因此使用 uv 来管理。我最近写的项目也再慢慢转 uv 了,也推荐大家慢慢转过来。本教程讲解以 代理模型 为例, 也就是 openai-proxy
1.1 uv 安装
powershell -ExecutionPolicy ByPass -c "irm https://astral.sh/uv/install.ps1 | iex"当然我这里用到的是conda来进行虚拟环境
1.2项目拉取
git clone https://github.com/eosphoros-ai/DB-GPT.git
cd DB-GPT 
弄好后,记得把sqlite3 的数据也弄好哦,特别提醒
拉取完后,我是本地部署的
1.3Local(本地模型):
uv sync --all-packages --extra "base" --extra "cuda121" --extra "hf" --extra "rag" --extra "storage_chromadb" --extra "quant_bnb" --extra "dbgpts"
安装完包后
可以提前把模型下载
git clone https://www.modelscope.cn/Qwen/Qwen2.5-14B-Instruct.git

git clone https://hf-mirror.com/BAAI/bge-large-zh-v1.5.git
这里大概33G+,请耐心等待
2.最后
1步骤
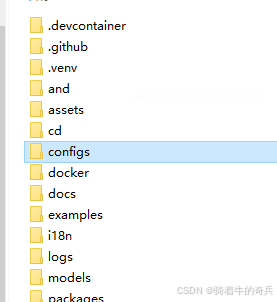
cd E:\DB-GPT\
2进入环境
conda activate dbgpt_env_7
3.执行系统运行
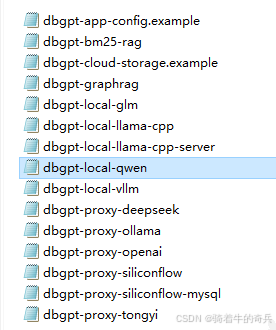
uv run dbgpt start webserver --config .\configs\dbgpt-local-qwen.toml
这里提醒一下,local本地一定运行对应的配置文件
[system]
# Load language from environment variable(It is set by the hook)
language = "${env:DBGPT_LANG:-zh}"
api_keys = []
encrypt_key = "your_secret_key"
# Server Configurations
[service.web]
host = "0.0.0.0"
port = 5670
[service.web.database]
type = "sqlite"
path = "pilot/meta_data/dbgpt.db"
[rag.storage]
[rag.storage.vector]
type = "chroma"
persist_path = "pilot/data"
# Model Configurations
[models]
[[models.llms]]
name = "Qwen2.5-0.5B-Instruct"
provider = "hf"
# If not provided, the model will be downloaded from the Hugging Face model hub
# uncomment the following line to specify the model path in the local file system
# path = "the-model-path-in-the-local-file-system"
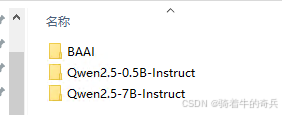
path = "models/Qwen2.5-0.5B-Instruct"
[[models.embeddings]]
name = "BAAI/bge-large-zh-v1.5"
provider = "hf"
# If not provided, the model will be downloaded from the Hugging Face model hub
# uncomment the following line to specify the model path in the local file system
# path = "the-model-path-in-the-local-file-system"
path = "models/BAAI/bge-large-zh-v1.5"
配置文件根据实际的情况来改
特别注意
# Model Configurations
[models]
[[models.llms]]
name = "Qwen2.5-0.5B-Instruct"
provider = "hf"
# If not provided, the model will be downloaded from the Hugging Face model hub
# uncomment the following line to specify the model path in the local file system
# path = "the-model-path-in-the-local-file-system"
path = "models/Qwen2.5-0.5B-Instruct"

[[models.embeddings]]
name = "BAAI/bge-large-zh-v1.5"
provider = "hf"
# If not provided, the model will be downloaded from the Hugging Face model hub
# uncomment the following line to specify the model path in the local file system
# path = "the-model-path-in-the-local-file-system"
path = "models/BAAI/bge-large-zh-v1.5"
这里的路径和模型名称一定要对上,否则无法加载
提示如果本地部署,内容不够建议32G以上,这是最少的。


 1万+
1万+

 被折叠的 条评论
为什么被折叠?
被折叠的 条评论
为什么被折叠?
 到【灌水乐园】发言


