1、安装 gcc-c++编译器
yum install gcc-c++
2、安装依赖包
yum install -y openssl openssl-devel pcre pcre-devel zlib zlib-devel
3、安装nginx
1、在/usr/local/下创建目录
mkdir /usr/local/nginx
2、在网上下 nginx 包上传至 Linux服务器 (https://nginx.org/download/),也可以直接下载
wget https://nginx.org/download/nginx-1.19.9.tar.gz
3、解压并进入 nginx 目录
tar -zxvf nginx-1.19.9.tar.gz
cd nginx-1.19.9
4、使用 nginx 默认配置
./configure
编译含有ssl配置的nginx
yum install -y openssl openssl-devel
./configure --with-http_ssl_module
5、编译安装
make
make install
6、查找安装路径
whereis nginx
默认路径为 /usr/local/nginx/
7、进入 sbin 目录,执行nginx。
cd /usr/local/nginx/sbin
./nginx
也可以指定配置文件路径
./nginx -c /usr/local/nginx/conf/nginx.conf
8、查看是否启动成功
ps -ef | grep nginx
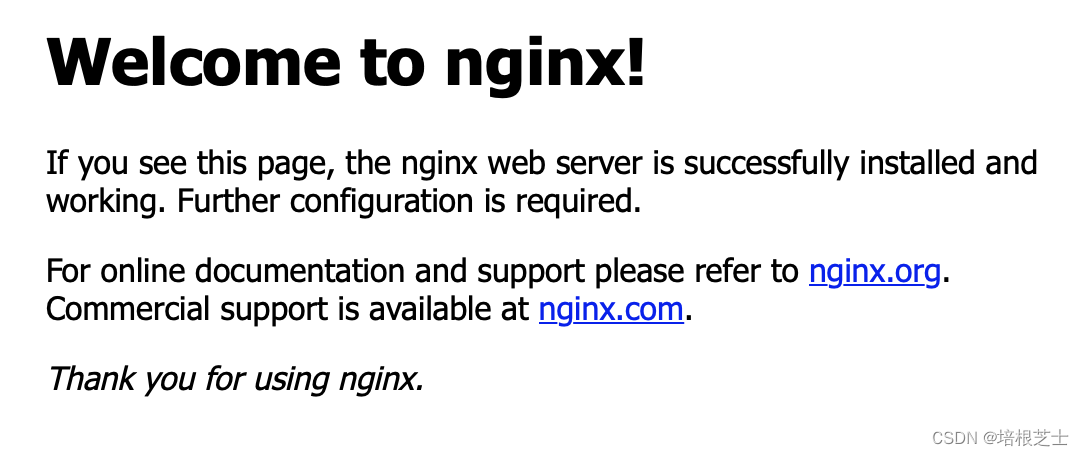
9、在网页上访问服务器的 IP 就可以了,默认80端口

10、重启nginx
./nginx -s reload
带配置文件路径的重启
./nginx -s reload -c /usr/local/nginx/conf/nginx.conf
11、停止nginx
./nginx -s stop
12、配置开机启动
在/etc/rc.d/rc.local中添加nginx启动命令行:
vi /etc/rc.d/rc.local
/usr/local/nginx/sbin/nginx
保存并退出,下次重启会生效。
4、修改配置文件
配置文件所在位置
/usr/local/nginx/conf/nginx.conf
检查配置文件是否正确
./nginx -t
使用示例:
配置多个域名到同一个端口号
# nginx 80端口配置 (监听域名demo1.test.com)
server {
    listen  80;
    server_name     demo1.test.com;
    root /home/project1;

    location / {
        root /home/project1;
        index index.html index.htm;
    }
}

# nginx 80端口配置 (监听域名demo2.test.com)
server {
    listen  80;
    server_name     demo2.test.com;
    root /home/project2;

    location / {
        root /home/project2;
        index index.html index.htm;
    }
}

# nginx 80端口配置 (监听域名demo3.test.com)
server {
    listen  80;
    server_name     demo3.test.com;

    location / {
        proxy_pass      http://localhost:8081; # 转发
    }
}
修改上传文件大小
server {
    # 默认是1M
    client_max_body_size 100m;
}
配置https
    # HTTPS server
    #
    server {
        listen       443 ssl;
        server_name  www.test.com;#域名

        ssl_certificate       cert/xxxx.pem;#域名证书
        ssl_certificate_key    cert/cert.key;#密钥

        ssl_session_cache    shared:SSL:1m;
        ssl_session_timeout  5m;
        #加密套件
        ssl_ciphers ECDHE-RSA-AES128-GCM-SHA256:ECDHE:ECDH:AES:HIGH:!NULL:!aNULL:!MD5:!ADH:!RC4;
        #配置协议
        ssl_protocols TLSv1 TLSv1.1 TLSv1.2;
        ssl_prefer_server_ciphers  on;

        location / {
            root   /home/projects/demo/;#自己页面地址
            index  index.html index.htm;
        }

        location /product/ {
            # 将客户真实IP传递给后端
            proxy_set_header Host $http_host;
            proxy_set_header X-Real-IP $remote_addr;
            proxy_set_header REMOTE-HOST $remote_addr;
            proxy_set_header X-Forwarded-For $proxy_add_x_forwarded_for;
            proxy_pass http://localhost:8091;
        }

        error_page   500 502 503 504  /50x.html;
        location = /50x.html {
            root   html;
        }
    }
    server {
        listen 80;
        server_name www.test.com;
        #设置http自动转发https
        rewrite ^(.*)$ https://$host$1 permanent;
    }
配置跨域
server {
    location / {
        # 允许 所有头部 所有域 所有方法
        add_header 'Access-Control-Allow-Origin' '*';
        add_header 'Access-Control-Allow-Headers' '*';
        add_header 'Access-Control-Allow-Methods' '*';
        proxy_pass http://localhost:8091/demo/;
    }
}


 本文指导如何在Linux服务器上安装GCC-C++编译器,依赖包,并详细讲解了Nginx的安装、SSL配置、多域名映射及HTTPS设置。从基础安装到高级定制,确保高效运维。


 6万+
6万+

 被折叠的 条评论
为什么被折叠?


