


-
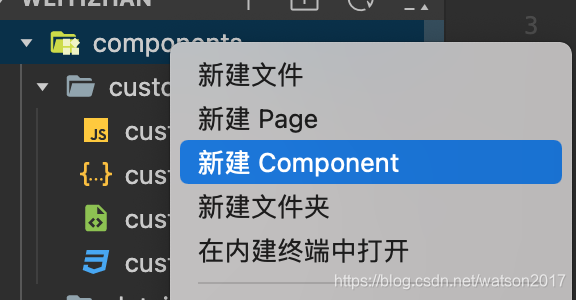
创建组件
-
页面引入组件
在页面的json中添加组件
  "usingComponents": {
    "custombar": "../../components/custombar/custombar"
  },
在页面的wxml中添加组件
<custombar></custombar>
-
页面向组件传值
在组件的js中,向properties添加接收传值的属性
// components/custombar.js
Component({
  /**
   * 组件的属性列表
   */
  properties: {
    title: String
  },
})
页面的wxml中在组件标签上直接写需要传递的值
<custombar title="hello"></custombar>
组件的wxml中将传进来的值展示
<text>{{title}}</text>
-
组件的自定义事件
组件添加点击事件
<view class="button" bindtap="shareClick">点击事件</view>
点击事件里注册自定义事件 this.triggerEvent(“myevent”, {data:‘子组件像父页面传递的参数’});
Component({

  ...

  /**
   * 组件的方法列表
   */
  methods: {
    shareClick: function(e) {
      console.log("shareClick");
      this.triggerEvent("share", {data: 'share'});
    },
  }
})
在页面引入的组件标签上绑定自定义事件
<custombar bindshare="shareClick2" title="分享"/>
页面处理组件传递过来的参数
Page({

  ...

  shareClick2: function(e) {
    console.log(e.detail);
    console.log('shareClick');
  }
})
-
页面form提交获取组件的值
设置behaviors为wx://form-field 可以使自定义组件有类似于表单控件的行为。
组件添加behaviors和value属性
Component({
  behaviors: ['wx://form-field'],

  properties: {
    value: String,
  },
组件wxml提交form
<form bindsubmit="buttonClick">
    <custombar title="hello" value="{{username}}"></custombar>
    <button class="button" formType="submit">提交</button>
</form>
即可拿到组件的value
buttonClick: function (e) {
    let params = e.detail.value
    console.log(params)
}
-
页面调用组件方法
组件定义方法
Component({
  methods: {
    showDialog: function () {
      this.setData({
        isShowDialog: true,
      });
    },
  }
})
页面WXML
<custombar id="custombar" />
页面JS
manageClick: function (e) {
  let component = this.selectComponent('#custombar')
  component.showDialog();
},


 1万+
1万+

 被折叠的 条评论
为什么被折叠?
被折叠的 条评论
为什么被折叠?
 到【灌水乐园】发言


