 Flutter MAC自动化部署:Jenkins+Fastlane+Gitlab实践


 本文详细介绍了如何在MAC环境下使用Jenkins、Fastlane和Gitlab实现Flutter应用的自动打包和部署。首先,通过Homebrew安装Jenkins并配置办公局域网服务;接着,创建Jenkins节点,配置Git源和Shell脚本;最后,利用Fastlane进行自动化打包,并通过Appfile和Fastfile设置蒲公英插件进行发布。
实现办公局域网下的jenkins服务
Flutter配置:文档
jenkins安装:通过homebrew安装
1、安装homebrew
/bin/bash -c "$(curl -fsSL https://raw.githubusercontent.com/Homebrew/install/master/install.sh)"
2、通过homebrew安装jenkins
brew install jenkins
3、此处忽略安装步骤1234…插件顺序推荐安装即可
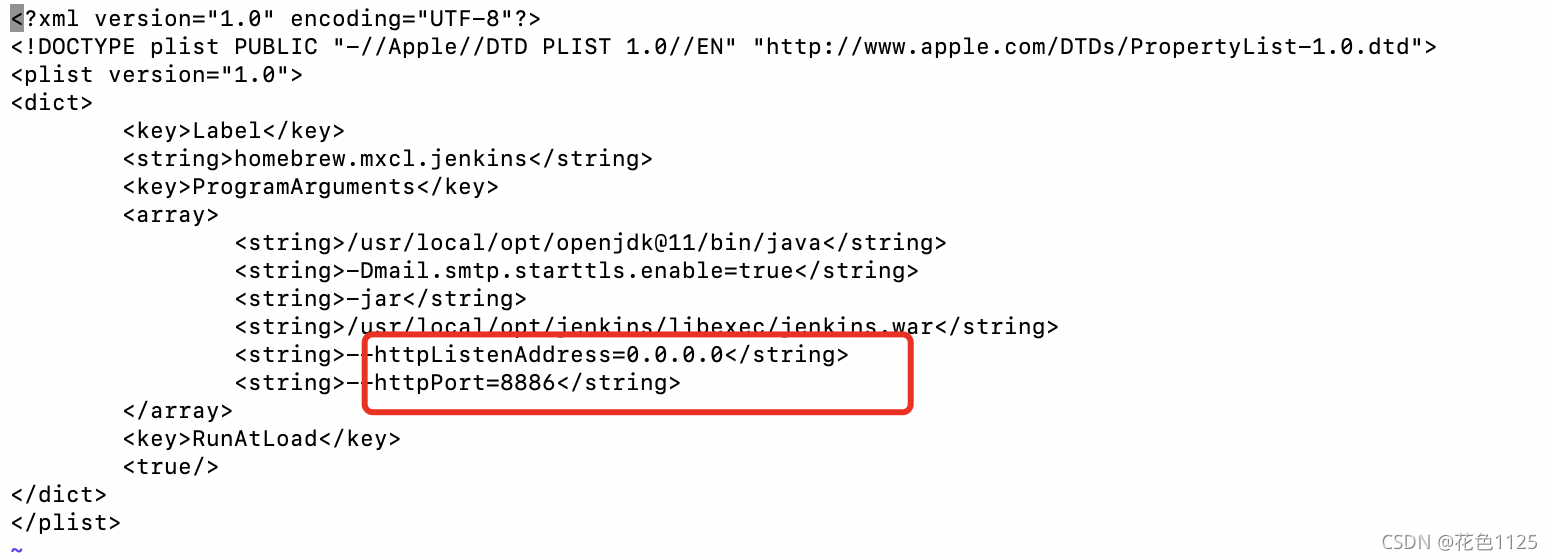
4、默认登录ip:http://localhost:8080/,可以设置办公局域网ip:
vim ~/Library/LaunchAgents/homebrew.mxcl.jenkins.plist
httpPort设置端口号,httpListenAddress = 0.0.0.0或者本机ip,设置好后办公局域网内设备即可用192.168.xx.xx:端口号打开
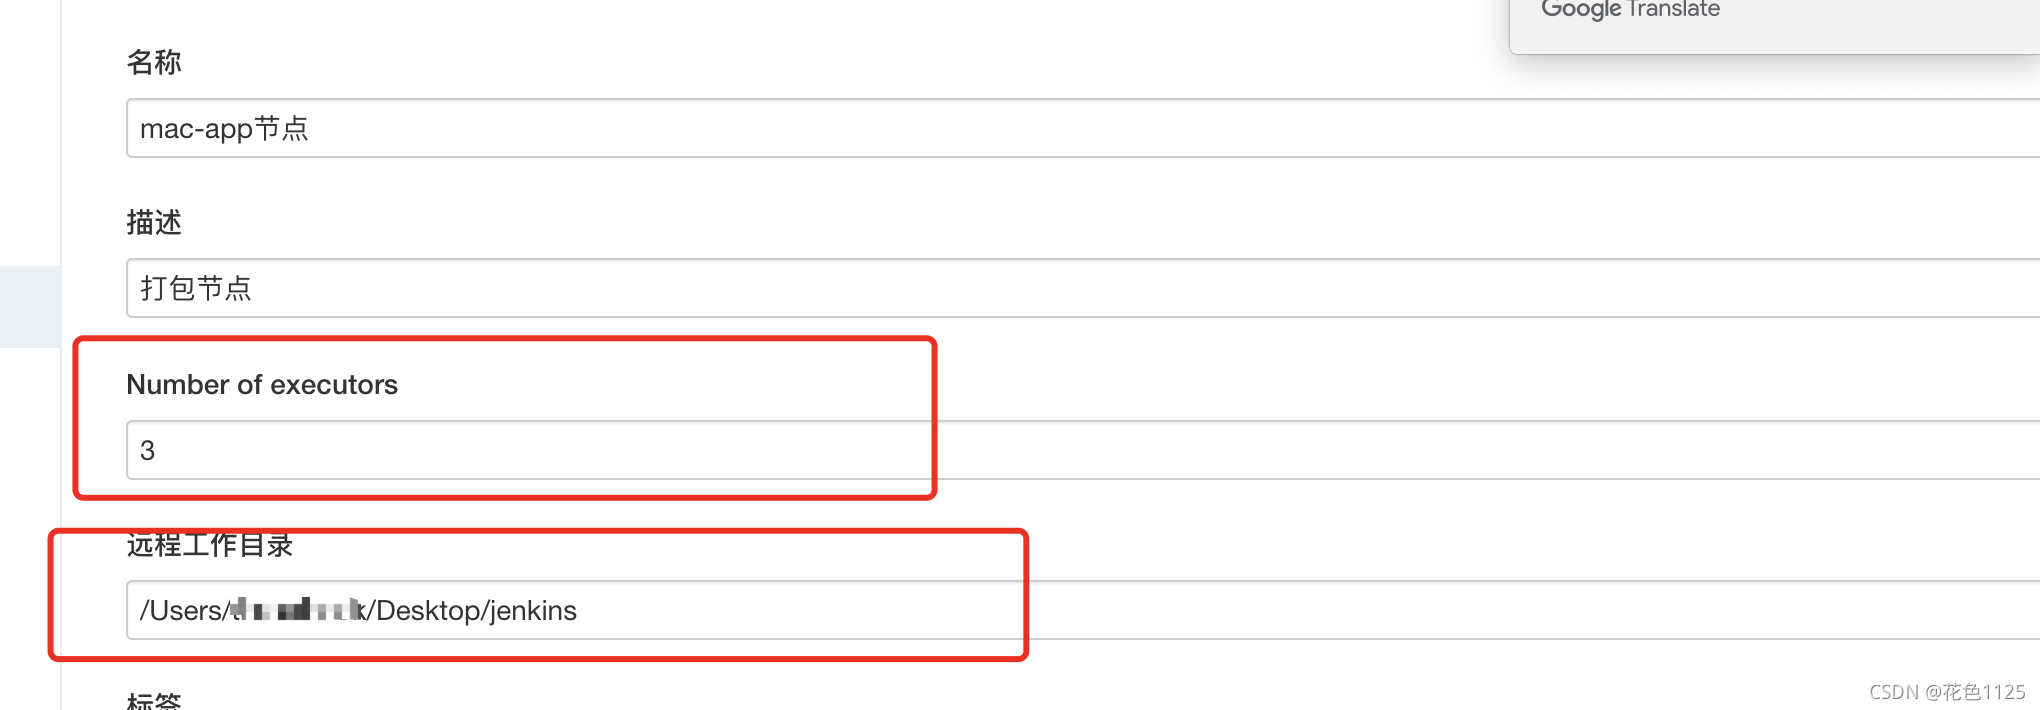
5、新建mac环境服务器节点:
系统设置->节点管理->新建节点
设置最大任务并发数,设置远程工作区间(git代码会放入这里)
配置启动方式,配置主机ip,配置凭据,凭据可以用ssh也可以用用户登录账号和密码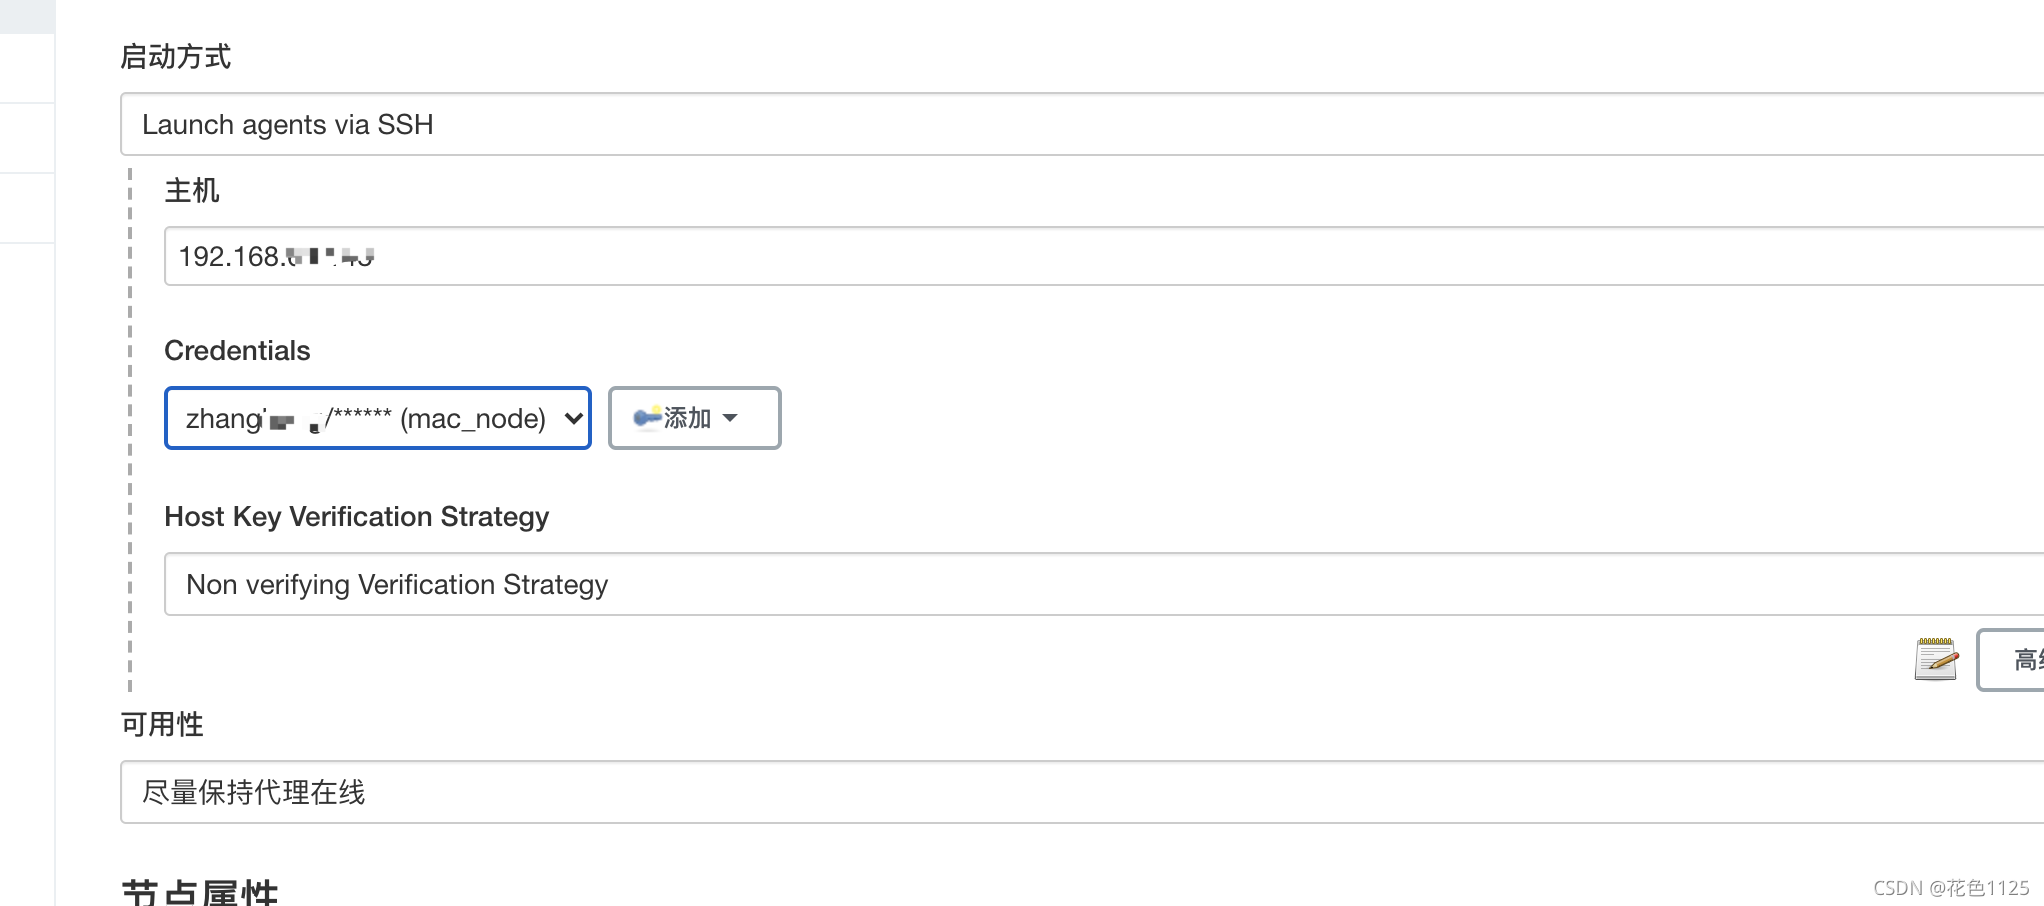
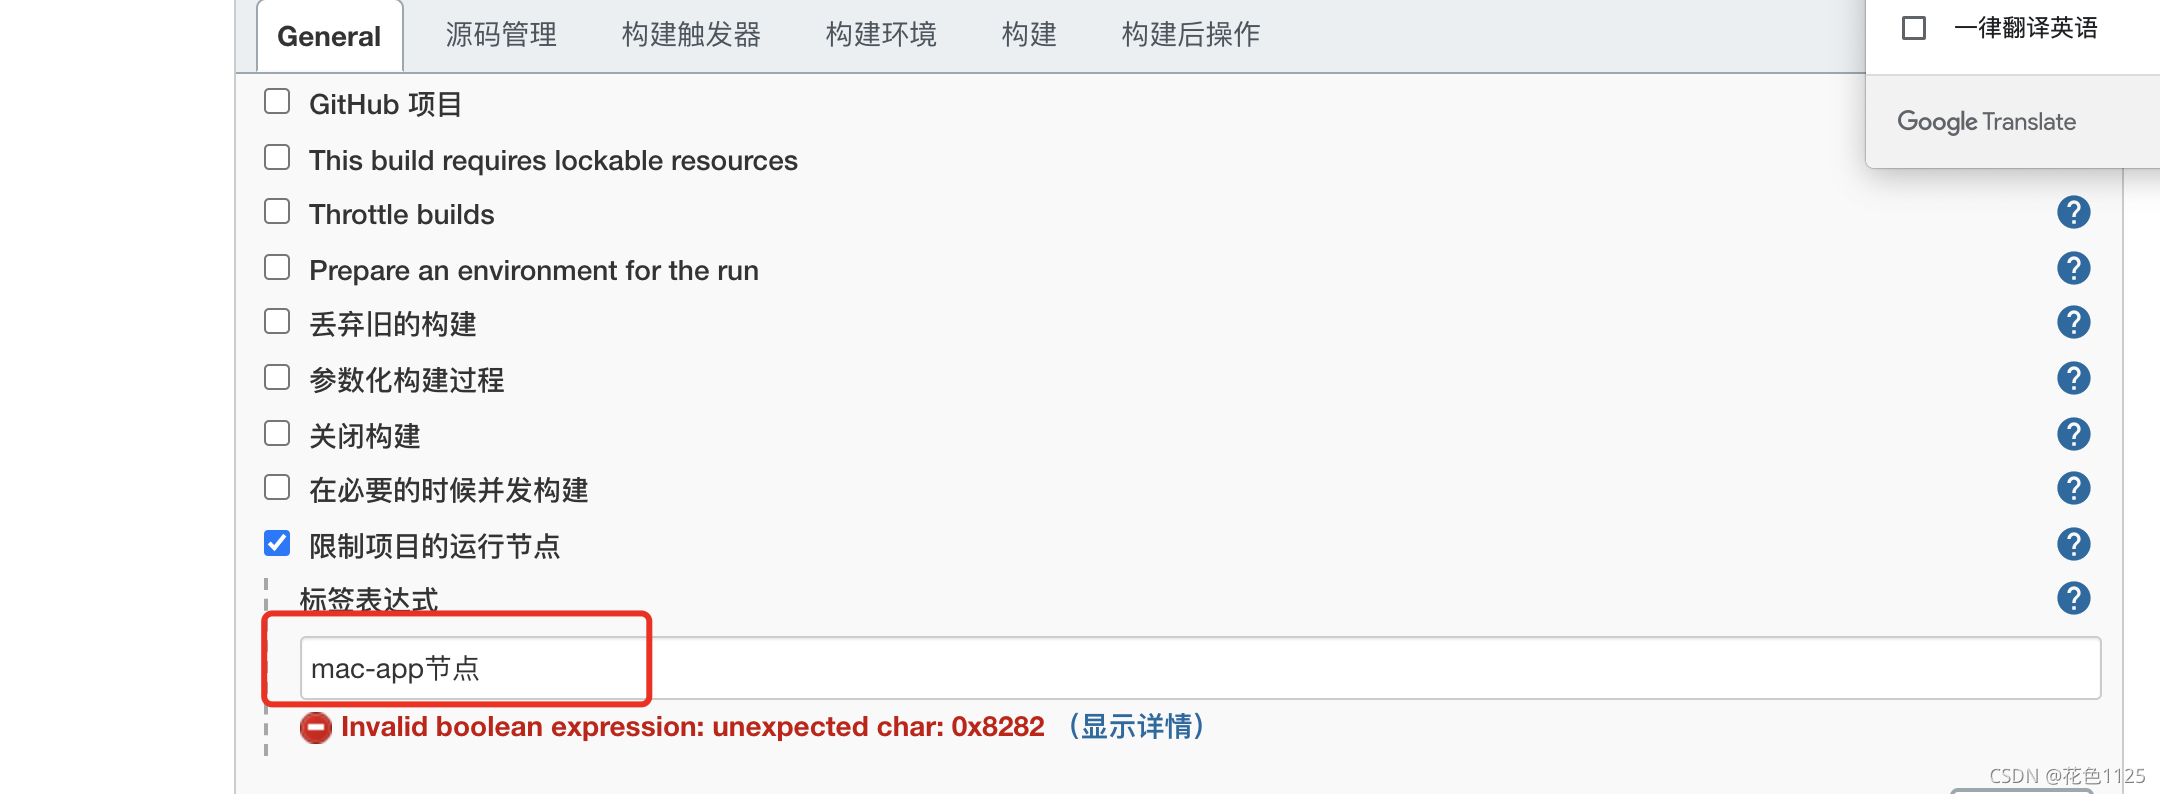
6、下一步创建任务:
控制面板->新建任务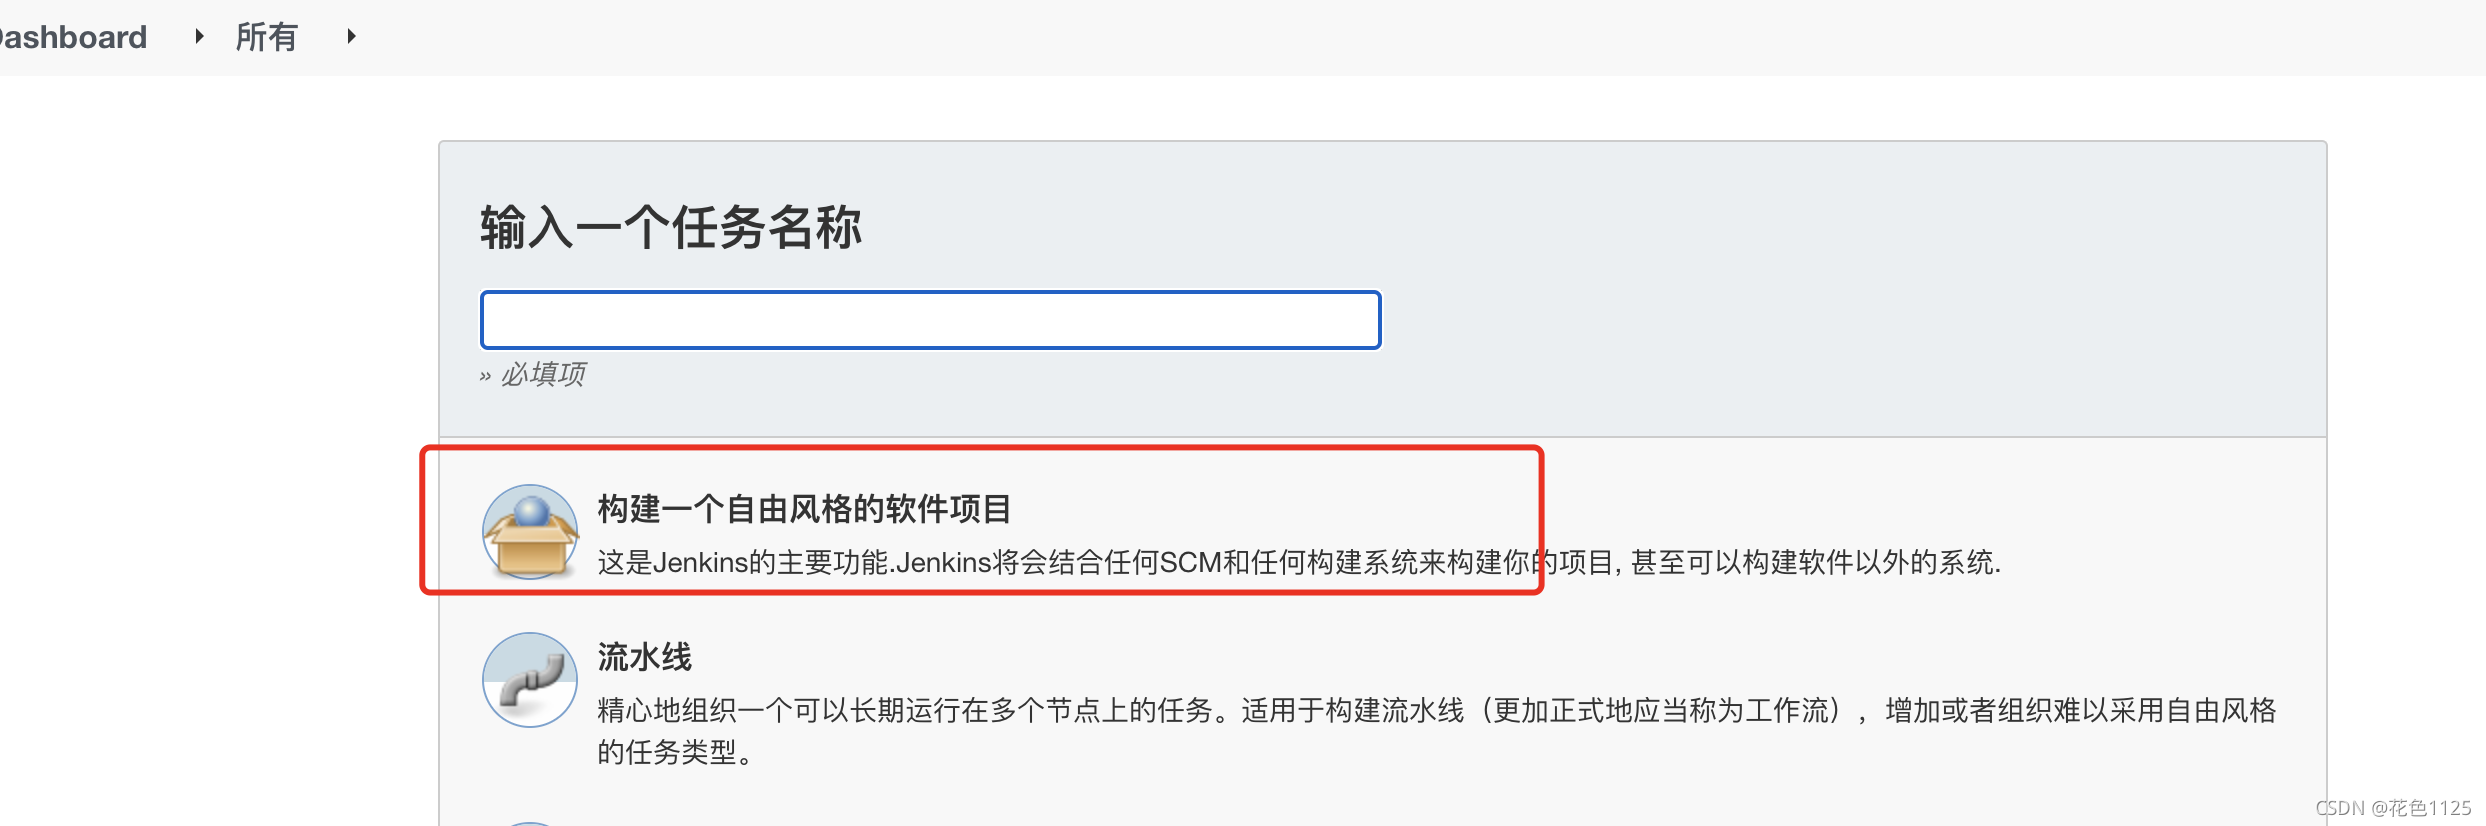
配置任务:节点输入刚才创建的节点
](https://i-blog.csdnimg.cn/blog_migrate/2542e3eefd19be7ecd234e88f287bcbf.png)
配置git
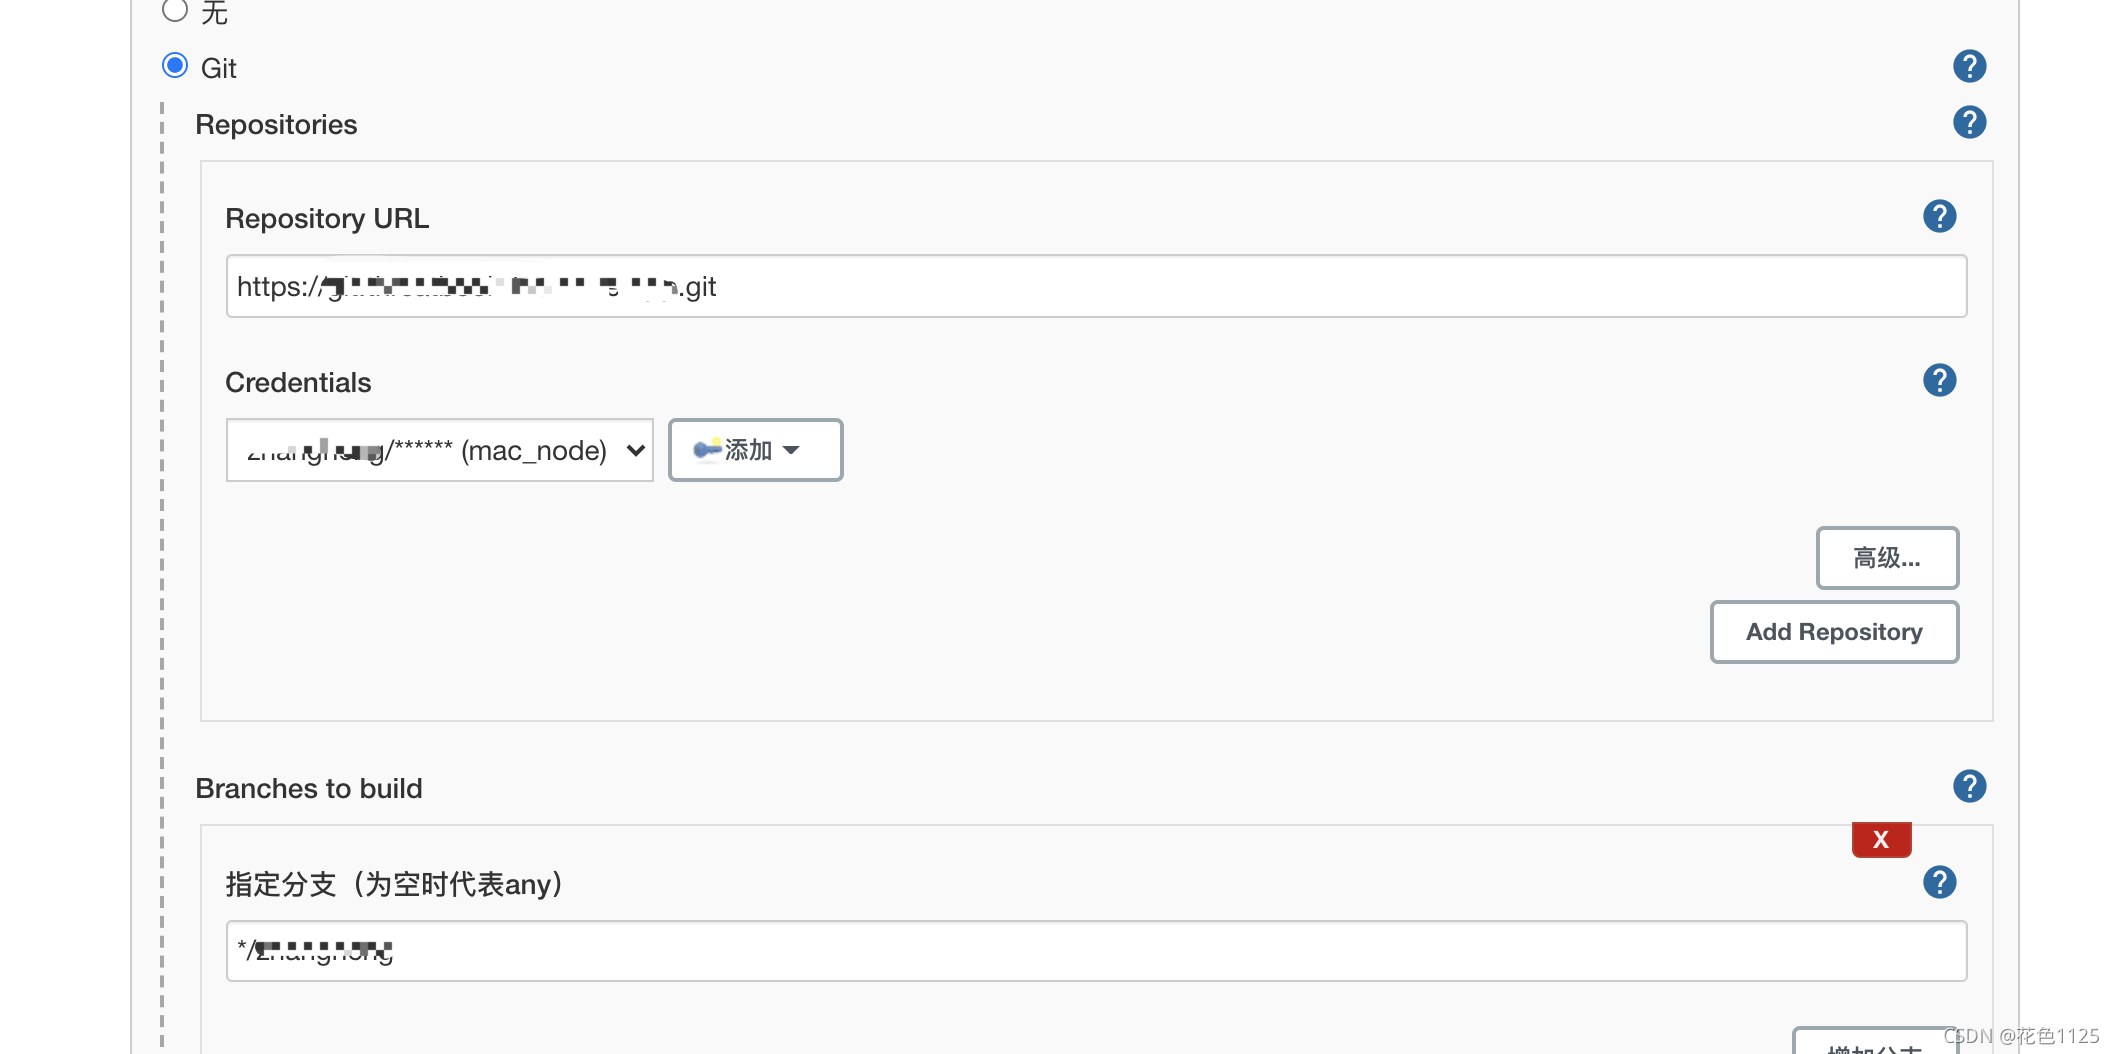
轮询scm:输入*/1 * * * *代表每分钟(如果git有更新即打包)
构建执行shell命令脚本:(password为开机密码,因为jenkins通过ssh方式链接节点服务器,没有获取到keychain的权限,所以需要编译前获取)
cd app
cd ios
security set-key-partition-list -S apple-tool:,apple: -s -k password -t private $HOME/Library/Keychains/login.keychain-db

fastlane app_release
jenkins最后一步:配置PATH
系统管理->全局配置->环境变量:
键:LANG,值:en_US.UTF-8
键:LANGUAGE,值:en_US.UTF-8
键:LC_ALL,值:en_US.UTF-8
键:PATH,值:你的节点服务器终端输入$PATH的值
fastlane配置:
1、安装fastlan
brew install fastlane
2、cd到工程目录下
fastlane init
3、安装蒲公英插件:文档
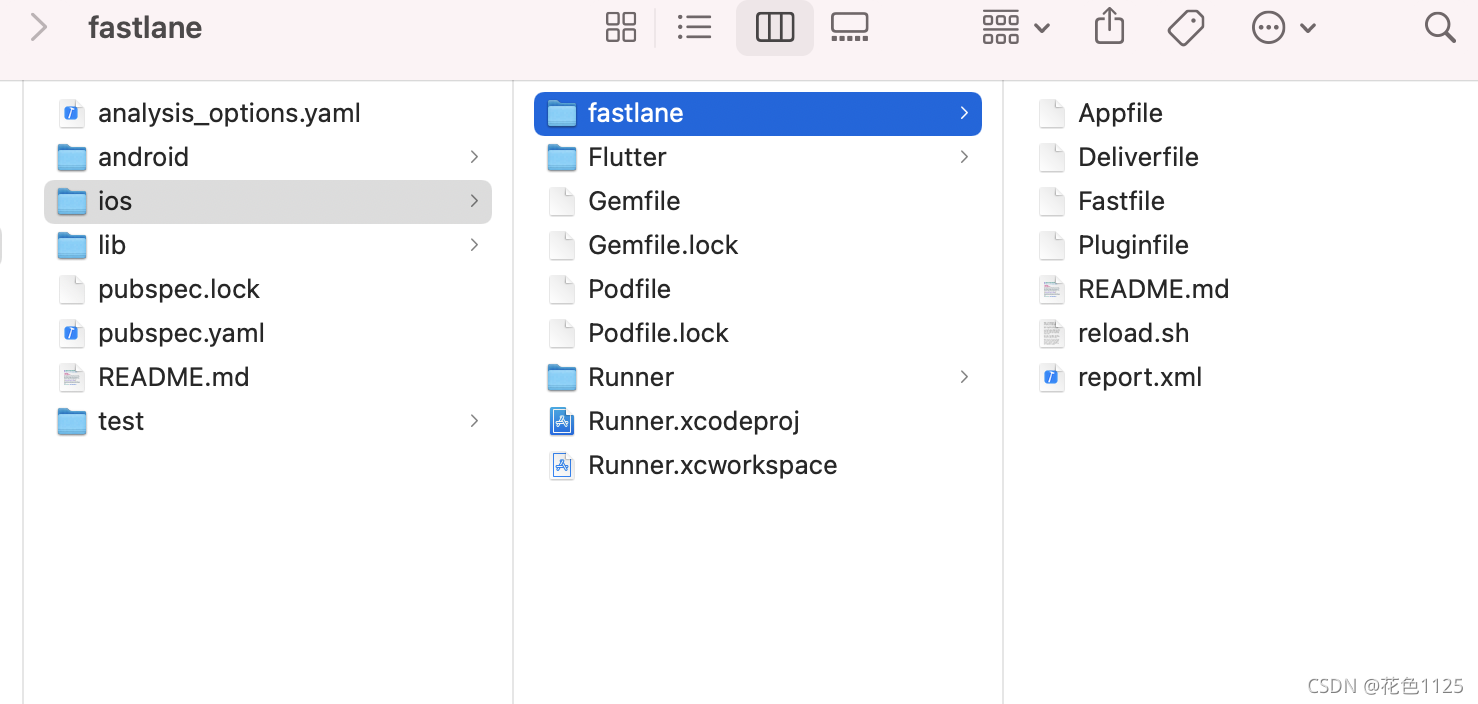
4、目录结构:
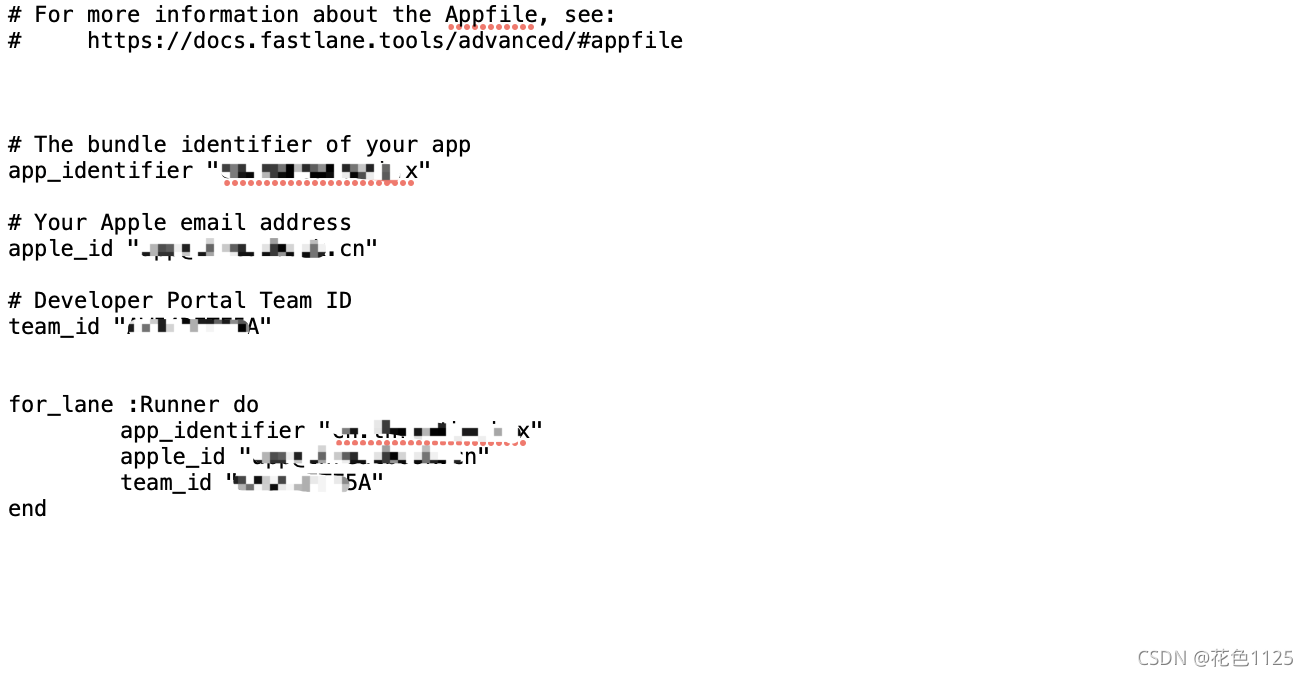
Appfile文件:
Fastfile文件内容:
# target名称:项目名称


min_fastlane_version("2.72.0")

default_platform(:ios)

platform :ios do

 desc "相关打包上传操作(测试环境)"
 lane :app_debug do
 sh("./reload.sh")
  build_app(
    scheme: "Runner",
    clean:true,
    configuration: "Debug",
    export_method:"ad-hoc",
    output_directory: "./build/debug",
    output_name: ipa_package_name(),
    export_xcargs: "-allowProvisioningUpdates"
    )
    pgyer(api_key: "xxxx", user_key: "xxxx", update_description: "测试环境")
  end

  desc "相关打包上传操作(正式环境)"
  lane :app_release do
   sh("./reload.sh")
    build_app(
    scheme: "Runner",
    clean:true,
    #configuration: "Release",
    export_method:"ad-hoc",
    output_directory: "./build/release",
    output_name: ipa_package_name(),
    export_xcargs: "-allowProvisioningUpdates"
    )
    pgyer(api_key: "xxxx", user_key: "xxxx", update_description: "正式环境")
    #uploadToTestflight(username: "xxx@xx.com")
  end

  desc "相关打包上传操作(appStore)"
  lane :app do
    build_app(
    scheme: "Runner",
    clean:true,
    configuration: "Release",
    export_method:"app-store",
    output_directory: "./build/app_store",
    export_xcargs: "-allowProvisioningUpdates"
    )
    deliver(force: true)


  end


  after_all do |lane|
        sh("open ./../build")
        app_version = get_version_number(xcodeproj: "Runner.xcodeproj")
        build_number = get_build_number(xcodeproj: "Runner.xcodeproj")
        UI.message "版本号:#{app_version},build号:#{build_number}"

  end

end

def ipa_package_name()
	current_time = Time.new
     app_version = get_version_number(xcodeproj: "Runner.xcodeproj")
     build_number = get_build_number(xcodeproj: "Runner.xcodeproj")
	 current_date_str = current_time.strftime("%Y%m%d")
	 return "app-#{app_version}-#{build_number}-#{current_date_str}"
end
reload.sh脚本文件内容:主要是clean+pub get
unction _check()
{
        "$@" || { alert "exec failed: ""$@"; exit -1; }
}

cd ..
cd ..

ls
echo "开始同步代码"


# _check git pull

echo "开始清理缓存"

_check flutter clean

echo "开始pub get"
flutter pub get

ls

_check cd ios

echo "编译+1"
agvtool next-version -all

echo "删除ios缓存"

if [-f "Podfile.lock"]; then
rm -rf Podfile.lock
fi

if [-d "Pods"]; then
rm -rf Pods
fi

echo "执行install"
pod install --verbose

echo "执行完毕"

ls
end:基本结尾了~~~


 3809
3809

 被折叠的 条评论
为什么被折叠?
被折叠的 条评论
为什么被折叠?
 到【灌水乐园】发言


