


 本文介绍如何使用Vue实现图片懒加载功能,包括基本框架构建、监听图片加载状态、更新图片源等关键技术点。
我们继续我们上一节的前端入门之(vue图片加载框架一)往下~~
上一节我们最后已经把框架的基本构造弄完了,最后也能够看到我们的效果了:
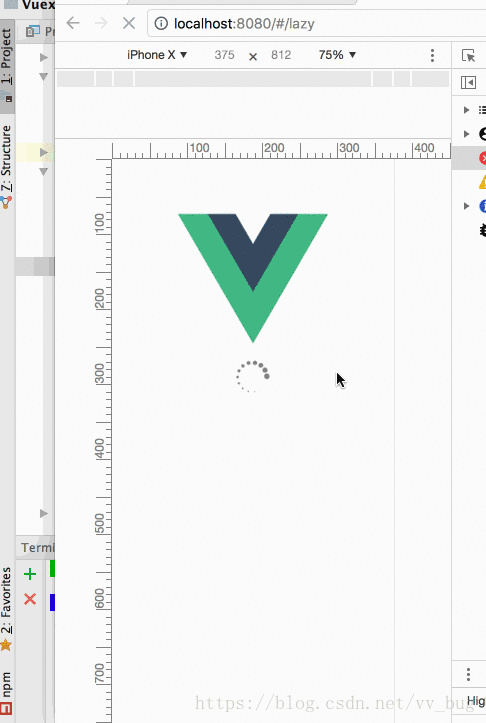
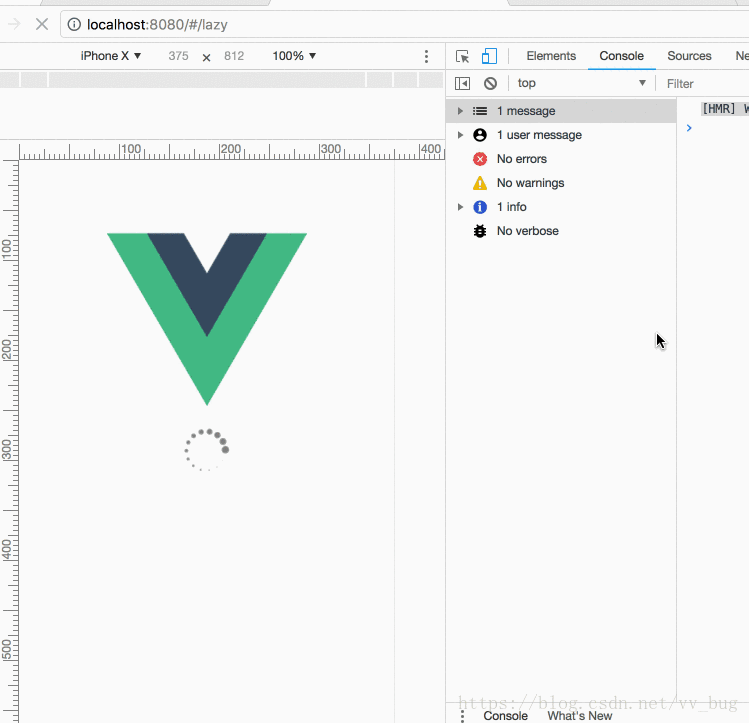
可以看到,我们已经简单的实现了我们的占位图的功能了,然后代码很简单:
<template>
  <div class="opt-container">
    <img v-lazy="{src:111+images[1]}">
  </div>
</template>

<script>
  export default {
    name: 'Lazy',
    data() {
      return {
        images: [
          'https://timgsa.baidu.com/timg?image&quality=80&size=b9999_10000&sec=1533137283186&di=c136f7387cfe2b79161f2f93bff6cb96&imgtype=0&src=http%3A%2F%2Fpic1.cxtuku.com%2F00%2F09%2F65%2Fb3468db29cb1.jpg',
          'https://timgsa.baidu.com/timg?image&quality=80&size=b9999_10000&sec=1533137283186&di=de941561df3b6fd53b2df9bfd6c0b187&imgtype=0&src=http%3A%2F%2Fpic43.photophoto.cn%2F20170413%2F0008118236659168_b.jpg',
          'https://timgsa.baidu.com/timg?image&quality=80&size=b9999_10000&sec=1533137283185&di=aff7e8aa60813f6e36ebc6f6a961255c&imgtype=0&src=http%3A%2F%2Fimg.zcool.cn%2Fcommunity%2F01d60f57e8a07d0000018c1bfa2564.JPG%403000w_1l_2o_100sh.jpg',
        ]
      }
    }
  }
</script>

<!-- Add "scoped" attribute to limit CSS to this component only -->
<style scoped>
  .opt-container {
    font-size: 0px;
  }
</style>
好啦,代码写到这,我们可以发现,当我们的图片第一次加载的时候会走指令的bind方法,然后我们走了add方法,紧接着就去加载图片,那么如果图片加载完毕了,我们再去修改这张图片链接的时候,会发生什么呢?
<template>
  <div class="opt-container">
    <img v-lazy="{src: currImg}">
  </div>
</template>

<script>
  const IMAGES = [
    'https://timgsa.baidu.com/timg?image&quality=80&size=b9999_10000&sec=1533137283186&di=c136f7387cfe2b79161f2f93bff6cb96&imgtype=0&src=http%3A%2F%2Fpic1.cxtuku.com%2F00%2F09%2F65%2Fb3468db29cb1.jpg',
    'https://timgsa.baidu.com/timg?image&quality=80&size=b9999_10000&sec=1533137283186&di=de941561df3b6fd53b2df9bfd6c0b187&imgtype=0&src=http%3A%2F%2Fpic43.photophoto.cn%2F20170413%2F0008118236659168_b.jpg',
    'https://timgsa.baidu.com/timg?image&quality=80&size=b9999_10000&sec=1533137283185&di=aff7e8aa60813f6e36ebc6f6a961255c&imgtype=0&src=http%3A%2F%2Fimg.zcool.cn%2Fcommunity%2F01d60f57e8a07d0000018c1bfa2564.JPG%403000w_1l_2o_100sh.jpg',
  ]
  export default {
    name: 'Lazy',
    data() {
      return {
        currImg: IMAGES[0]
      }
    },
    mounted() {
      setTimeout(() => {
        this.currImg=IMAGES[1]
      }, 1000)
    }
  }
</script>
可以看到,我们在mounted里面延时了1s然后替换了图片,我们运行看看:
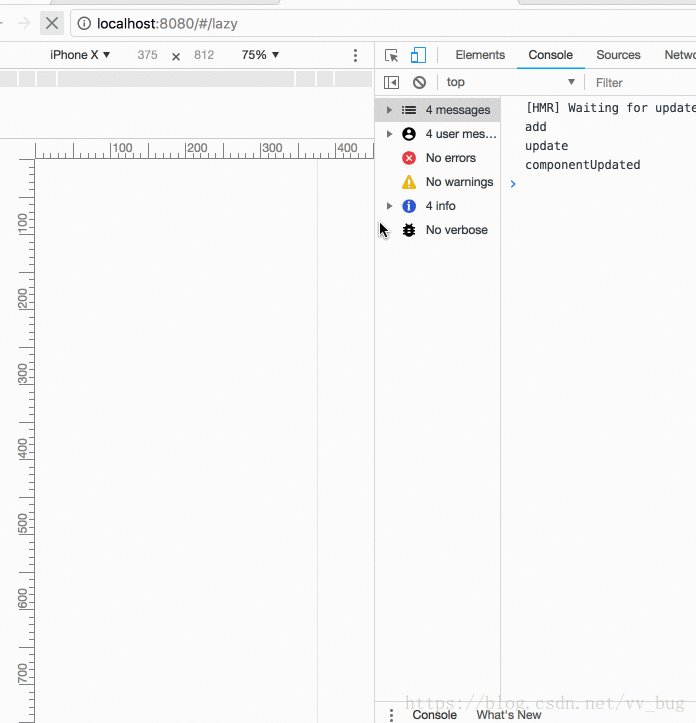
可以看到,我们1s后图片并没有改变,然后执行了指令的update方法:
...
update
componentUpdated
那么我们怎么才能改变图片呢? 有一招!! 我们修改一下代码:
<template>
  <div class="opt-container">
    <img v-lazy="{src: currImg}" v-if="showImage">
  </div>
</template>

<script>
  const IMAGES = [
    'https://timgsa.baidu.com/timg?image&quality=80&size=b9999_10000&sec=1533137283186&di=c136f7387cfe2b79161f2f93bff6cb96&imgtype=0&src=http%3A%2F%2Fpic1.cxtuku.com%2F00%2F09%2F65%2Fb3468db29cb1.jpg',
    'https://timgsa.baidu.com/timg?image&quality=80&size=b9999_10000&sec=1533137283186&di=de941561df3b6fd53b2df9bfd6c0b187&imgtype=0&src=http%3A%2F%2Fpic43.photophoto.cn%2F20170413%2F0008118236659168_b.jpg',
    'https://timgsa.baidu.com/timg?image&quality=80&size=b9999_10000&sec=1533137283185&di=aff7e8aa60813f6e36ebc6f6a961255c&imgtype=0&src=http%3A%2F%2Fimg.zcool.cn%2Fcommunity%2F01d60f57e8a07d0000018c1bfa2564.JPG%403000w_1l_2o_100sh.jpg',
  ]
  export default {
    name: 'Lazy',
    data() {
      return {
        currImg: IMAGES[0],
        showImage: true
      }
    },
    mounted() {
      setTimeout(() => {
        this.showImage=false
        this.$nextTick(()=>{
          this.currImg=IMAGES[1]
          this.showImage=true
        })
      }, 3000)
    },
    beforeUpdate(){
      console.log('beforeUpdate')
    }
  }
</script>
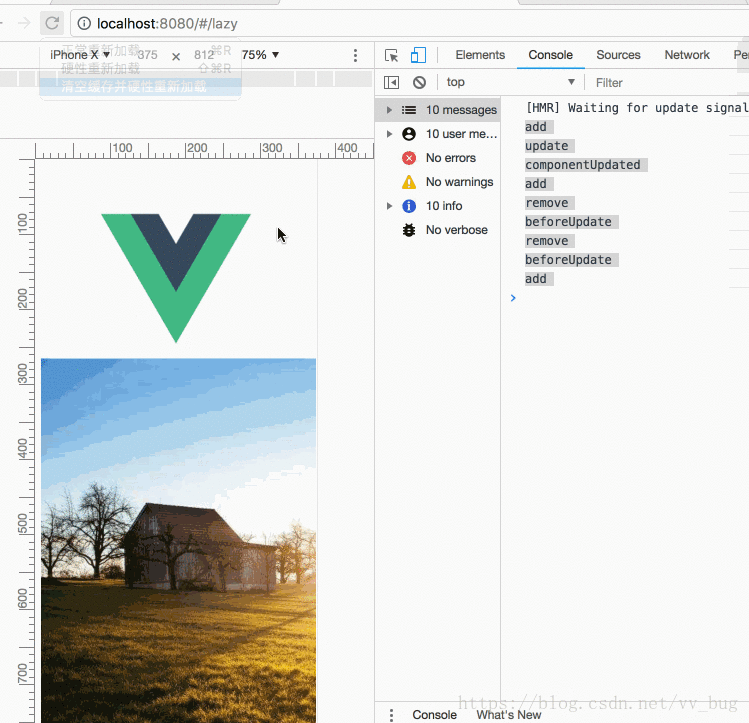
可以看到,我们其实做的操作是让vnode销毁了,然后又重新创建了一个vnode,就相当于重新走了一遍add方法,所以加载出来了,但是这很明显不是我们想要的结果,因为这样对内存消耗很大,我们直接在之前的vnode中判断,当src与之前的src不同的时候,重新加载一下图片就好了,我们从log中就可以看到,每次vnode发生变换的时候,就会走指令的update方法,update完毕后会走componentUpdated方法:
add
beforeUpdate
update
componentUpdated
install(Vue, options = {}) {
let LazyClass = lazyDelegate(Vue);
let lazy = new LazyClass(options);
Vue.directive('lazy', {
bind: lazy.add.bind(lazy),
update: lazy.update.bind(lazy),
componentUpdated: function () {
console.log('componentUpdated');
},
unbind: lazy.remove.bind(lazy),
})
}我们直接执行下lazy的update方法,componentUpdated我们后面再实现~~
LazyDelegate.js:
update(el, binding) {
      console.log('update');
    }
我们都知道,我们的LazyDelegate充当的是一个manager的角色,然后我们对每个img的操作都在listener.js(经纪人)那边,所以我们直接在manager里面调listener的update方法:
LazyDelegate.js
 update(el, binding) {
      console.log('update');
      let {src, loading, error} = this._valueFormatter(binding.value)
      //找出经纪人(listener)是否之前存在
      let exsit
      for (let i = 0; i < this.ListenerQueue.length; i++) {
        let listener = this.ListenerQueue[i]
        if (listener.el === el) {
          exsit = listener
          break
        }
      }
      //如果存在就调用listener的update方法
      if(!!exsit)exsit.update({src,loading,error})
    }
listener.js:
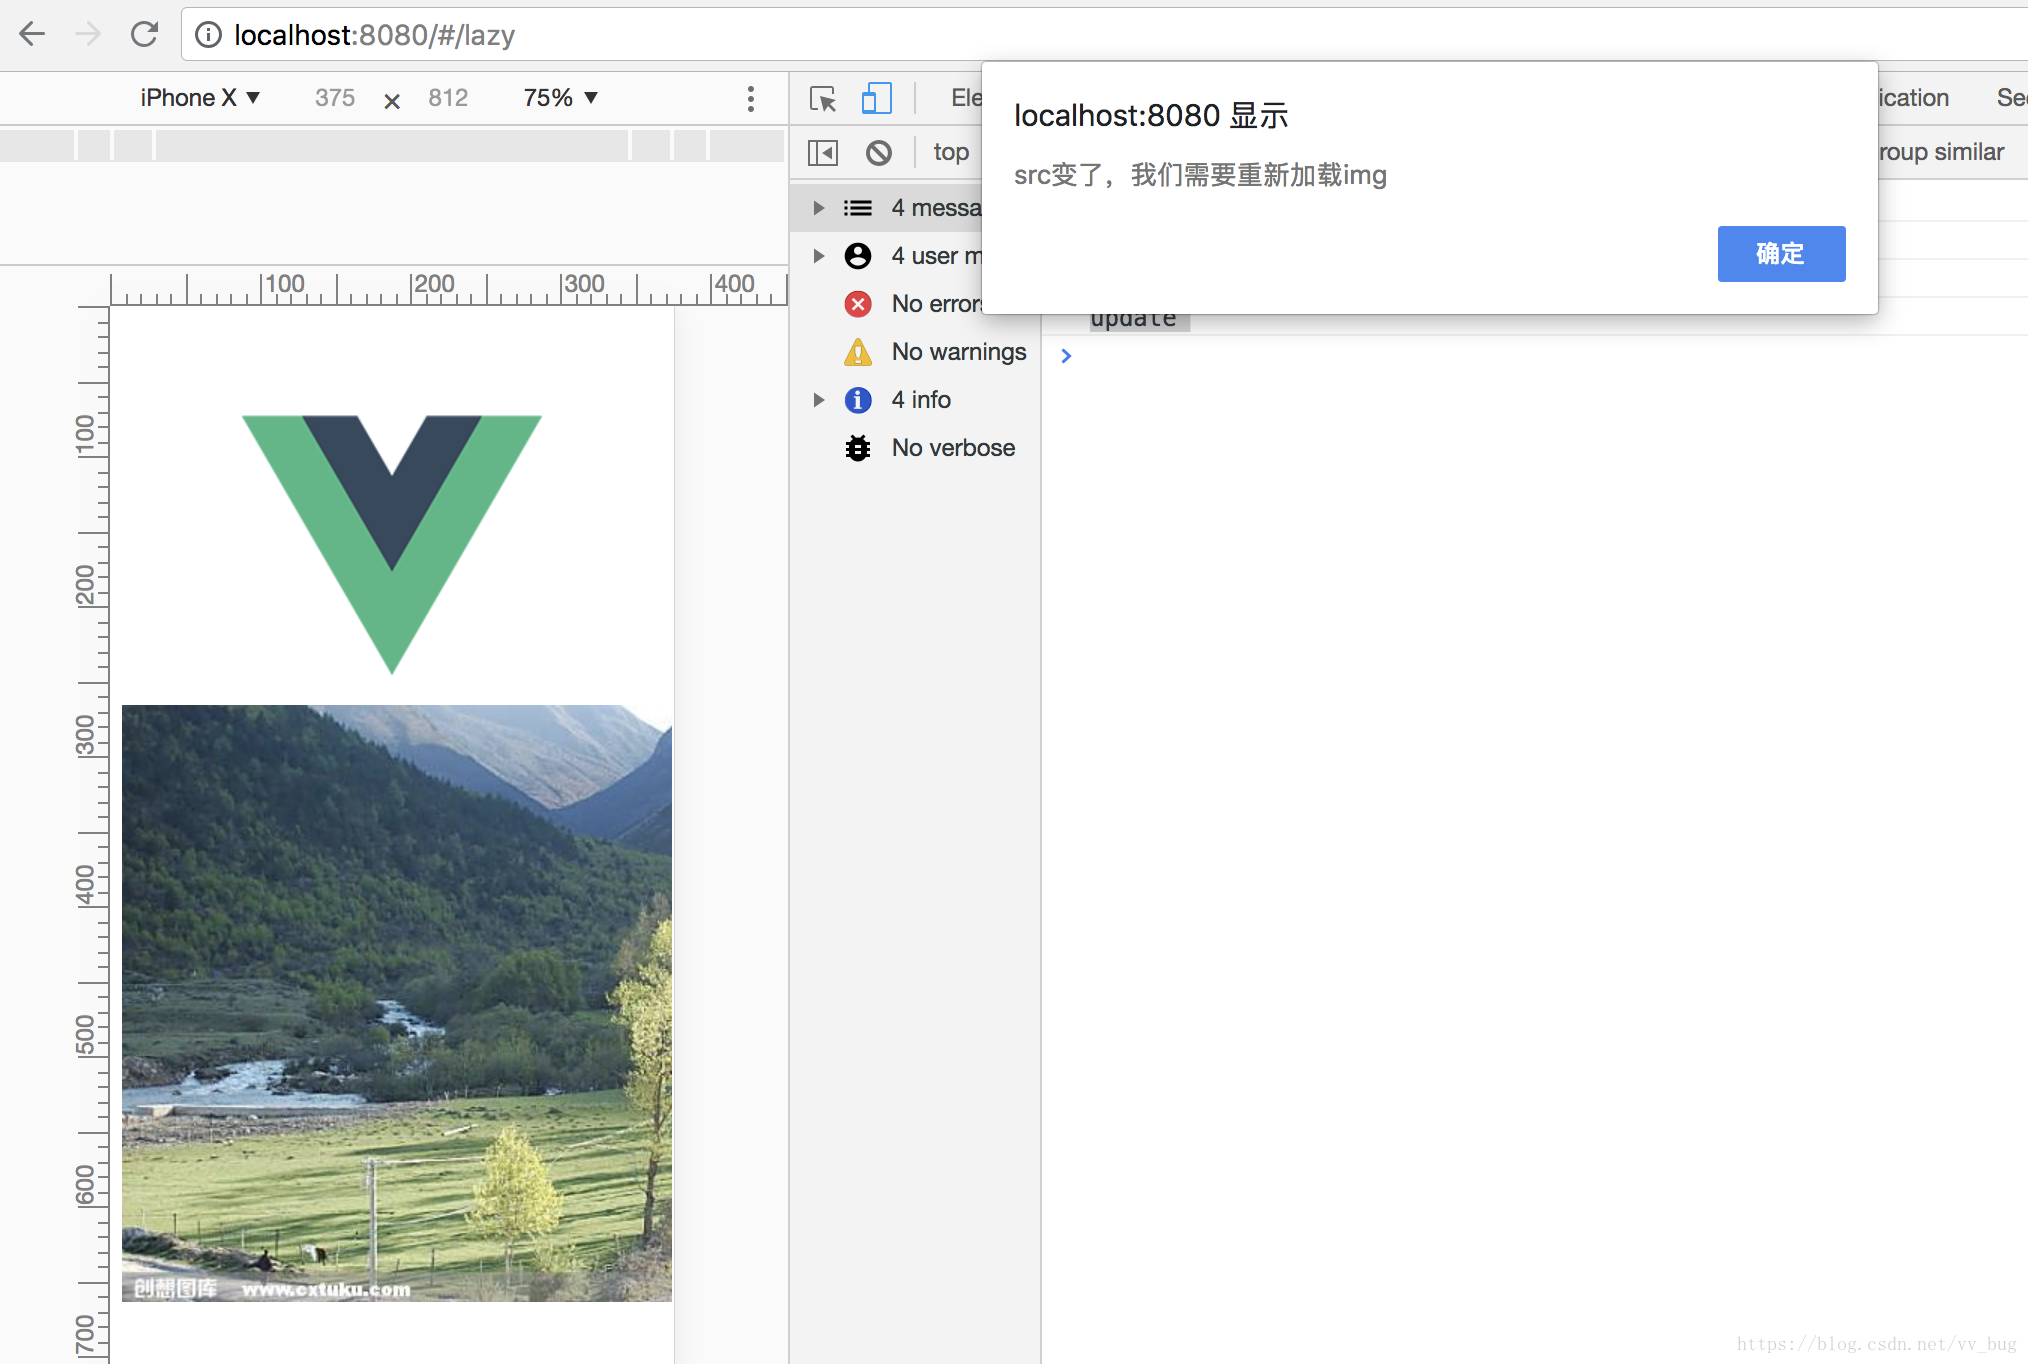
 update({src, loading, error}) {
    const oldSrc = this.src
    this.src = src
    this.loading = loading
    this.error = error
    if (oldSrc !== src) {
      alert('src变了,我们需要重新加载img')
    }
  }
我们需要在listener的update方法中重置图片的各个状态:
  update({src, loading, error}) {
    const oldSrc = this.src
    this.src = src
    this.loading = loading
    this.error = error
    if (oldSrc !== src) {
      //重置load状态
      this.initState()
      //重置重试次数
      this.attempt = 0
    }
  }
然后我们在LazyDelegate.js中的update方法中,重新加载图片:
update(el, binding) {
      console.log('update');
      let {src, loading, error} = this._valueFormatter(binding.value)
      //找出经纪人(listener)是否之前存在
      let exsit
      for (let i = 0; i < this.ListenerQueue.length; i++) {
        let listener = this.ListenerQueue[i]
        if (listener.el === el) {
          exsit = listener
          break
        }
      }
      //如果存在就调用listener的update方法
      if(!!exsit)exsit.update({src,loading,error})
      //重新加载图片
      Vue.nextTick(() => this.lazyLoadHandler())
    }
然后我们运行看效果:
可以看到,我们已经实现了我们想要的效果了,然后当我们的指令执行componentUpdated方法的时候,我们直接重新加载一遍img,然后当我们remove的时候,我们需要释放所有资源:
index.js
export default {
  install(Vue, options = {}) {
    let LazyClass = lazyDelegate(Vue);
    let lazy = new LazyClass(options);
    Vue.directive('lazy', {
     ...
      componentUpdated: lazy.lazyLoadHandler.bind(lazy),
      unbind: lazy.remove.bind(lazy),
    })
  }
}
LazyDelegate.js
 /**
     * 移除listener
     * @param el
     */
    remove(el) {
      let existItem
      for (let i = 0; i < this.ListenerQueue.length; i++) {
        let listener = this.ListenerQueue[i]
        if (listener.el === el) {
          existItem = listener
          break
        }
      }
      if (existItem) {
        remove(this.ListenerQueue, existItem) && existItem.destroy()
        existItem = null
        alert('listener已被移除')
      }
    }
listener.js:
 /*
   * destroy
   * @return
   */
  destroy () {
    this.el = null
    this.src = null
    this.error = null
    this.loading = null
    this.attempt = 0
  }
然后我们过一会直接移除img:
    <img v-lazy="{src: currImg}" v-if="showImage">
    setTimeout(() => {
        this.currImg=IMAGES[1]
        this.showImage=false;
      }, 3000)

可以看到,我们的框架已经搭建的差不多了,现在有一个这样的需求,当我们的图片很多的时候,我们只需要加载我们看到的部分,当滑动到其它部分的时候再去加载(以时间换空间),现在我们是直接一出来就加载全部图片(以空间换时间), 如果是在pc端的话,我们可以直接加载全部,这样快,而且pc上貌似内存问题还不是很大的问题,但是当到手机端的时候,内存的占用直接影响的是用户体验,所以我们需要用懒加载的方式去加载图片——
好啦!!! 下一节我们继续哈~~ 还是那句话
欢迎入群,欢迎交流~~~~
qq群号:


 617
617

 被折叠的 条评论
为什么被折叠?
被折叠的 条评论
为什么被折叠?
 到【灌水乐园】发言


