


一。配置jwt-auth
做API,可以配合Dingo/Api来搞。
Dingo/Api可以使用的用户认证方式有:
HTTP Basic (Dingo\Api\Auth\Provider\Basic)
JSON Web Tokens (Dingo\Api\Auth\Provider\JWT)
OAuth 2.0 (Dingo\Api\Auth\Provider\OAuth2)
这里选了JWT来实现。
需要用的工具有:
Lumen
Dingo/Api
Tymon/JWT-Auth
API可以简单的分三个部分:
登录
验证
具体的API行为
所以,先从登录开始。
这里的API服务基于Lumen实现。Laravel的实现还没搞过,以后再说。
一、Tymon/JWT-Auth安装
1、Lumen环境下执行:
composer require tymon/jwt-auth然后需要添加“JWTAuthServiceProvider”到 Provider List。在Laravel环境中配置放在config/app.php中,但在Lumen环境有些不同。
2、在”bootstrap/app.PHP” 文件中,找到Register Service Providers一节,添加:
$app->register('Tymon\JWTAuth\Providers\JWTAuthServiceProvider'); 3、生成jwt-auth的配置文件
最简单的办法是从/vendor/tymon/jwt-auth/src/config/config.php 复制一份到config/jwt.php。
因为lumen没有vendor:publish命令,所以,可以装basicit/lumen-vendor-publish来解决。
composer require basicit/lumen-vendor-publish 然后执行:
php artisan vendor:publish --provider="Tymon\JWTAuth\Providers\JWTAuthServiceProvider"
会以config目录下生成jwt.php文件。这就是jwt-auth的配置文件。
执行“php artisan jwt:generate ”生成secret。
在.env中添加:
# jwt_secret
JWT_SECRET=nxaeya5vhxGmjZBAfjiC15AS9beJSZFq
4、Adding facades
a)bootstrap/app.php文件中去掉”$app->withFacades();”前的注释。
b)在这行下面添加“$app->configure(‘jwt’);”,不然调用不到jwt的配置文件。
c)紧接着是facades。
class_alias('Tymon\JWTAuth\Facades\JWTAuth', 'JWTAuth');

class_alias('Tymon\JWTAuth\Facades\JWTFactory', 'JWTFactory'); // Optional
5、jwt的配置文件里保持默认就可以。想知道具体含义可以参考它的文档。secret是必须设的。前面已经设过了。
7、在 Lumen 项目中,默认没有 config 文件夹,需要在项目根目录创建,并将 vendor 源代码中auth.php 复制出来,同时将 api 认证指定为「jwt」:
<?php

return [

    /*
    |--------------------------------------------------------------------------
    | Authentication Defaults
    |--------------------------------------------------------------------------
    |
    | This option controls the default authentication "guard" and password
    | reset options for your application. You may change these defaults
    | as required, but they're a perfect start for most applications.
    |
    */

    'defaults' => [
        'guard' => env('AUTH_GUARD', 'api'),
    ],

    /*
    |--------------------------------------------------------------------------
    | Authentication Guards
    |--------------------------------------------------------------------------
    |
    | Next, you may define every authentication guard for your application.
    | Of course, a great default configuration has been defined for you
    | here which uses session storage and the Eloquent user provider.
    |
    | All authentication drivers have a user provider. This defines how the
    | users are actually retrieved out of your database or other storage
    | mechanisms used by this application to persist your user's data.
    |
    | Supported: "token"
    |
    */

    'guards' => [
        'api' => [
            'driver' => 'jwt',
            'provider' => 'user',
        ],
    ],

    /*
    |--------------------------------------------------------------------------
    | User Providers
    |--------------------------------------------------------------------------
    |
    | All authentication drivers have a user provider. This defines how the
    | users are actually retrieved out of your database or other storage
    | mechanisms used by this application to persist your user's data.
    |
    | If you have multiple user tables or models you may configure multiple
    | sources which represent each model / table. These sources may then
    | be assigned to any extra authentication guards you have defined.
    |
    | Supported: "database", "eloquent"
    |
    */

    'providers' => [
        'user' => [
            'driver' => 'eloquent',
            'model'  => \App\Models\User::class,
        ],
    ],

    /*
    |--------------------------------------------------------------------------
    | Resetting Passwords
    |--------------------------------------------------------------------------
    |
    | Here you may set the options for resetting passwords including the view
    | that is your password reset e-mail. You may also set the name of the
    | table that maintains all of the reset tokens for your application.
    |
    | You may specify multiple password reset configurations if you have more
    | than one user table or model in the application and you want to have
    | separate password reset settings based on the specific user types.
    |
    | The expire time is the number of minutes that the reset token should be
    | considered valid. This security feature keeps tokens short-lived so
    | they have less time to be guessed. You may change this as needed.
    |
    */

    'passwords' => [
        //
    ],

];
8、在bootstrap/app.php文件中,查找Register Middleware 小节。去掉”routeMiddleware”的注释,修改成下面这样:
 $app->routeMiddleware([
     'auth' => App\Http\Middleware\Authenticate::class,
 ]);
9、在bootstrap下的app.php中Auth的注释去掉:
$app->register(App\Providers\AuthServiceProvider::class);10、dingo配置jwt中间件
// dingo config for jwt
app('Dingo\Api\Auth\Auth')->extend('jwt', function ($app) {
    return new Dingo\Api\Auth\Provider\JWT($app['Tymon\JWTAuth\JWTAuth']);
});
11。创建控制器使用用户登陆验证
a。声明路由 routes/app.php
<?php

$api = app('Dingo\Api\Routing\Router');

$api->version('v1', ['namespace' => 'App\Http\Controllers\Api',], function ($api) {
    $api->post('login', 'AuthController@login');
    //中间件
    $api->group(['middleware' => 'auth'], function ($api) {
        $api->get('user', 'AuthController@user');
    });

});
b。在app/http/api/AuthController.php中写相应的方法:
<?php
namespace App\Http\Controllers\Api;
use App\Http\Controllers\Controller;
use Illuminate\Http\Request;
use Illuminate\Support\Facades\Auth;
use App\Models\User;
class AuthController extends Controller
{
//登陆
public function login(Request $request)
{
$phone = $request->input('phone');
$password = $request->input('password');
$user = User::where(['phone' => $phone, 'password' => $password])->count();
if (!$user) {
echo "登陆错误";die;
}
$token = Auth::login(User::where('email', 1)->first());
return $token;
// return $this->responseData(['access_token' => $token]);
}
//得到用户信息
public function user()
{
$user = Auth::user();
print_r($user->toArray());
}
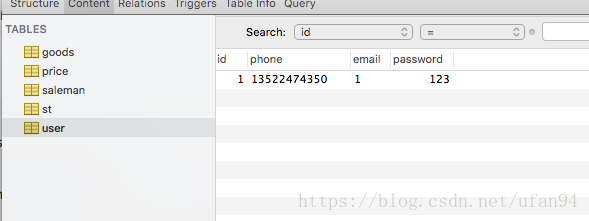
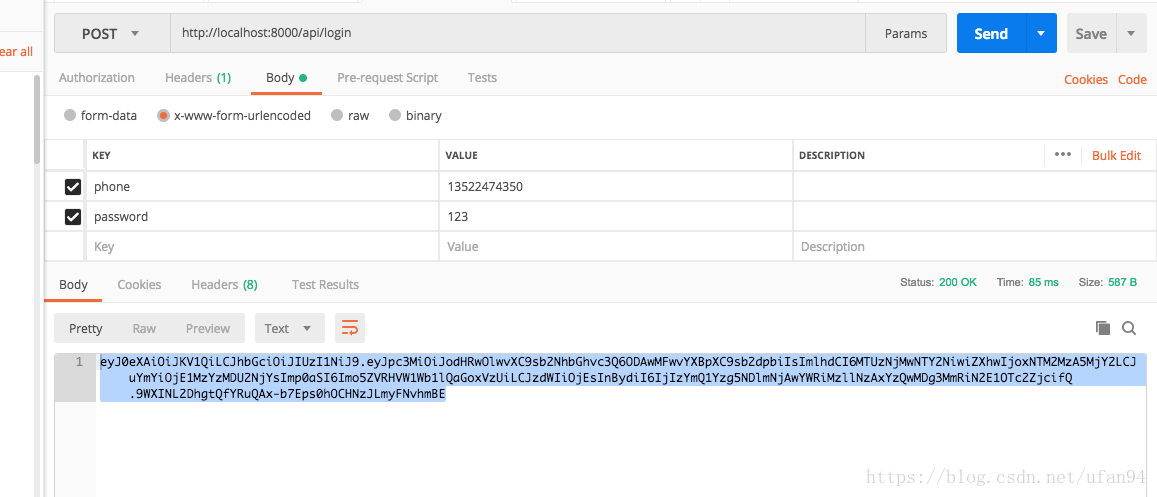
}c。postman请求得到结果
user表
请求登陆
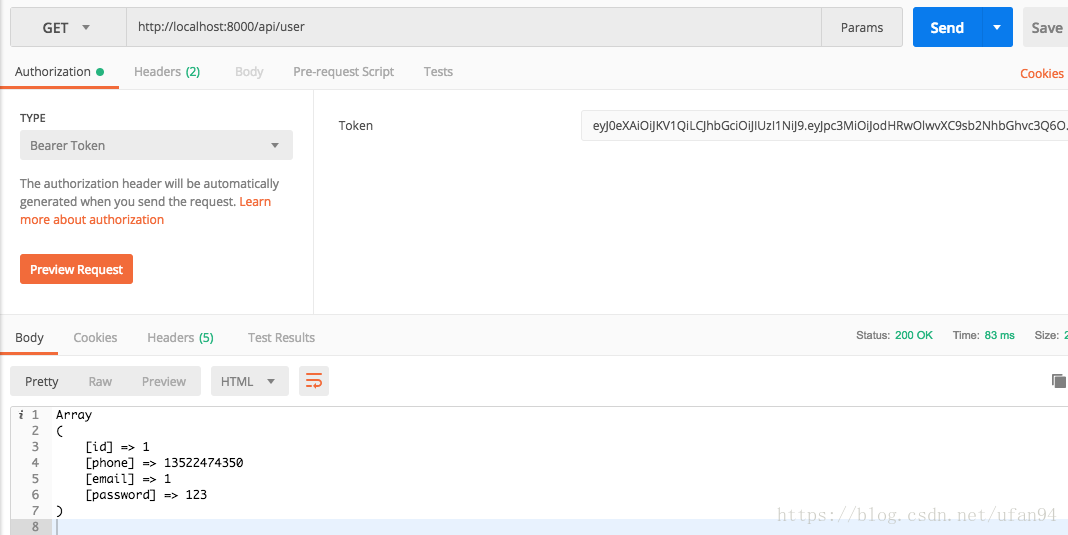
通过token得到用户信息:


 被折叠的 条评论
为什么被折叠?
被折叠的 条评论
为什么被折叠?
 到【灌水乐园】发言


