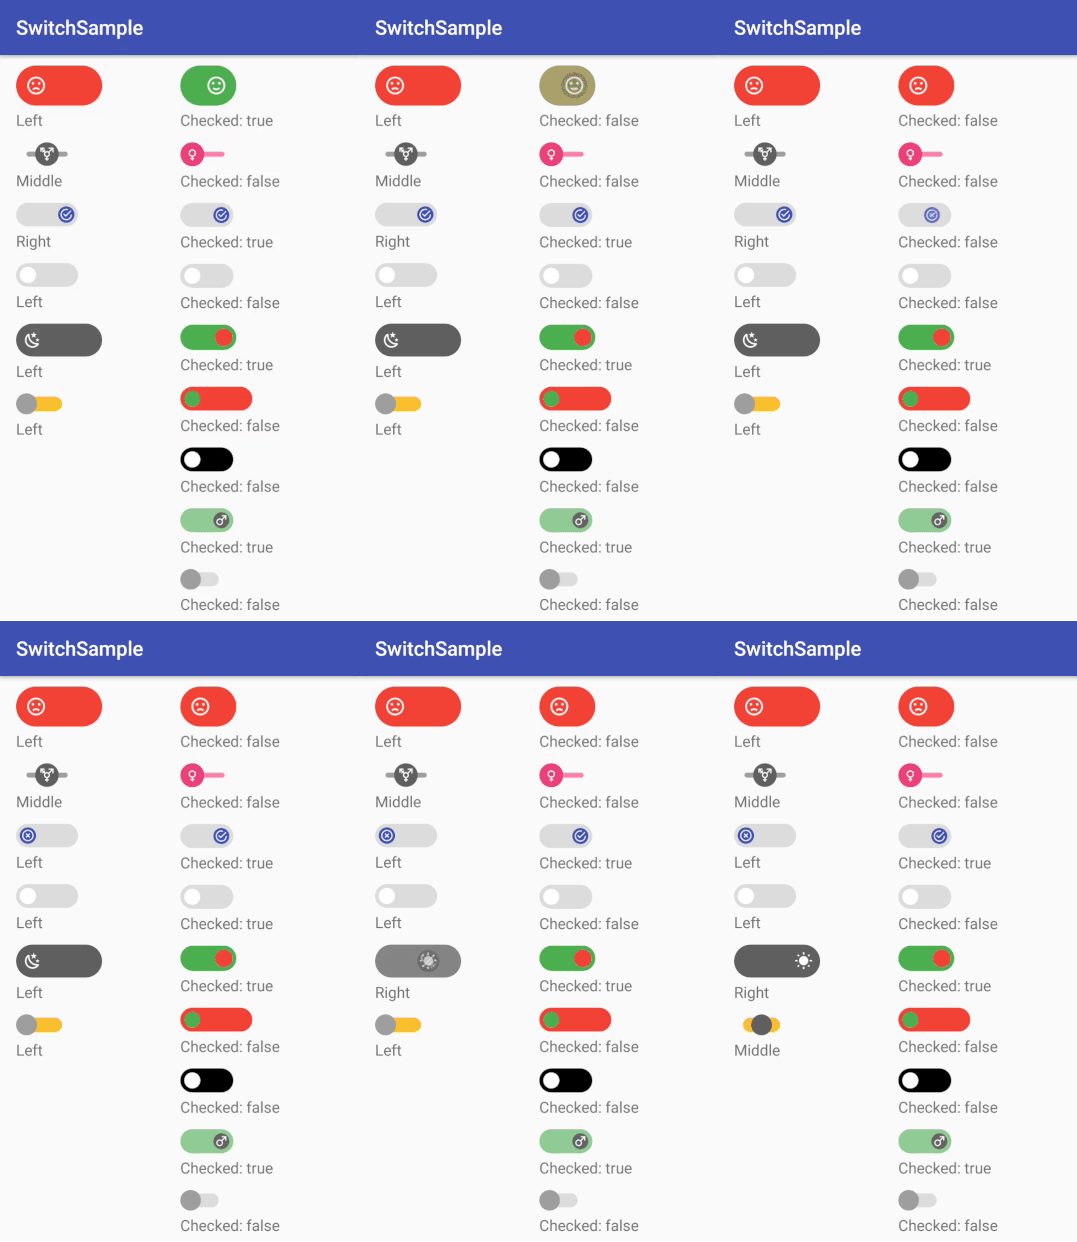
RMSwitch
项目地址:
RiccardoMoro/RMSwitch


简介:A simple and customizable Switch View

A simple View that works like a switch, but with more customizations.
With the option to choose between two or three states. (from v1.1.0)
[Changelog] (CHANGELOG.md)
Download
Gradle:
compile 'com.rm:rmswitch:1.1.1'
Usage
To use them, just add this to your layout file
    <!-- Two states switch -->
    <com.rm.rmswitch.RMSwitch
                android:id="@+id/your_id"
                android:layout_width="wrap_content"
                android:layout_height="wrap_content" />

    <!-- Three states switch -->
    <com.rm.rmswitch.RMTristateSwitch
                        android:id="@+id/your_id2"
                        android:layout_width="wrap_content"
                        android:layout_height="wrap_content" />
... if you need to use this View's custom xml attributes (shown in a table below) do not forget to add this to your root layout
xmlns:app="http://schemas.android.com/apk/res-auto"
To see how it looks in the preview screen of Android Studio, build your project first
And this in your Activity
public class MainActivity extends AppCompatActivity {
    RMSwitch mSwitch;
    RMTristateSwitch mTristateSwitch;

    @Override
    protected void onCreate(Bundle savedInstanceState) {
        super.onCreate(savedInstanceState);
        setContentView(R.layout.activity_main);

        mSwitch = (RMSwitch) findViewById(R.id.your_id);
        mTristateSwitch = (RMTristateSwitch) findViewById(R.id.your_id2);

        // Add a Switch state observer
        mSwitch.addSwitchObserver(new RMSwitch.RMSwitchObserver() {
            @Override
            public void onCheckStateChange(boolean isChecked) {
                                Toast.makeText(MainActivity.this,
                                        "Switch state: " +
                                        (isChecked ? "checked" : "not checked"), Toast.LENGTH_LONG)
                                        .show();
            }
        });

        mTristateSwitch.addSwitchObserver(new RMTristateSwitch.RMTristateSwitchObserver() {
            @Override
            public void onCheckStateChange(@RMTristateSwitch.State int state) {
                Toast
                        .makeText(MainActivity.this,
                                state == RMTristateSwitch.STATE_LEFT ?
                                        "Left" :
                                        state == RMTristateSwitch.STATE_MIDDLE ?
                                                "Middle" :
                                                "Right",
                                Toast.LENGTH_SHORT).show();
            }
        });
    }
}


 RMSwitch是一款简单且高度可定制化的开关视图组件,支持两种或三种状态选择,适用于Android应用开发中需要自定义样式开关场景。


 2367
2367

 被折叠的 条评论
为什么被折叠?


